Adventure/touring/gravel bikes are great, aren’t they? They allow you to get out on the road and almost hang with the best road bikes out there. They also let you depart from said road and nearly …
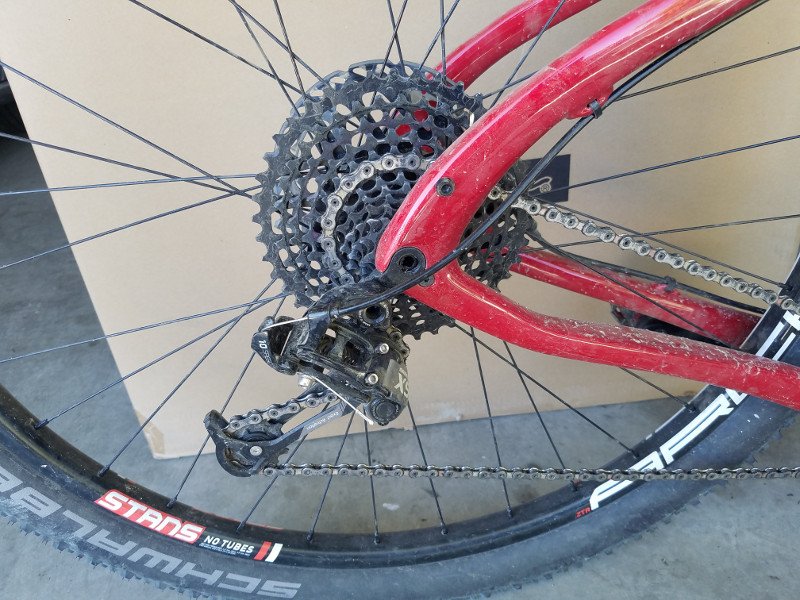
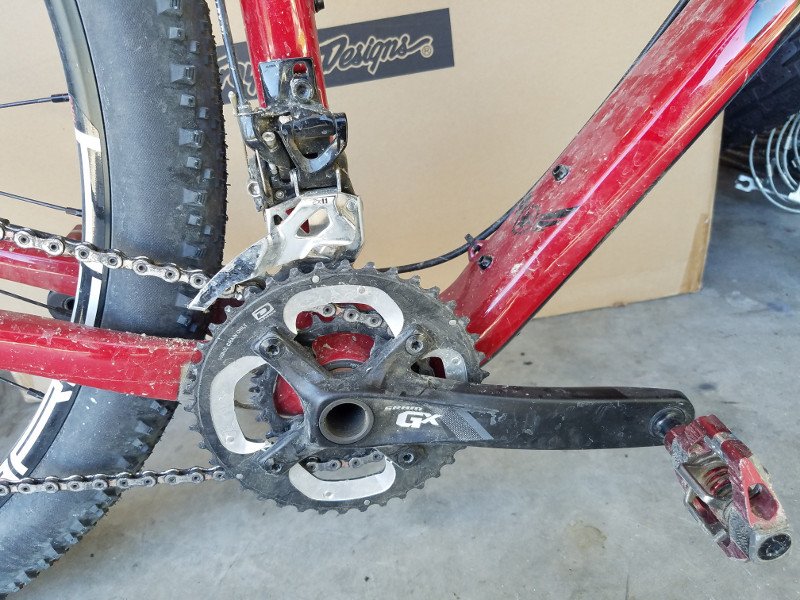
I recently modified a mountain bike that came with a 2×11 drivetrain. It was nice, but I wanted a wider gear range. The result was a 10/42T 11 speed cassette paired with a 40/24T 2x …
It is time for another not-very-pretty blog about bike equipment. I made a tank that I think can seat just about any bead lock bike tire. This is an over-the-top tool but I had to …
The part of Northern California that I was traveling through was full of Bigfoot references. Statues of Bigfoot, murals, and advertisements featuring the beast dotted the area. Whether locals believed or were amused didn’t matter. …
Shoe stretchers are hardly anything new. But I have never heard of anyone using them on bike shoes. I thought it might help the fit of some of my shoes. I tried it and I had …
This is a snapshot in time before my bike tour began. It is written from the perspective of the ride being in the future, which it was at the time. Enjoy!
My tour of Northern California starts in less than a week. I will be riding from Eureka to Oakland along the Pacific Coast Route. It will take me through Redwood forests, right along the coast, across the Golden Gate Bridge, through San Francisco, and finish with a ferry ride to Oakland. I’ll fly to Eureka and meet my bike there, which I will ship separately. Then I will return home with my bike on an Amtrak train to southern California.
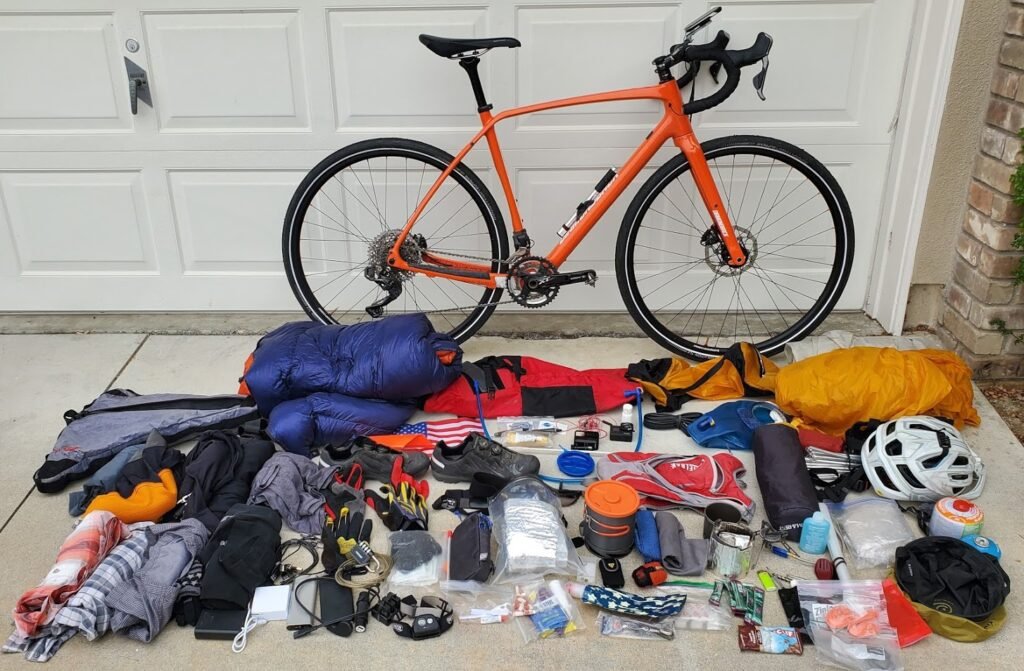
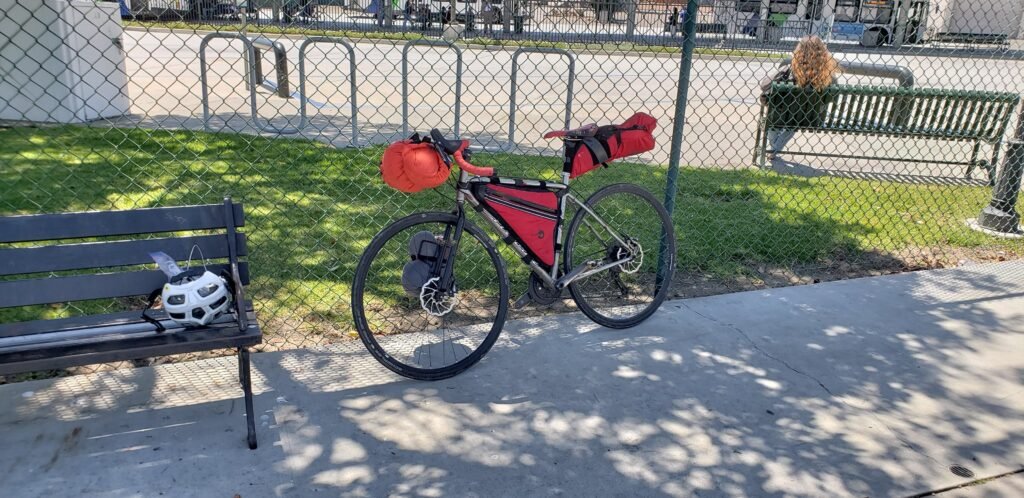
The obligatory gear pic
I have identified all the sights I might want to see. I have my route and campsite or hotel picked out for each day. And I have made all the reservations I might need, all ahead of time.
Of course, I have a picture of all my gear, organized and ready to go! I have been doing the usual overplanning that I do for these trips. Doing research and organizing is my way of dealing with the excitement and anticipation that comes before each trip, but sometimes I go too far. By that I mean I can get a little pre-ride burnout from all the planning, and the ride itself can feel a little anticlimactic. But that is just an illusion. As soon as I start the ride, I realize that all the preparation in the world is no substitute for the experience, and over-preparing takes nothing away from the ride.
I also prepare a lot because I am a working stiff. I get a few weeks of vacation a year, and I need to optimize it for family trips, romantic trips, emergencies, etc. So my bike tours are not done in what I call “nomadic” or “vagabond” mode. By nomadic, I mean a tour where you have a general idea of where you are going and how long it will take, but no strict schedule. I look forward to the time when I can take a month or two and wander around the country. But for now I want to get the most I can out of one week. So I have identified all the sights I might want to see. I have my route and campsite or hotel picked out for each day. And I have made all the reservations I might need, all ahead of time.
This year’s trip has already encountered some adversity. I had originally planned the trip for May 17-27. That was the week before Memorial Day and gave me a holiday to use instead of a vacation day. But, ah, the best laid plans of mice and men. Those original dates should have been well past the end of the rainy season along the route. As those dates approached, I was watching the long-term weather forecast just in case. Overplanning, remember? And this year some late-season rain hit Northern California. It was not a major storm, but I would have ridden most of the week in conditions ranging from drizzle to heavy rain.
So I was faced with a decision. I could take a little extra rain gear and go, or I could reschedule. My decision to delay the trip ultimately came down to the nomadic vs. limited time format. With only one week to ride, I wanted to make the experience as enjoyable as possible. Were I in nomadic mode, I would have taken a week of rain in stride as part of the bigger adventure. Plus, I also came down with a nasty infection the day I would have left. I spent a few days running a fever and taking antibiotics. So the decision to delay turned out to be a good one.
I have changed my gear around a little since my trip last year. I decided to carry a little extra weight, and I got a 2-person tent instead of a 1-person tent, along with a few other luxuries. Among them is a GoPro camera, and I plan to take some videos of my travels. I am pretty excited about adding them to my blog. And just like last year, I plan to make a blog entry for each day of the trip. I will post them sometime after the ride is over. My blogs will include my routes, recommendations, and other information. I hope other riders find it all useful and entertaining. Time will tell!
Ken is a great guy. He is the organizer of an occasional bike overnight camp trip in San Diego, using social media to make them happen. If that sounds informal, it is. I missed Ken’s most recent trip: a ride through Carrizo Plain National Monument at the peak of California’s wildflower bloom this year. But then he organized an overnighter on the Coast to Crest Trail in San Diego, and I was able to make it to that.
The Coast to Crest Trail is an ambitious project to link together and expand an existing trail network, creating a 70 mile continuous off pavement trail from Del Mar to Julian, CA. It is not your typical bikepacking fare. It is a credit to the San Diego area to establish a trail like this amidst the urban sprawl, groomed suburban landscapes, established ranches/farms and other infrastructure. At the time I write this, it is about 2/3 done. A section of about 3 miles had just recently opened. That was enough of an excuse to organize a group and ride the whole route.
After a series of emails, Facebook messages, text messages and the like, Ken put the plan together. A group of 6 of us would shuttle or get dropped off in the lovely mountain village of Julian early on the morning of May 5. So our version of the ride was the Crest to Coast trail (reverse of Coast to Crest, get it?), which has the benefit of being a net elevation loss. But even in that direction the trail still features plenty of climbing.
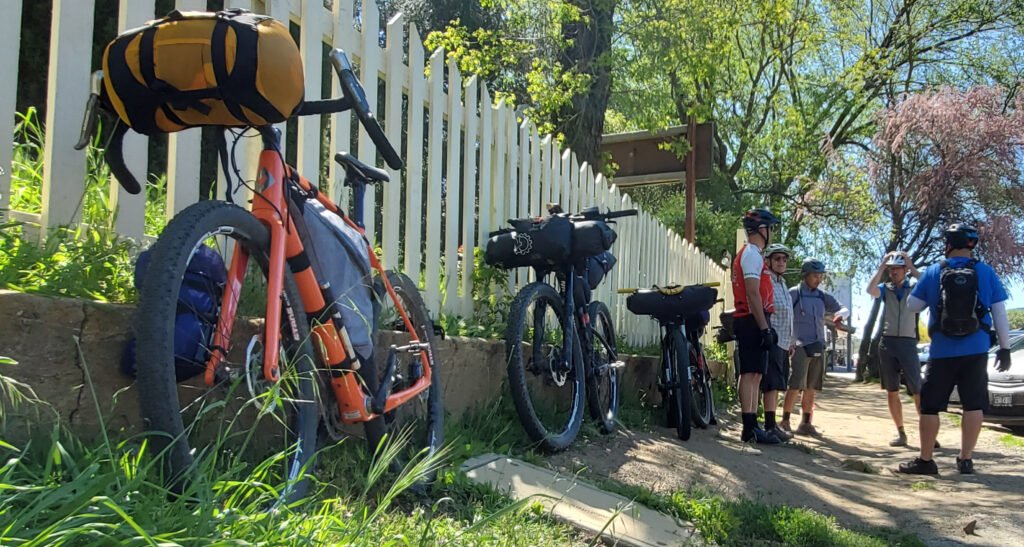
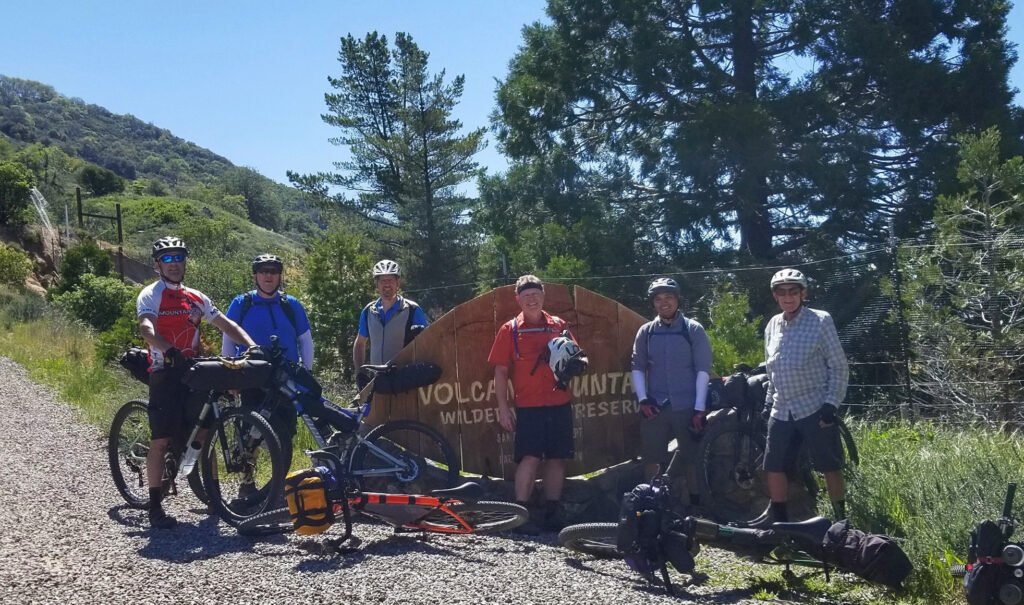
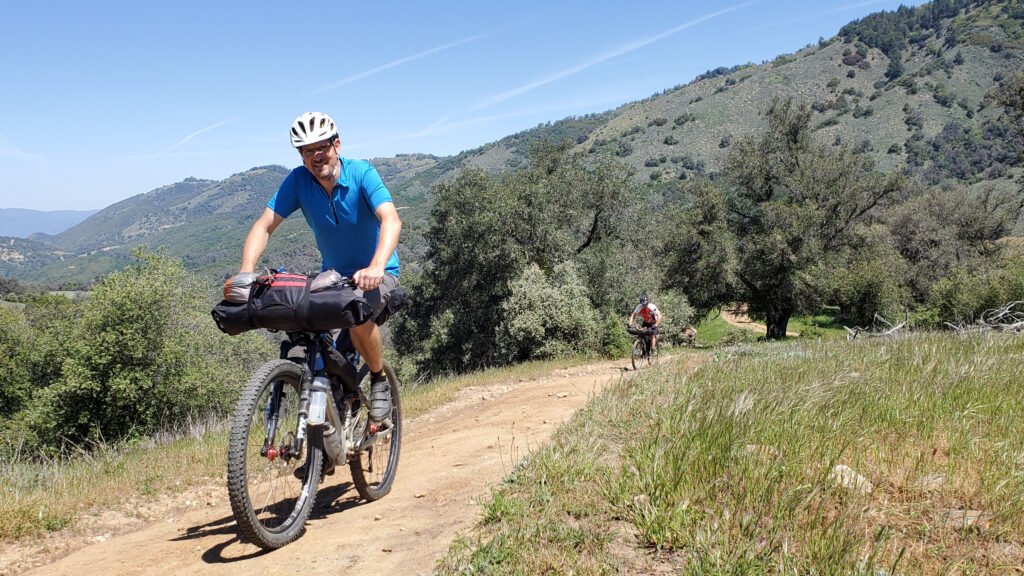
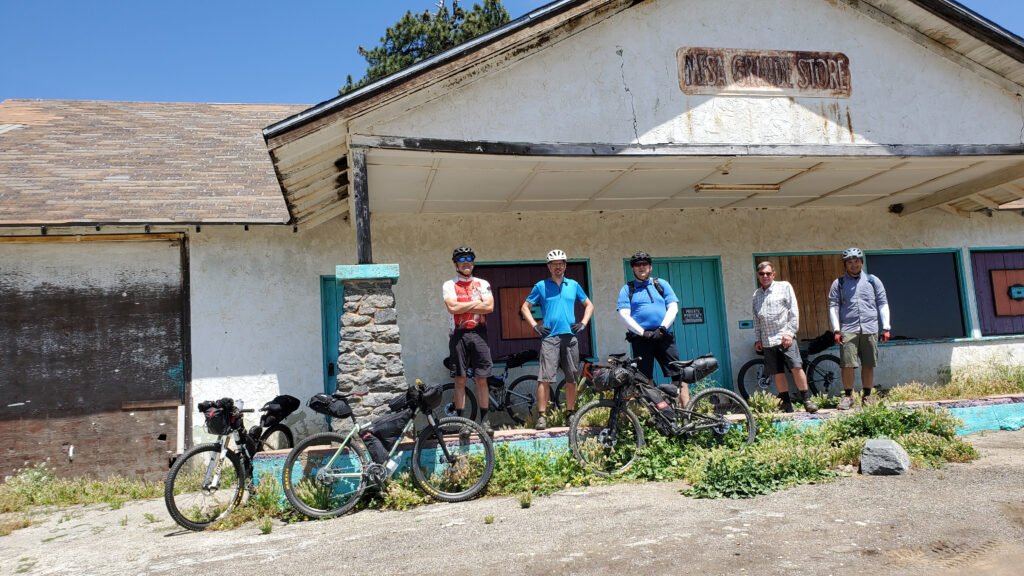
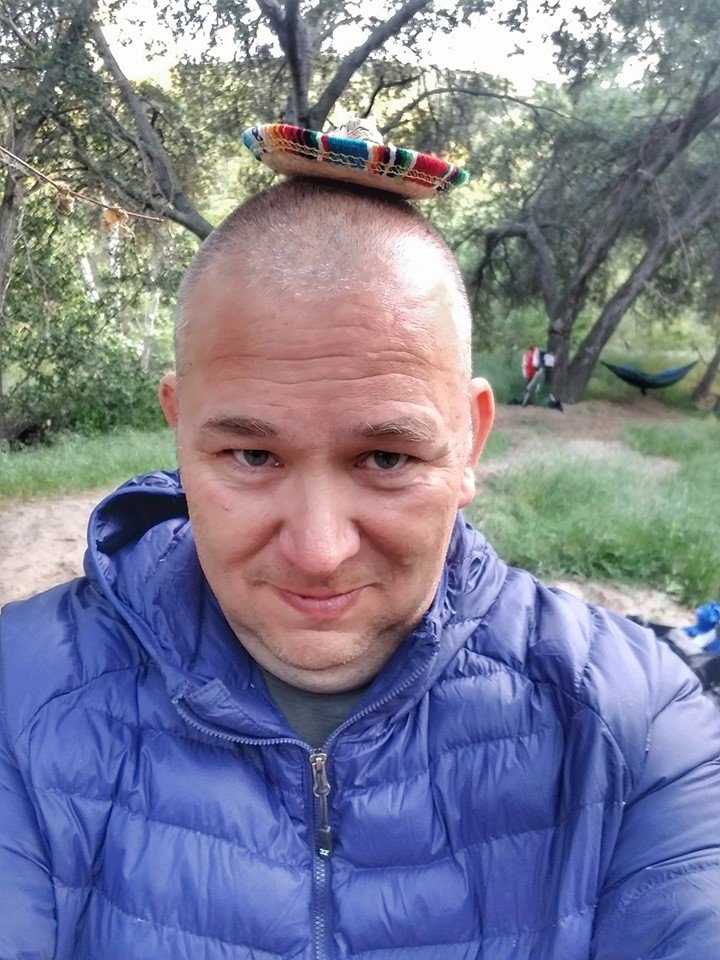
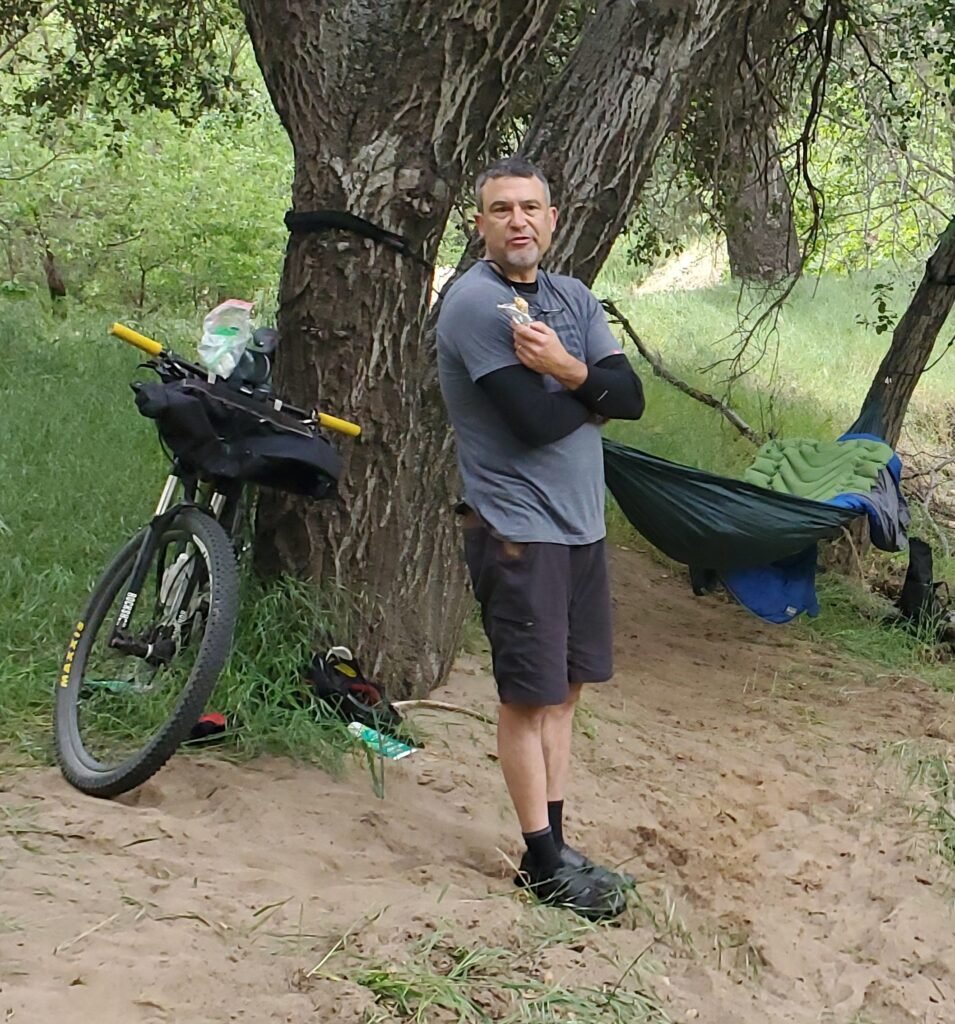
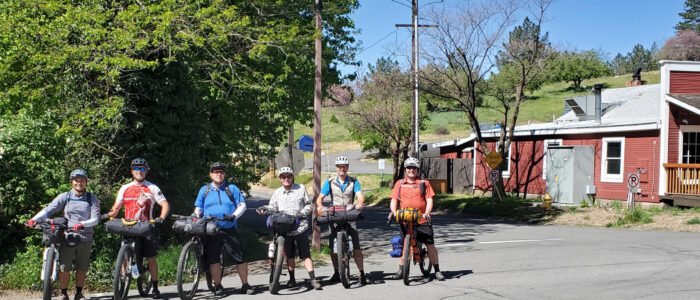
From the left: Andrew, Carl, Alex, Karl, Dan and myself.My bike in the foreground, of course, among a group of mountain bikes.What a great place to start. Except they were not open yet. 🙁
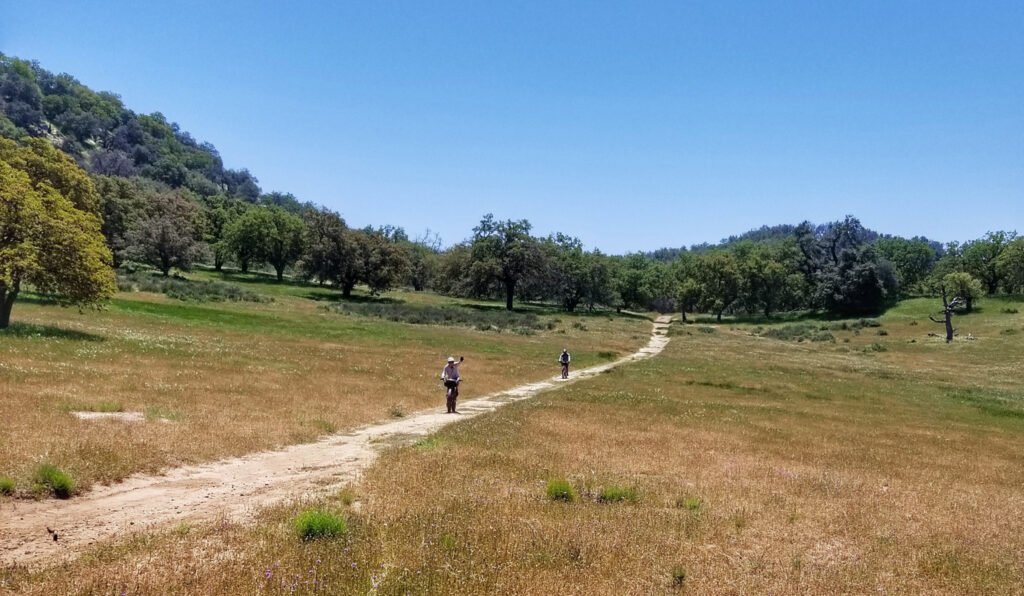
Santa Ysabel Preserve was nothing less than resplendent: it was covered in far more green than usual, it streams flowed with water, and temps were ideal
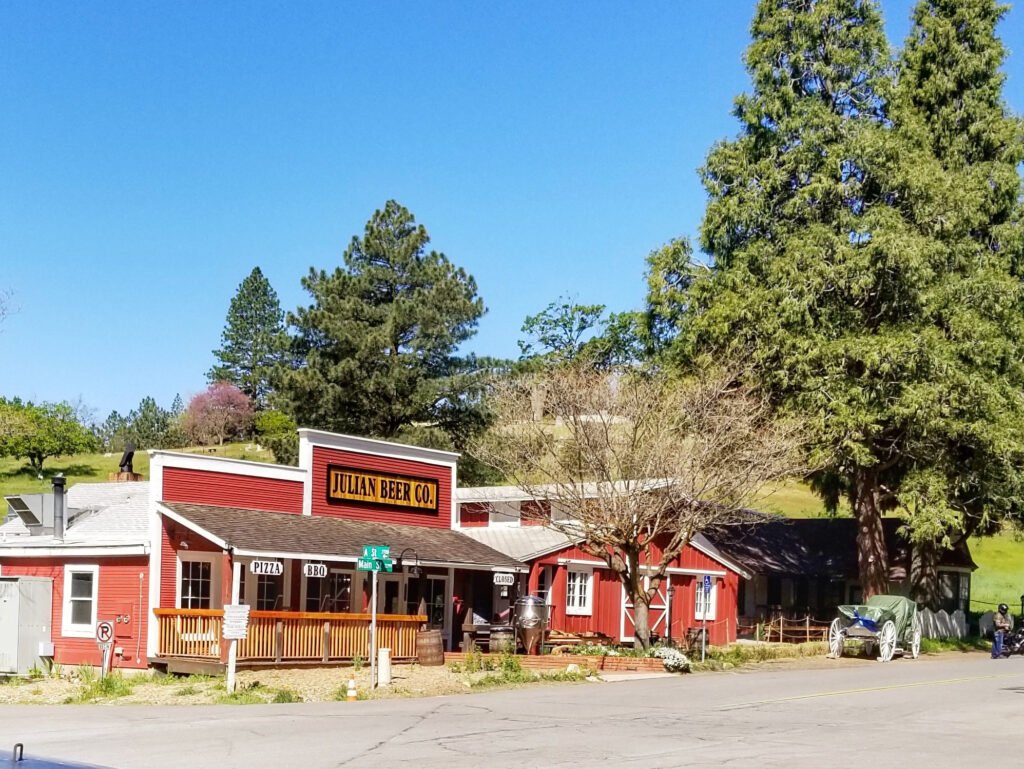
After a shuttle ride from the beach I met everyone in Julian staging for the ride. The weather was wonderful, everyone was prepared, and after some introductions we were riding.
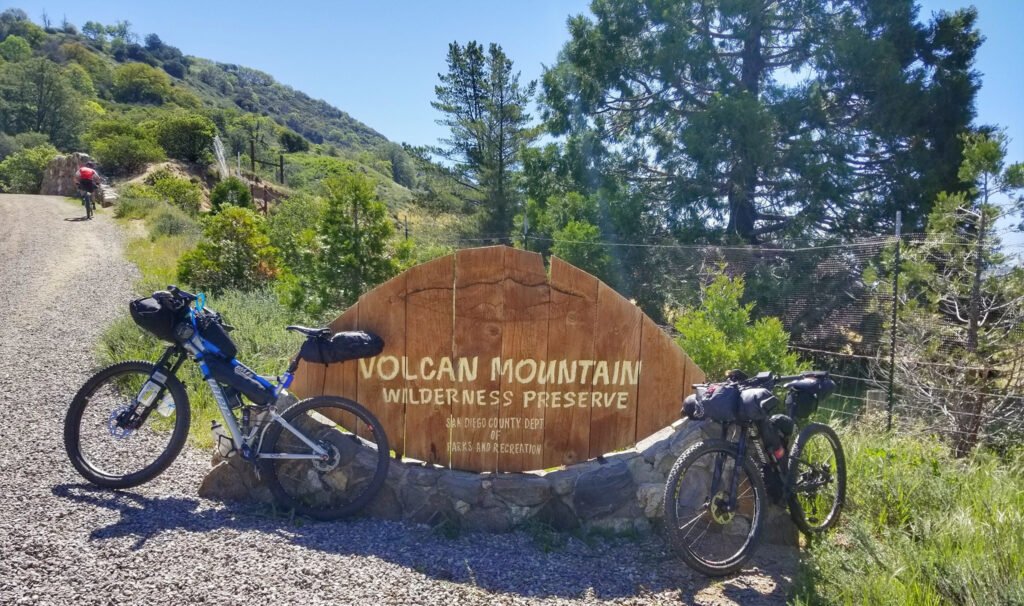
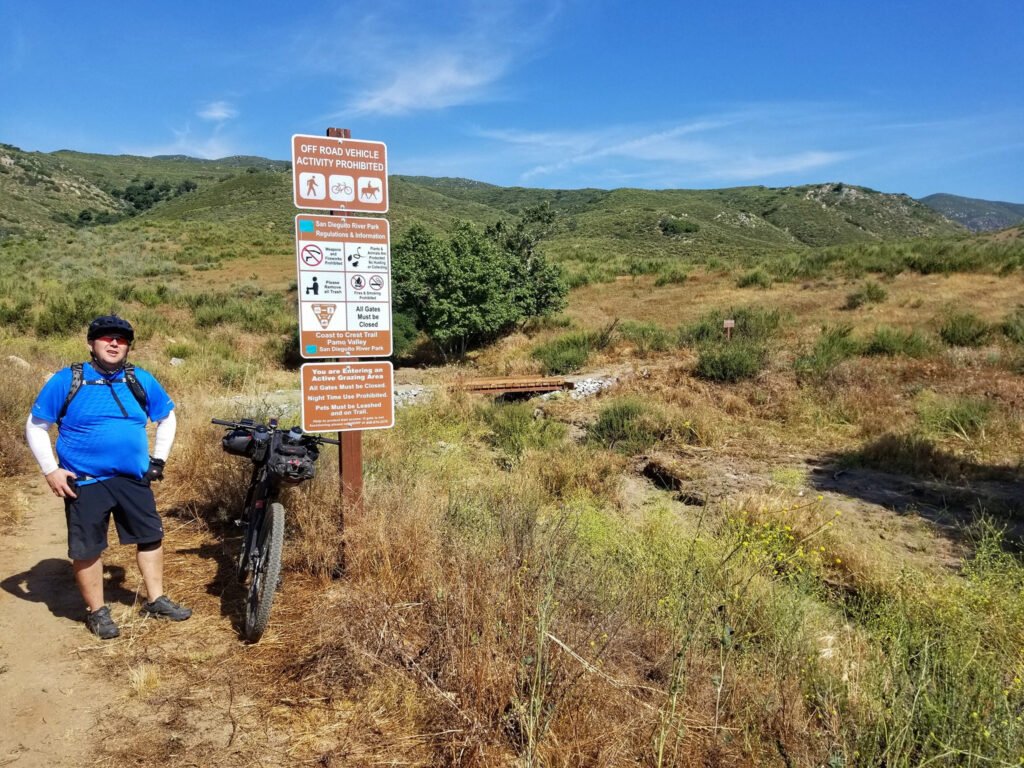
The ride started well for me, I was feeling strong and climbing better than average. I like to think my recent cross training and weight loss were showing their affects. Early in the ride we made a detour for a photo-op at an entry to a wilderness area, which means by definition bikes were not allowed. But we stopped at the entrance sign then turned around. I must be some kind of local San Diego ritual, I guess.
Yep, a wilderness areaNice. Can we ride now?
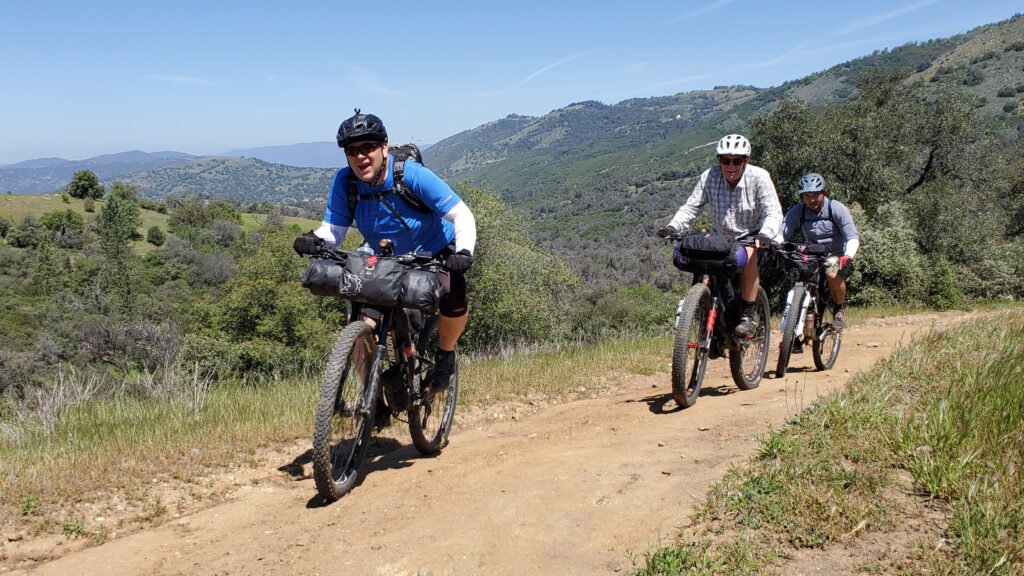
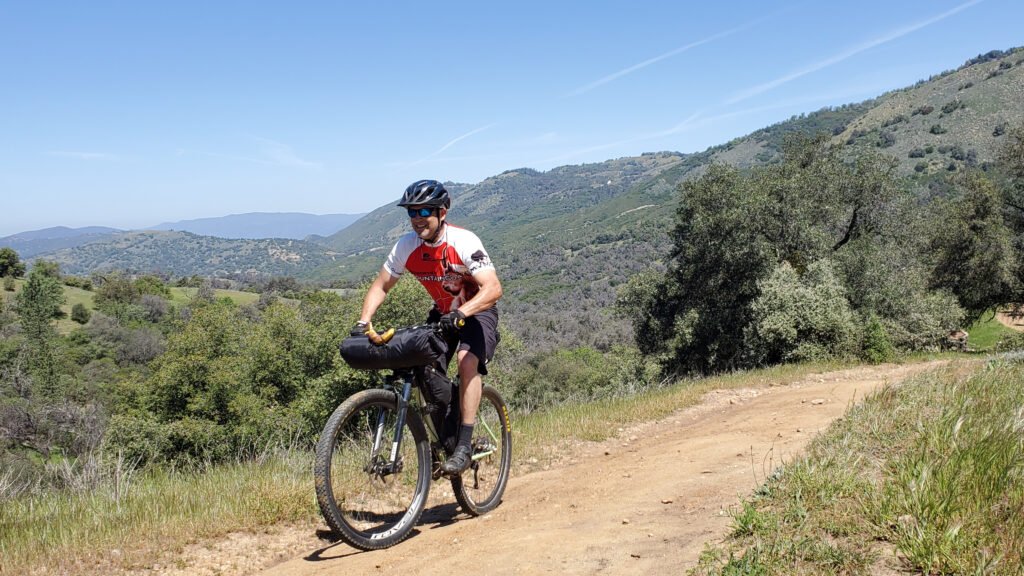
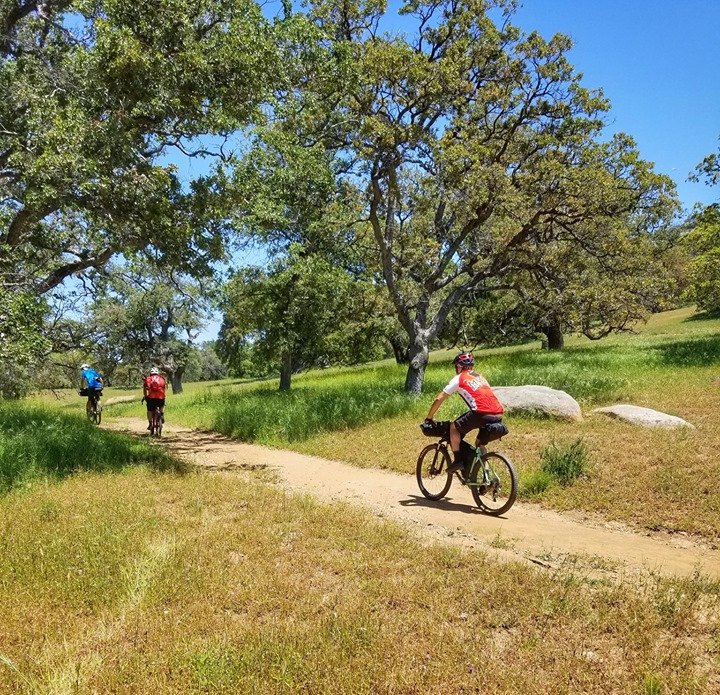
We wrapped up the early pavement section by turning left into the Santa Ysabel Preserve, which was nothing less than resplendent as it was covered in far more green than usual, its streams flowed with water, and temps were ideal for riding. Which was good since the route did feature some climbing there. We navigated around sandy sections, ruts and cows as we went. I reached the top of one of the early climbs in time to take pics of everyone as they passed by.
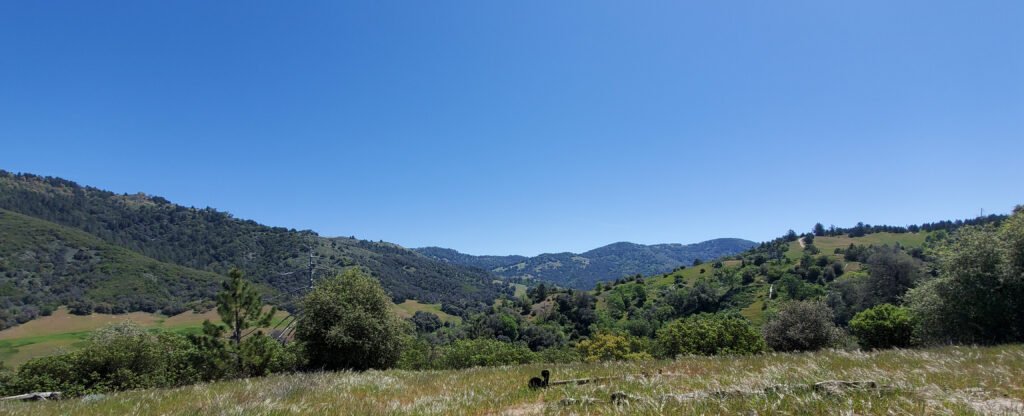
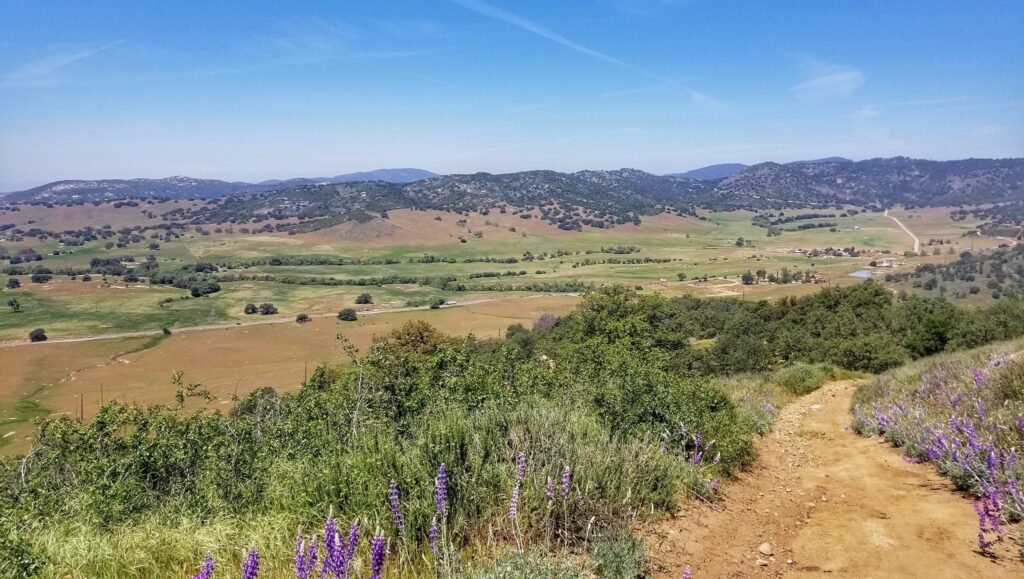
The windswept hilltop afforded views all around.Alex leads out a groupCarl, looking strong as alwaysDan, making it look easyKen, our intrepid organizer, followed by Andrew, photographer extraordinaire My favorite vista of the trip was this breathtaking shot of the valley between Santa Ysabel and Mesa Grande. The trail was lined with flowers in many places. Santa Ysabel ReservePerfect conditions!
We exited Santa Ysabel and regrouped in a meeting that included Carl’s family, which was utterly charming as his young daughter held a gate open for us and made sure Dad had enough water. From there the route took us along the paved Highway 79 and Mesa Grande road. They climbed steadily and did not always offer much of a bike lane or extra space for riders. But traffic was sparse and fairly polite. The paved section ended at a classic backcountry landmark, an abandoned general store in Mesa Grande.
The usual suspects lined up in front of the Mesa General Store, long since abandoned. I personally think a gas station/convenience store would do well at this spot.
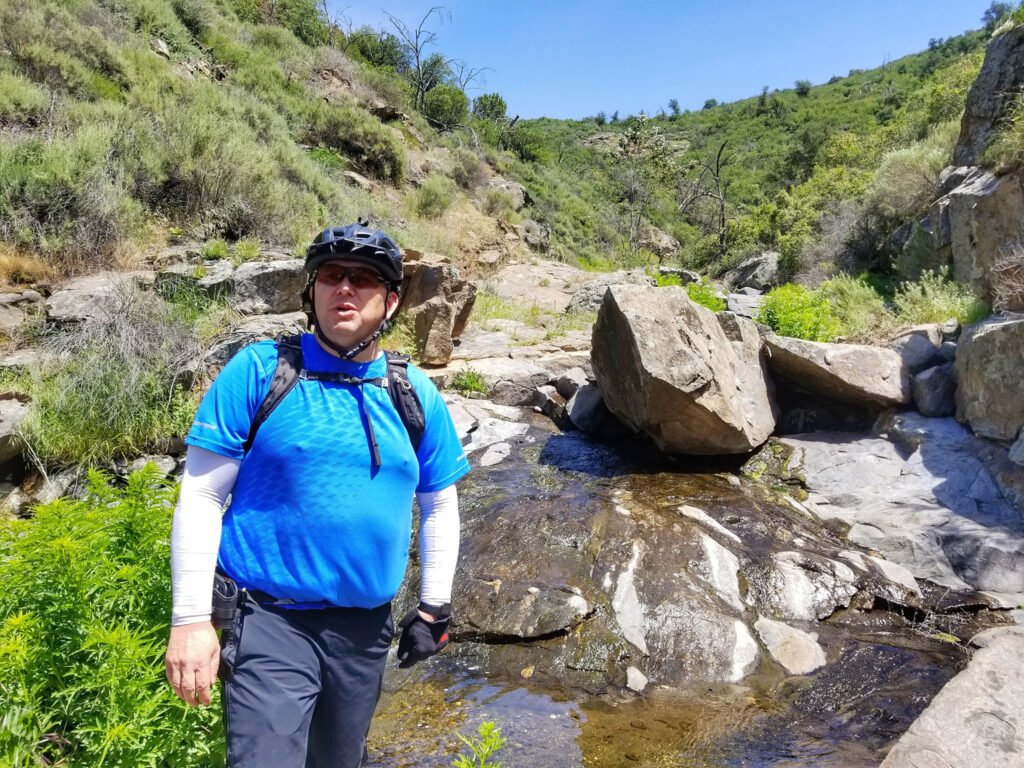
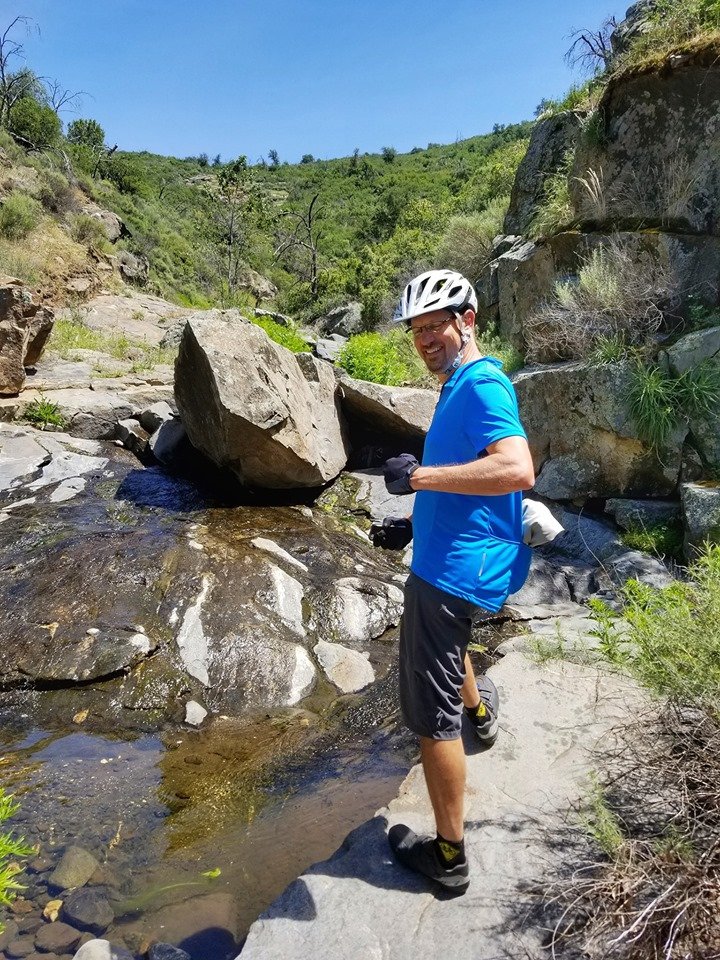
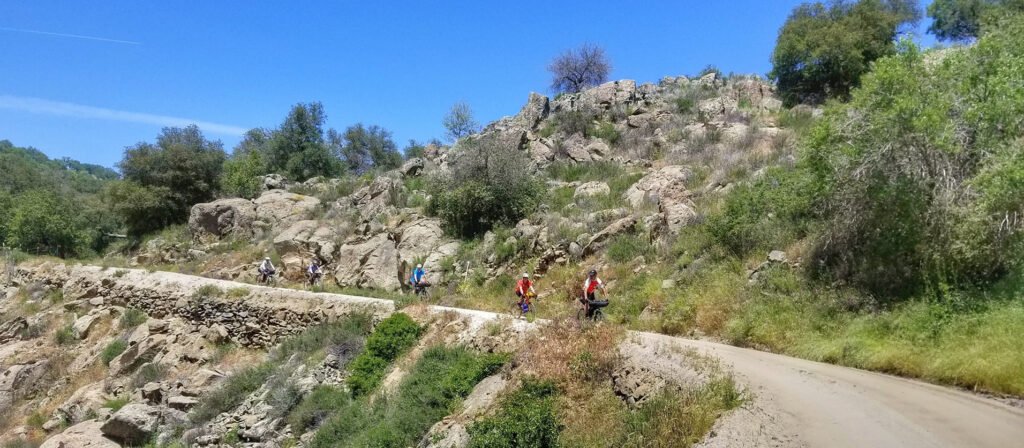
From the General Store we struck out on Black Canyon Road. It is a wide fast gravel road that is covered in, ironically, white gravel. It was a long steady descent that gave us views of a rocky gorge with flowing water (a big deal in these parts) alongside the road in a few places. We regrouped at our right turn onto Santa Ysabel Truck Trail and decided to take a side trip to Lake Sutherland. This is where my energy level started fading fast. The rest of the group powered up the steady climb to Sutherland dam, but I made no effort to keep up. By the time I arrived they had had their fill of the scenery and were ready to head back down. I have seen the lake several times before with the assistance of my motorcycle. It is odd how climbs seem so much bigger on the bicycle.
Alex striking a dramatic poseDan, doing his best impersonation of AlexOur gang, descending Black Canyon (click for full size)Alex, the one man welcoming committee
By the time we hit the truck trail I was needing to get off and walk over the steep sections that trail is dotted with. The group I was riding with was great though. I was not the only one that was fading. Carl and Dan, who were still going strong, did a combination of waiting and taking more challenging options to keep the group together in spite of our widely varying speeds.
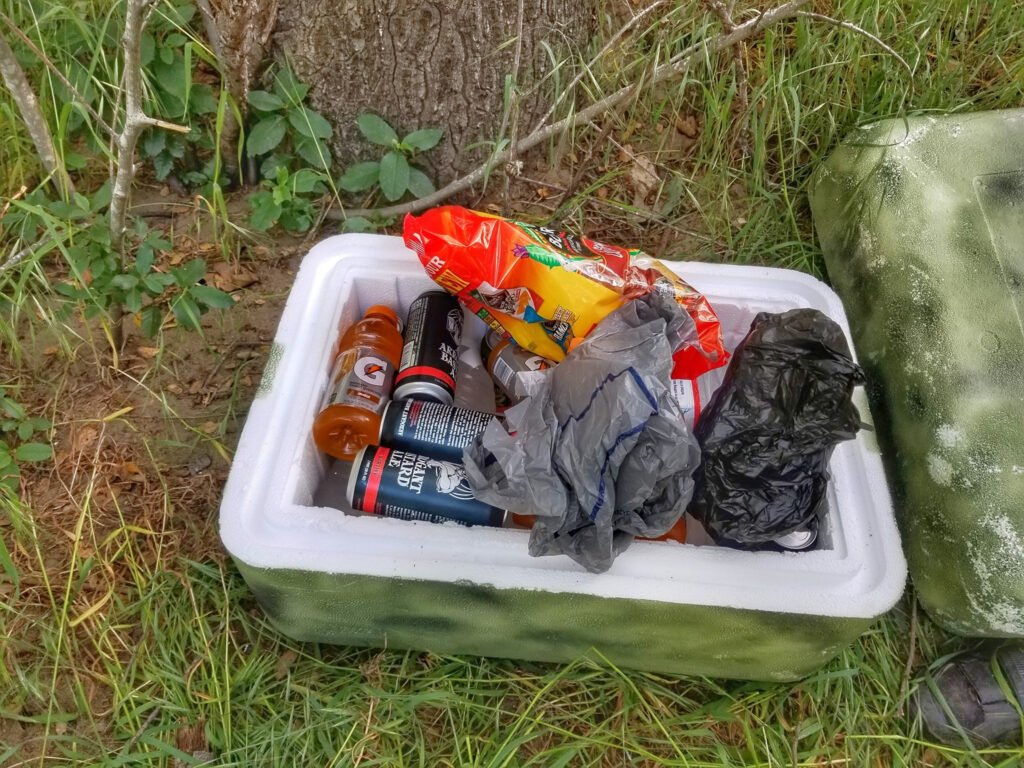
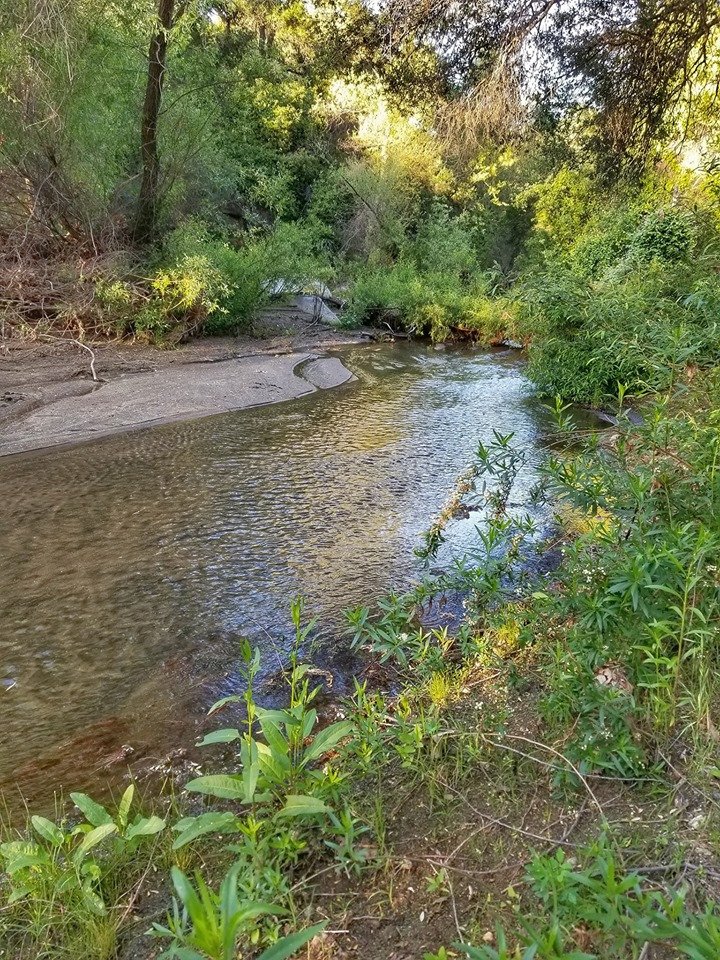
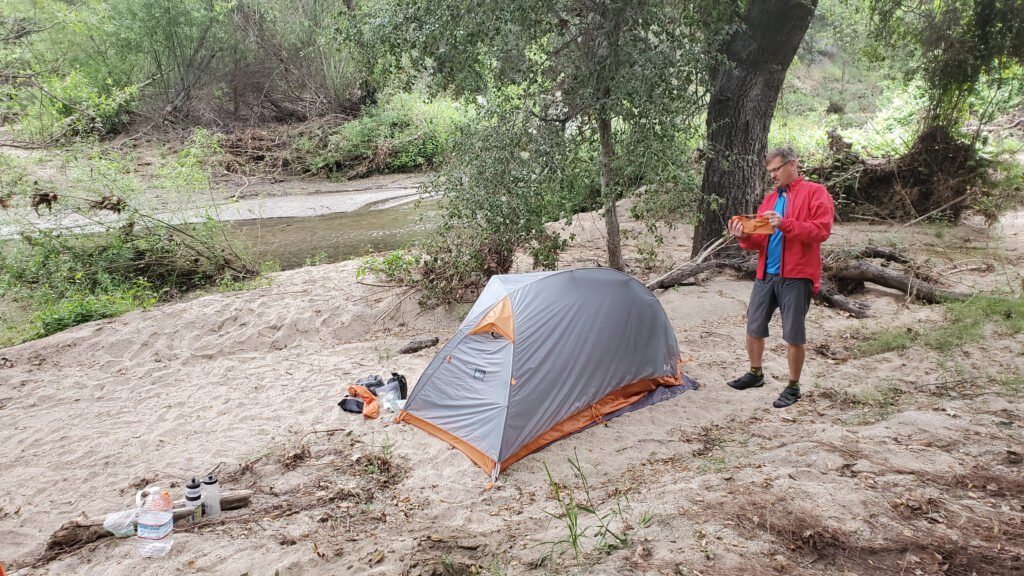
Day 1 ended with us setting up a legal wild / dispersed camp on Cleveland National Forest land. Ken had gone out the night before and buried a cache of water, beer and assorted other goodies that was much appreciated by all of us when we got to the end of the day.
Ken’s cache garnered rave reviews from everyoneA river ran through it. Ok, a streamDan pitched a very tidy campsiteAlex, modeling some of the party favors that Ken cleverly included in the cacheCarl, resting while standing, before using his super comfy looking cot behind him later
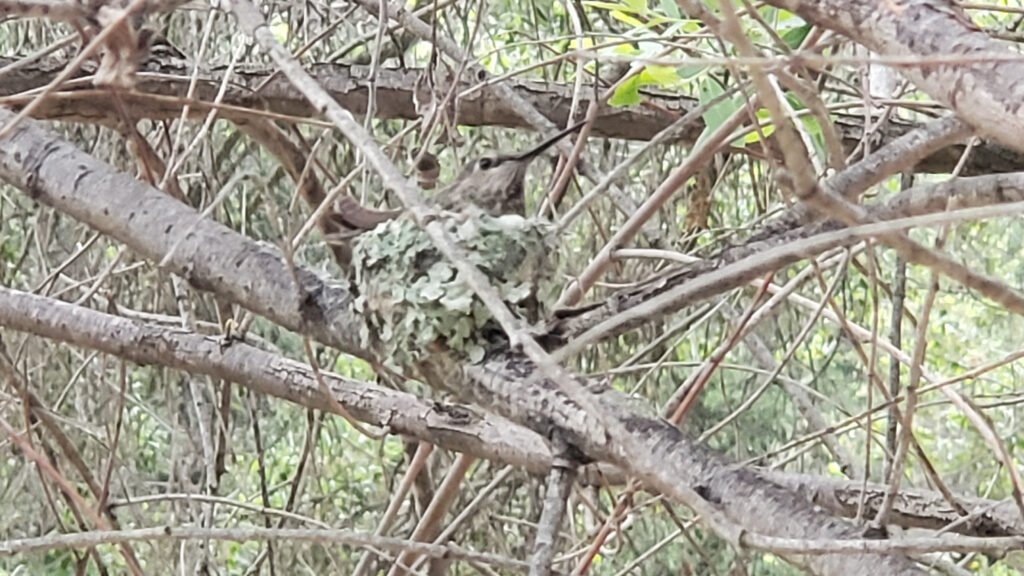
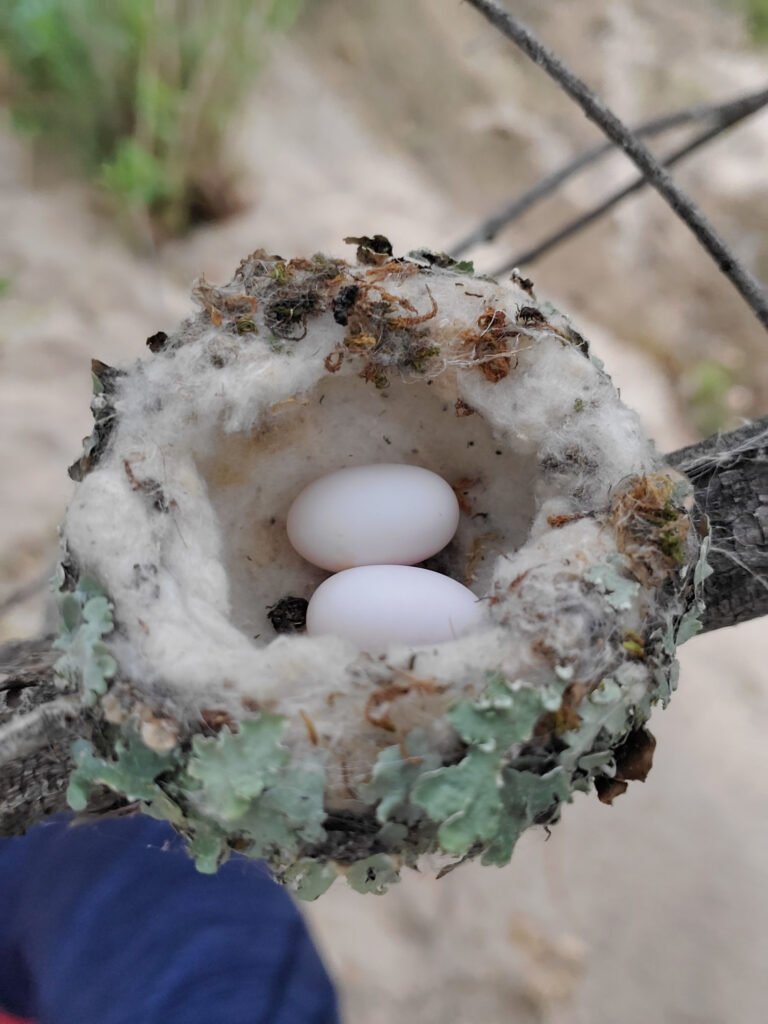
We spent the evening drinking, cooking, and sharing food and stories. Interestingly, the middle of our camp turned out to have a hummingbird nest in it. My plan was to camp under the tree, but after the momma hummer buzzed me a few times we saw her tiny nest I relocated my camp site. The group gave the tree and the tiny mommy a little extra space.
Momma was well camouflaged and determined to tend to her eggs.While Mom was foraging I quickly took this shot of her tiny eggs.
While sitting around the campground that night, I casually mentioned that I needed to be at LAX the next day by 5 pm. To my surprise, that remark was greeted by confused looks from everyone. Once they realized I was not joking, they all said there was no way I would be able to do Sunday’s ride and get to LAX by that time. I had looked at the ride profile and figured that day 1 would be the hard day, and day 2 would be a relatively fast descent to the beach. But I found out that day 2 was more difficult than day 1.
So I changed my plans. I would ride with the group for the first part of the day on Sunday, then break off and finish as a road ride into Solana Beach. That would give me more than enough time for my scheduled arrival at LAX.
The next morning I saw once again that we were a pretty compatible group of riders. No one got up super early, waiting around impatiently. And no one had to be awakened while we all stood around geared up and ready to ride. Nice.
Day 2 continued on the Santa Ysabel Truck Trail, and true to my plan, I said good bye to the band of merry men at Highway 78 and continued to Solana Beach on the road by myself. The route I took was gorgeous, but Rancho Santa Fe’s beautiful wood lined rural roads have zero room for cyclists. I should have made my way to a familiar route that included San Diequito Road. But the route I took did feature a lot of new scenery for me so it was good for that.
Also on the ride I encountered the famous Belgian Waffle Ride that was taking place that day. I was not impressed. I was riding in the Lake Hodges area where there were families, children, elderly, etc. The Ride is a race, and not a closed course race, but racers were mixing it up with non racers anyway, and the racers I saw had zero regard for anyone but themselves. They kept going full speed through crowded areas, yelling at other trail users to get out of their way. I didn’t see anyone get hurt and I am sure many of them posted personal records to Strava.
The road into Solana Beach finally sprouted a bike lane, and I descended into the cool sunny beach town where my car was waiting safely in the parking lot where I had left it. Mission complete.
This ride was, among other things, a shakedown for my tour starting June 15 in northern California, including redwood country, Pacific Coast Highway and San Francisco. I presumed that if my bike and I could deal with an off road ride, then we could deal with a road tour. And deal we did. I look forward to that ride now feeling well prepared. And to the next local ride with a bunch of new friends.
Loading map…Scroll or tap to load the interactive map
Distance
53.77 km
Elevation gain
+503 m
Elevation loss
−1,469 m
Max elevation
1,316 m
Waypoints
0
Elevation profile
Loading map…Scroll or tap to load the interactive map
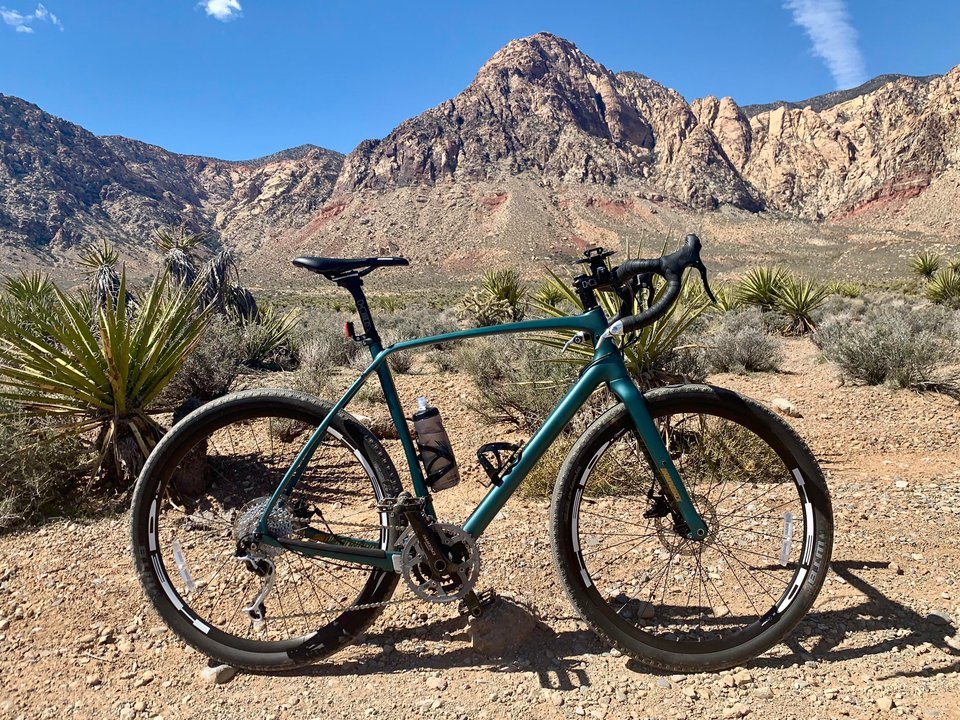
Adventure/touring/gravel bikes are great, aren’t they? They allow you to get out on the road and almost hang with the best road bikes out there. They also let you depart from said road and nearly keep up with the best cross country mountain bikes around. This is a great fantasy except for one little gremlin that messes it up. And believe it or not, it is not tires, suspension, or geometry. It is gearing. It would be great if a component group offered gearing nearly as tall as a 53/11 road bike group while also offering a granny nearly as low as a mountain bike group. That is a big ask, to be sure. But if you are willing to tinker a little or get out there on the edge, it can be done.
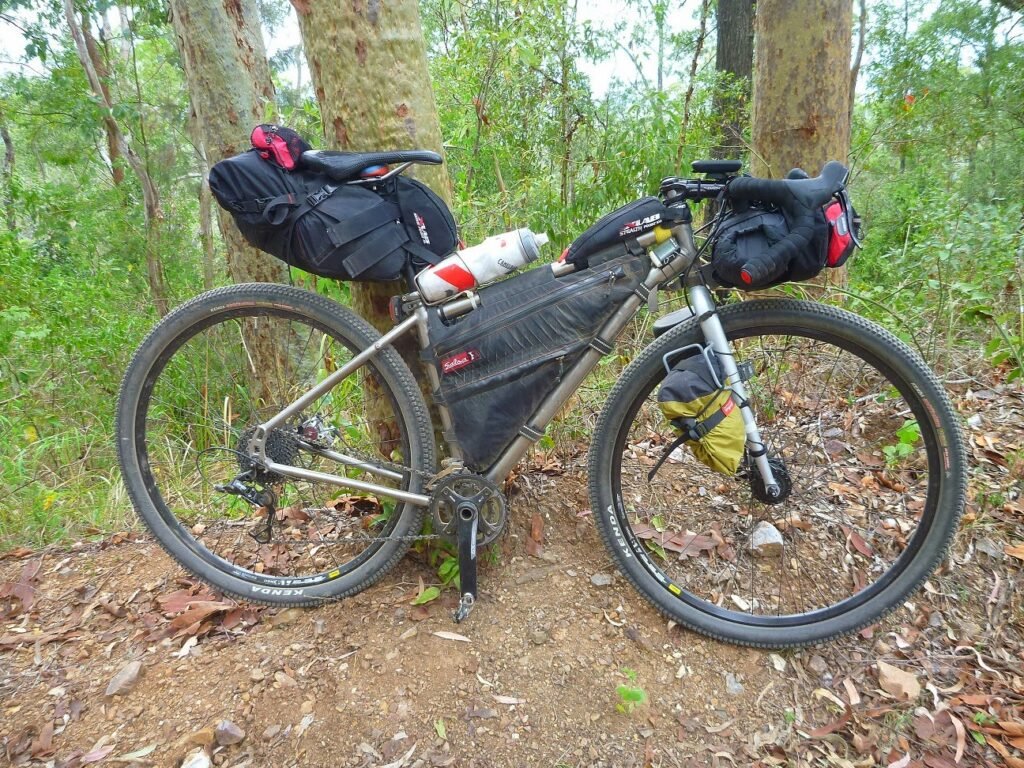
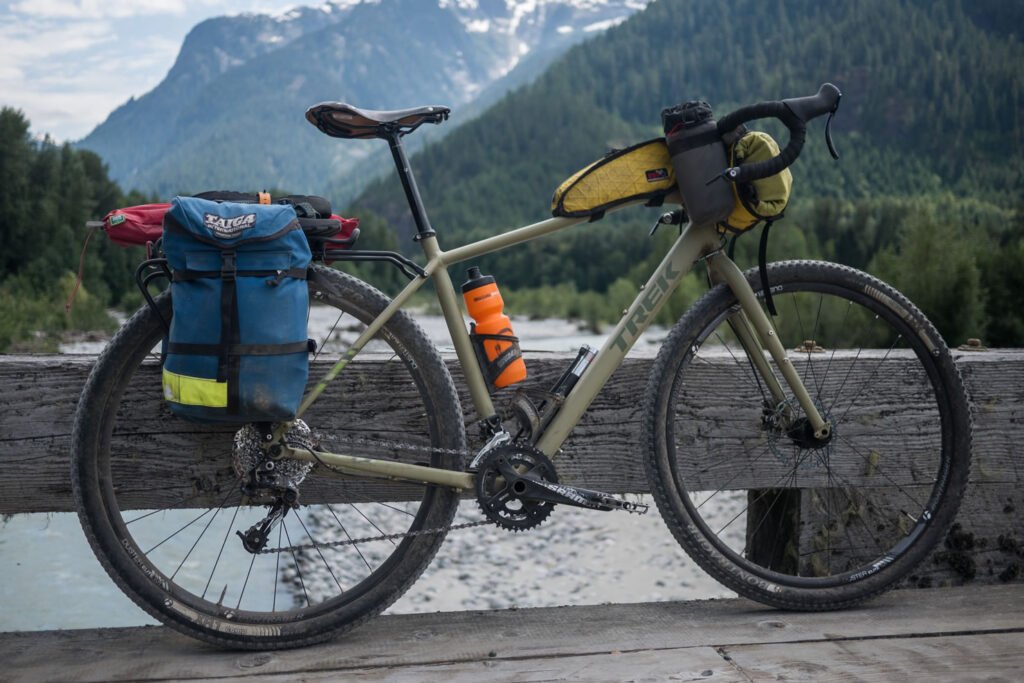
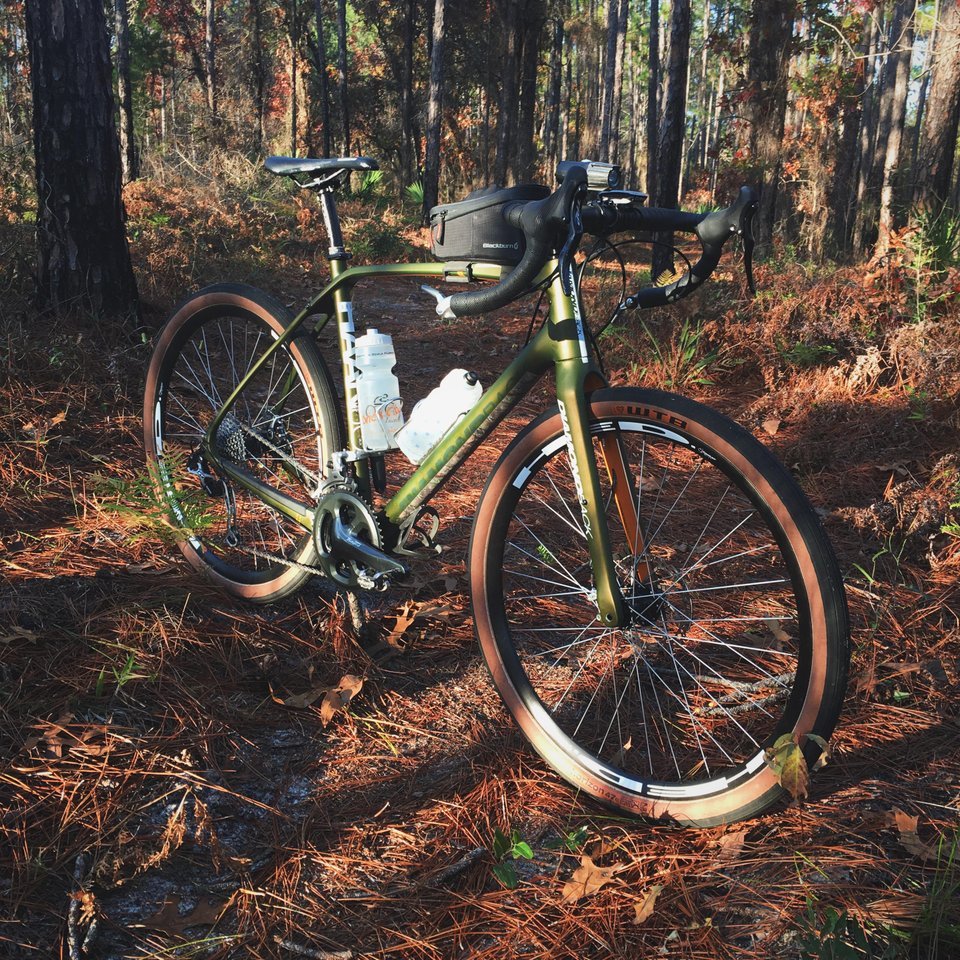
Salso Fargo loaded for bikepackingTrek 920 with traditional panniersDiamondback Haanjo with MTB size tires
Wouldn’t it be great if there was a component group that offered gearing nearly as tall as a 53/11 road bike group and a granny nearly as low as a mountain bike group? That is a big ask, for sure.
Before going any farther, I admit I’m a Shimano-biased amateur bike mechanic. I will touch on SRAM a little. Campy doesn’t make an MTB group, so they don’t really play in this arena. So I may miss some options, but I am pretty sure this covers most of the bases. But if not, please feel free to let me know.
In the distant past, there were various ways to make a wide-range drop bar group. A triple road group, i.e., with a 3-chainring crankset, was one way. Mixing and matching road and mountain bike components could also be part of the solution. These options worked great up through 9-speed Shimano. Starting with 10 speed, Shimano began to break this compatibility between its road and mountain groups. Road bike 10-speed shifters no longer worked with 10-speed mountain bike derailleurs. They could work with a 9-speed MTB rear derailleur, but that meant mixing in older components. When Shimano went 11 speed, compatibility was nearly gone. No road shifters worked with any MTB derailleurs, and high-end triple road groups were gone too. Admittedly, the loss of road triple was not a big blow: you could get the same range with new 2×11 speed groups. This was happening at a time when gravel/adventure bikes were rising in popularity, creating demand for a wide-range group that was no longer supported. It seemed component makers were caught off guard.
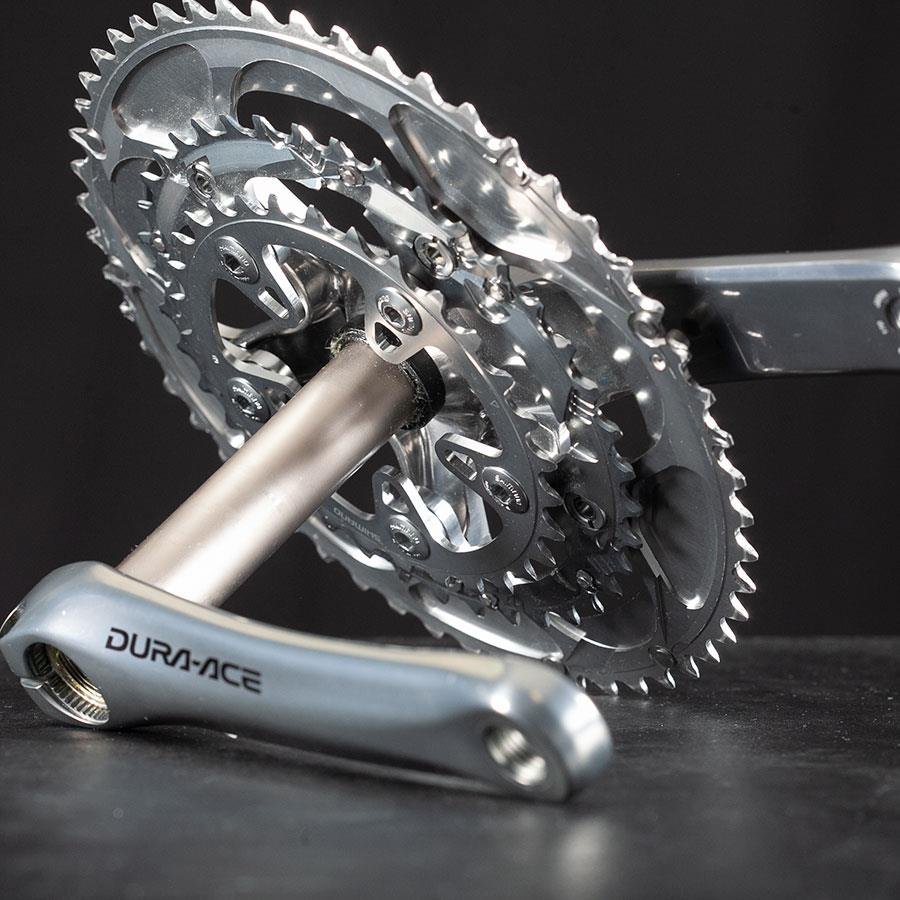
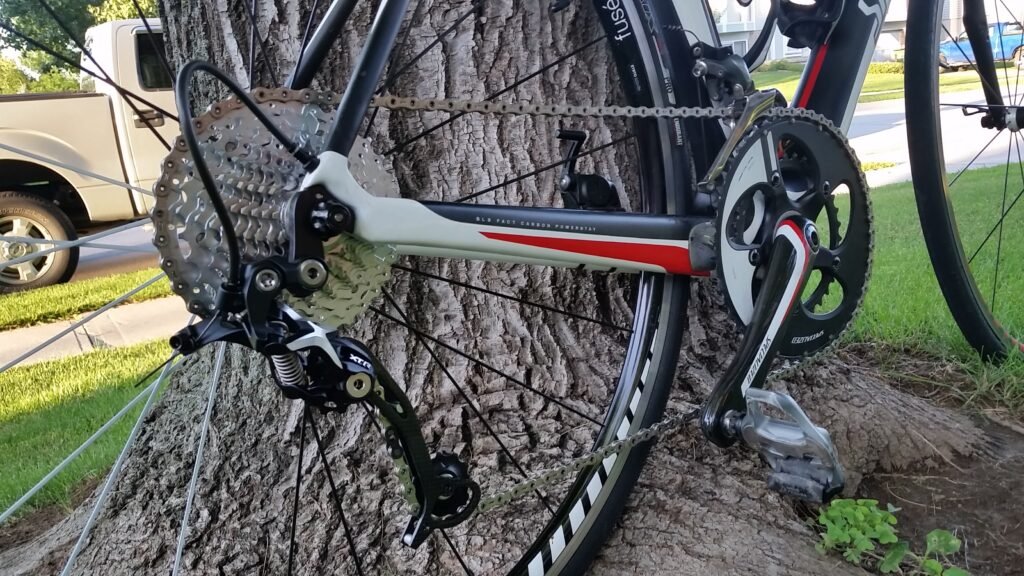
An old XT 9 Speed rear derailleur on a 9 speed road bikeShimano even offered Dura Ace with a triple chainring not that long ago10-speed Shimano road shifters work with a 9-speed Shimano MTB rear mech
To understand compatibility between shifters, derailleurs, and gears (cogs/chainrings), it helps to break compatibility into three categories: cable pull, gear capacity, and max gearing.
Cable Pull: This is the amount of cable movement needed to move a derailleur enough to shift one gear. The amount of cable pull that a derailleur needs and the amount that the shifter delivers must be the same. If not, derailleurs will not position the chain centered on the gears.
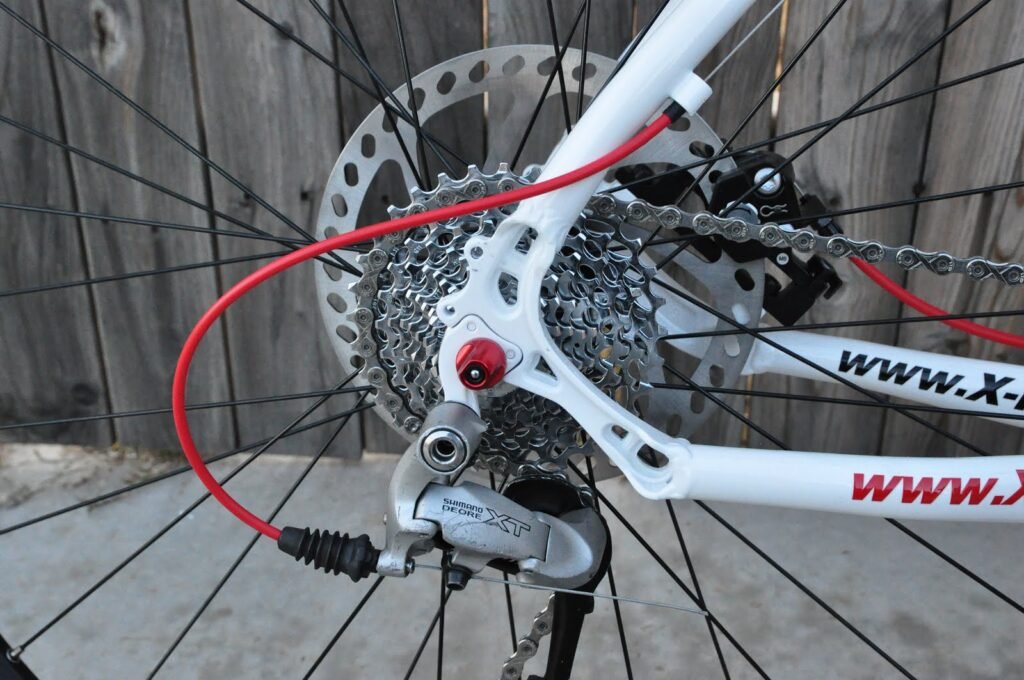
Gear Capacity: This is the sum of the gear ranges of the cassette and the crankset, expressed in the number of teeth. For example, a compact 50/34T crankset has a range of 16T. An 11/28T cassette has a range of 17T. Used together on a drivetrain, they provide a 33 T capacity. A wide-range drivetrain will have a greater capacity. The chain must be long enough to wrap around the big/big gear combo. When you shift that chain into small/small, there is chain slack to take up. The wider the gear range, the more slack must be taken up. The rear derailleur handles that. The cage (the plates that connect the derailleur pulleys) must be longer to take up more chain slack. Long cages slow down shifting, add weight, and stick out to interfere with the world, so you don’t want a longer cage than needed. Shimano makes 3 cage lengths: SS (short), GS (medium), and SGS (long). In general, SS is for tight ratio road race bikes. GS is for normal 2x gearing, and SGS is for 2x wide range or 3x gear ranges. In the current lineup, Shimano offers SS and GS for road and GS and SGS for mountain. They have never offered an SGS rear derailleur for a current 11-speed road group, which limits the gear range of drop-bar groups.
Max Gear Size and Range: Rear derailleurs have limits on the max size cog they can handle. SRAM’s commonplace 42T big cog will not work with older derailleurs, for example. The mech cannot pivot out far enough to reach the bigger cogs. Sometimes you can move them out farther with adapters or by using long “b tension” bolts. But that can mean the derailleur can’t get close to the small cogs, compromising shifting in that range. Front derailleurs are a little different. The curvature of the shifting plates is designed for different chainring sizes. Shimano’s road derailleurs accommodate this. For example, the newest Ultegra R8000 band-mount front derailleur is offered in L (large) and M/S (Medium/Small) options.
Other compatibility I am going to focus on shifter/derailleur/gear compatibility, but that is not the whole picture. As if it were not enough to get the components all working together on paper, they must all work together when bolted onto a frame and under power. Putting a modern road bike crank on a mountain bike may not go well. Integrated spindles may not be wide enough. That can sometimes be solved by using older BBs/cranksets where the spindle was part of the BB, like good ol’ square taper or Octalink. Putting a road bike crankset on a mountain bike may work at the bottom bracket, but the frame may not have enough clearance for the rings or a good place to mount the front derailleur. Road front derailleurs are bottom pull only, so keep that in mind. Chainline is another matter. The width of the spacing at the rear may move the cassette inboard or outboard far enough to make cross-chaining even worse than normal and even affect 2 or 3 gears at the extremes. If you start to consider plus-side tires or fat bikes, you may have tire clearance between the chain and frame to consider.
Fortunately, amidst all of the turmoil of ever changing bike drivetrain technology, there is usually a way for us outliers to make a group that gives us all of the features we want.
So for the options below, let’s presume you have the other compatibility issues sorted, i.e., look at shifter/derailleur/gear compatibility. I have built bikes using options 1-4 below, so I know they work.
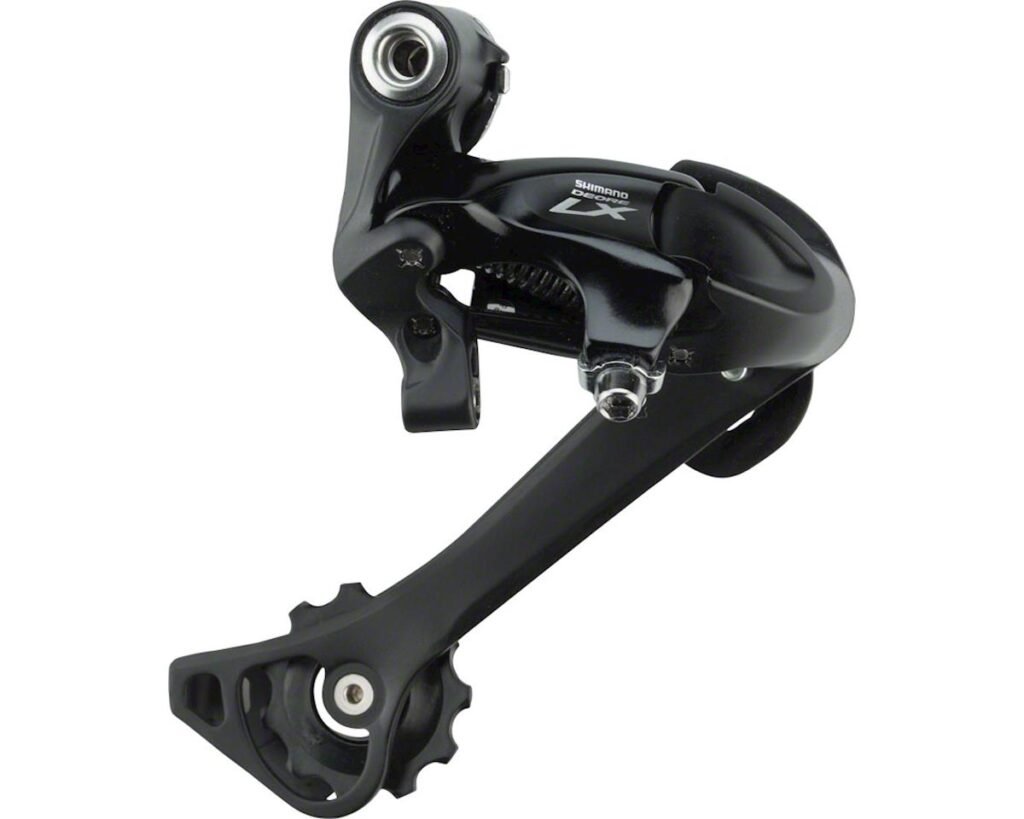
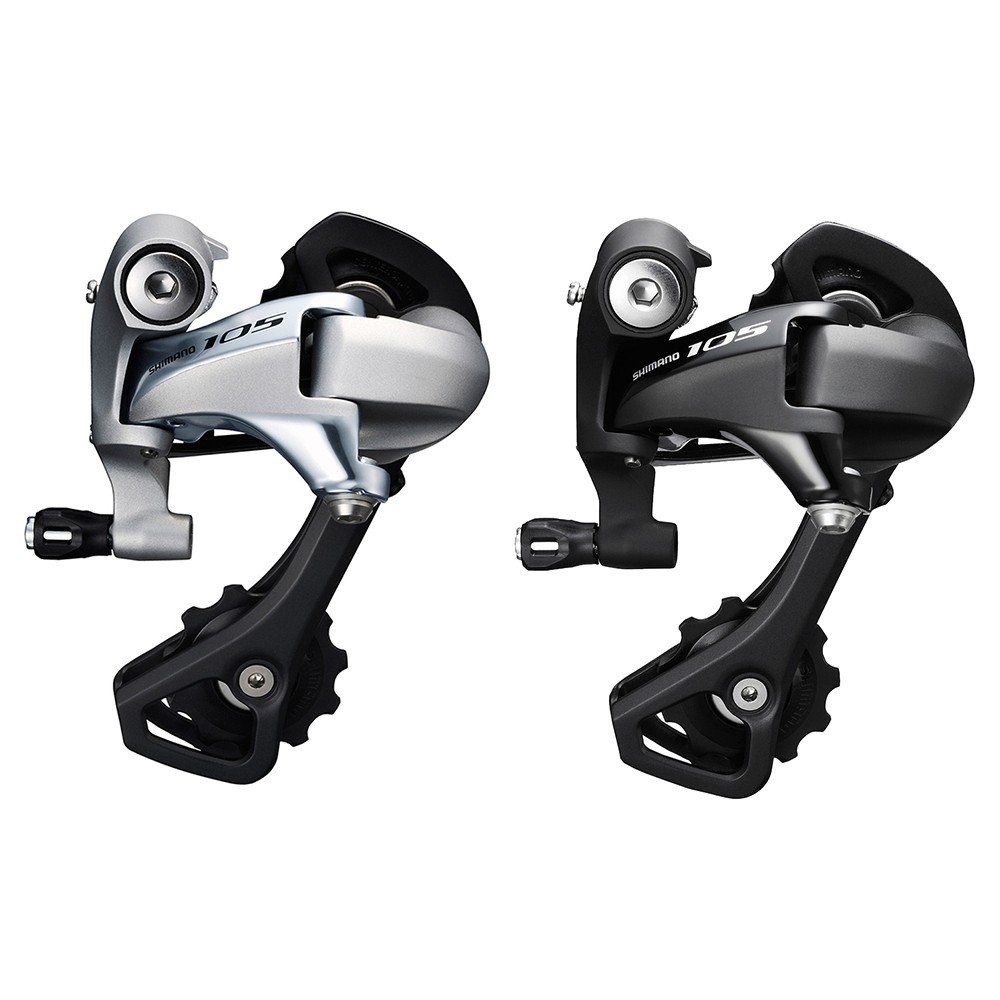
#1: Make a Franken-derailleur. I have found two ways to do this. Number one: hack a Shimano 105 5800 rear derailleur and a Shimano LX T670-SGS rear derailleur. This is documented well here. Remove the long cage from the LX and install it on the 105, and voila, an SGS 11-speed road derailleur! That solves the cable pull and capacity issue. To solve the max-gear issue, you may have to use the upside-down b-tension screw trick, or use a derailleur hanger extension like the Wolf Tooth Road Link. Number two: Same hack but mix a Shimano GRX rear derailleur with an M8000 XT SGS long cage. I have not tried this one myself, but it is demonstrated in this video.
The LX T670 was more widely available in Europe.The 105 5800 is more svelte, but the internals of the cage attachment are the same as the T670.
Pros: Relatively simple, no adapters needed.
Cons: You may have to tear apart a derailleur in ways you never have before. The older derailleurs have no shadow low profile or adjustable clutch, so for off-road use you might get a lot of old-school banging around of the derailleur. Small cog shifting feels numb and slow. And the derailleurs are a little on the heavy side, if that matters to you. The newer GRX/M8000 looks more promising.
#2 SRAM To The Rescue! SRAM offers a clean solution: Their 11-speed drop-bar shifters are compatible with their 10-speed mountain-bike rear derailleurs and 11-speed mountain-bike front derailleurs. I had SRAM Rival shifters, an X-9 10-speed clutch rear derailleur (a rare beast), and a GX 11-speed front derailleur, and it worked like a charm. Other combos will work. If you are not trying to make existing Shimano components work and you can go all SRAM, this is a good option.
A 10-speed X-9 rear mech will throw an 11-speed cassette when paired with road drop-bar shifters.The GX 11 Speed front derailleur gets along with SRAM 11 Speed road shifters
Pros: Lots of component options, easy compatibility, no hacking or adapters needed.
Cons: Limited to 10-speed rear derailleurs, not the latest and greatest.
#3 Cable Pull Adapters: Mix Shimano road shifters and an MTB derailleur with a cable pull adapter. I know of 2: the JTEK Shiftmate 8/8A and the Wolf Tooth Tanpan.
Pros: You can use any 11-speed MTB derailleur you want, which means current models.
Cons: Adapters do add complexity to the cable routing. Surprisingly, if there are no other problems in the cable run, they do not affect shifting. But any problems, like kinks in cables, gunk or corrosion in the cables and housing, etc., will all be magnified by an adapter. I like the Tanpan better. The set screw and internal routing keep the cable from unwinding in the adapter. The adapters aren’t cheap, but most of these drivetrains mean some added cost.
#4: Go Electronic. Shimano allows mixing road shifters and MTB derailleurs with their Di2 groups. SRAM may allow the same, but, well, I am a Shimano guy, remember? 2nd Gen Di2 did not initially allow the mixing and matching of components, but a later firmware update added that ability. You are limited to using both derailleurs as mountain bike components; i.e., you cannot use a Ultegra front derailleur and an XTR rear derailleur. I am not sure about first-gen Di2 either; if you want to consider that, you have some homework to do, sorry.
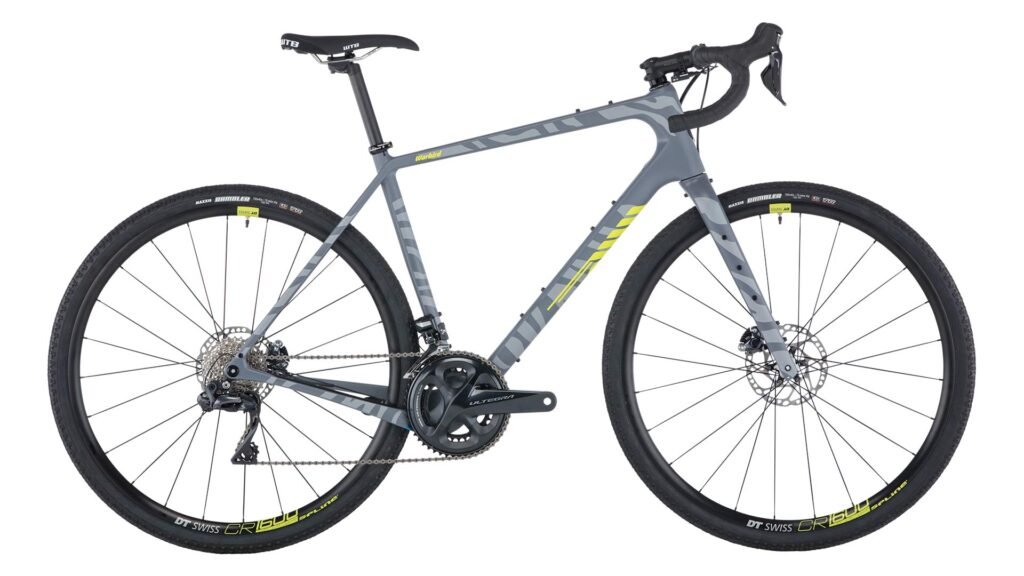
Di2 is starting to show up on the spec sheet of new gravel bikes, like this latest version of Salsa’s venerable Warbird.
Pros: Di2 shifting. If you have not experienced it and you don’t have the money for it, do NOT ride Di2. Electronic shifting is not a gimmick or small evolution over mechanical shifting. It is a true game changer.
Cons: The same con as always for electronic shifting: the price. Now that we have 2nd- and 3rd-generation electronic shifting systems, you can find deals on older parts or bikes if you are patient. That is how I did it.
#5 Lose the Brifter. Presumed in all of these options is the use of “brifters” (combined brake shifter) and indexed shifting. If you consider bar end shifters that offer a friction mode, you open a whole new world of options. You need to keep them in friction mode all the time. That means losing the clicks in your shifting and learning to shift by feel: a skill that has been lost in the history of cycling for most. But given how you might want to use a bike like this, it does have its appeal. Almost any shifting problems you encounter with a friction shift bike can be overcome by your own skill, on the fly, anywhere in the world, without special tools or parts. Sounds like an adventure bike spec to me.
Pros: Eliminates the cable-pull issue and uses a simpler drivetrain.
Cons: Friction shifting is not for everyone.
Diamondback offers a bar-end shifter 3 x 9 drivetrain on the current model Haanjo 5C, proving it’s not easy to offer the kind of drivetrain riders might want on their adventure bikes with current components.
#6 (ish) Hope for other options. If Shimano offered a long-cage GRX or Ultegra derailleur, that would be the de facto way to go. We can hope. Shimano has also introduced 12-speed mountain bike groups, but not 12-speed for road. Yet. Perhaps when they do, the cable pull of the road shifters will match the MTB derailleurs, and we can have the mechanical mix-and-match nirvana of 9-speed. Farther out on the horizon, maybe a 1x group one day will deliver this kind of range. But we are talking about maybe a 9/60 cassette with 13 or 14 speeds (to get decent gear spacing). A new player in the component scene, Rotor, has introduced a 13-speed group. And Shimano has patents on 14-speed components.
So one constant going forward: change. Fortunately, amid all the turmoil of ever-changing bike drivetrain technology, there is usually a way for us outliers to make a group that gives us all the features we want.
I am going to join the Ride For Rwanda this year as I have for many years. For more info, see https://rwandaride.com. For some charity rides I participate in, I create a “virtual flyover” video using a handful of tools at my disposal, like Google Earth, a video editor, some free music, etc. They are fun and easy to make, and the event coordinators always seem happy to have them. So for this year’s ride, check out the video!
I like to use multiple social media formats to share my riding experiences. Blogging is great for going into details. I love capturing moments in pictures. But I also have fun making videos of my adventures. I have a YouTube channel called, shockingly, Two Wheel Lifestyle.
My YouTube channel has a lot of motorcycle content, but I’ve started adding some bicycle videos too. BTW, I hate referring to bicycles as such, but when you talk about motorcycles and bicycles together, you can’t call either one a bike. Such a pain, right?
So now that I am mixing bicycles and motorcycles on my YouTube channel, I want to mix my YouTube channel with my blog. Where will it end? The nice thing about putting my YouTube videos here is that I can write a little more about them. Yes, I could write more descriptions on YouTube, but let’s face it: people don’t go to YouTube to read. That’s what blogs are for. But a little extra eye candy in a blog might be a good thing; time will tell. So, here are my latest YouTube videos.
In this video, I am using a format I am blatantly copying from motovlogger royaljordanian (“Motovlog” is a common term for “motorcycle video log,” crunched down and self-explanatory). It is not a format I plan to use all the time, but it works well for certain things. This was shot on my ride around Arroyo Trabuco in Orange County, riding my Diamondback Carbon Haanjo 7C, a drop-bar gravel/adventure bike that’s very much at home on fire roads and can handle some singletrack as well.
I was surprised how well the mountain lion sign was captured by my Hero GoPro 7 Black, and the zoom effect was fun. The “rock quarry” was a handful on the Haanjo. They are called gravel bikes, not rock bikes, for a reason. The steep rise out of the “quarry” is steeper than it looks, and I don’t always make it. This was a ride of a few hours, and it seems that whenever you ride that long, you stumble across some special event somewhere. This time it was the classic/custom car parade at O’Neill Regional Park. Those cars are impressive enough when you see one on display, and seeing a huge group driving around takes the experience up a notch. I also liked that I was faster than they were. Finally, the section of trail I call “The Jungle” is a great bit of singletrack; I don’t think I have ever cleaned the whole thing. So I was happy that I had the camera running when I did.
This video combines several rides. The first few are from my commute. Of all the people to cut me off, the city bus driver seems unlikely. They are usually among the most courteous drivers, which is good considering the size of their vehicles. But I managed to dispatch him shortly after being cut off, then kept outmaneuvering other cars in heavy traffic. The shadow of the semi struck me as pretty impressive while I was riding; I was happy that it translated to video pretty well. The drama of something like that is often lost when shrunken down to the screen. I was experimenting with various video formats, so they may look mismatched in this compilation, but I am settled on 1080P 60HZ and a normal wide angle for now. The GoPro makes great content at that setting.
The rest of the video is from my Multiple Sclerosis charity ride. I had a great 2 days of riding and knocked out 100 miles. I usually go for longer distances, but this year my training focused on speed, not endurance, and I enjoyed keeping up a faster pace.
Bike travel during a busy weekend means busy roads, campgrounds and everything else. But it also means more to see and do.
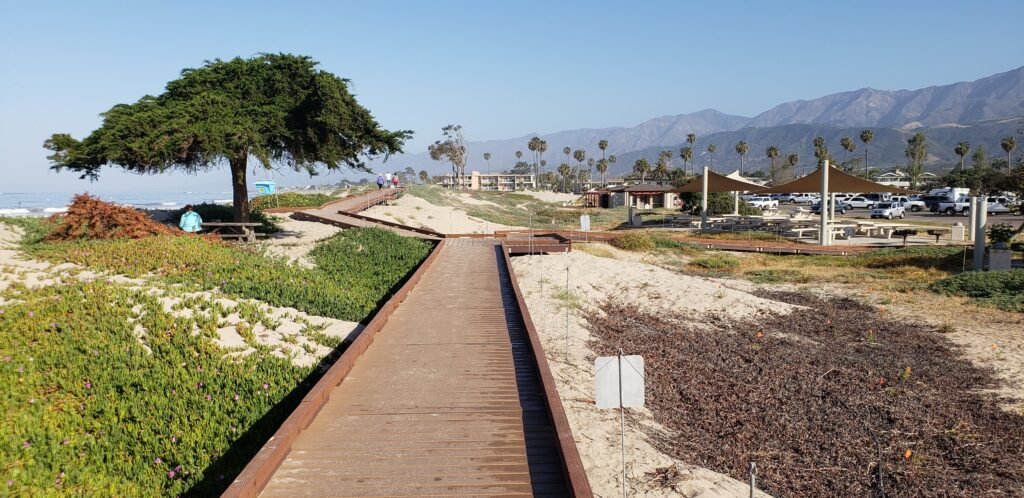
The last day of my tour began at the very full Carpinteria State Beach campground on a Memorial Day weekend Sunday. I had a short ride planned that day to the Amtrak station in Oxnard, where I would load my bike onto the train and be dropped off just a few miles from home. So I was in no hurry around the campsite that morning. I wanted to explore the boardwalk trails around the park and grab some breakfast before I loaded the bike.
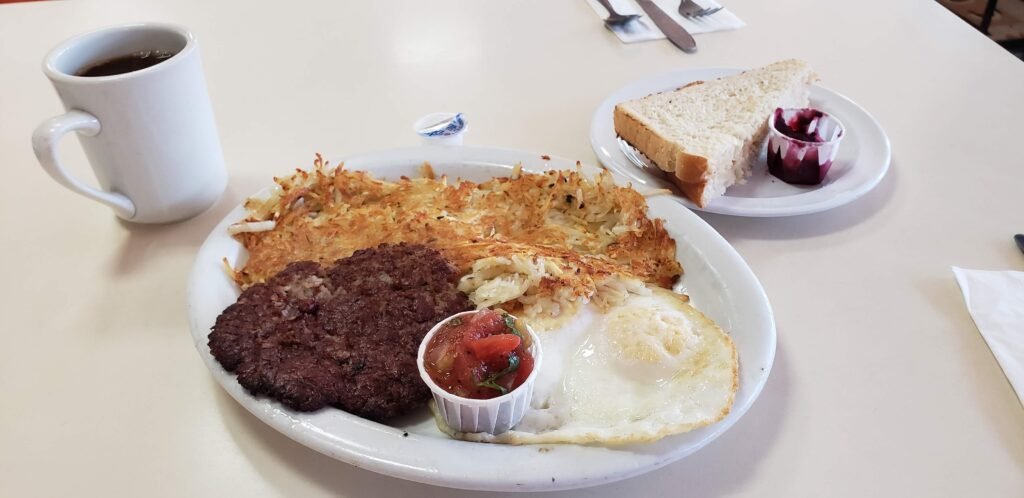
I had breakfast at Esau’s right near the campground; it was a great little spot.
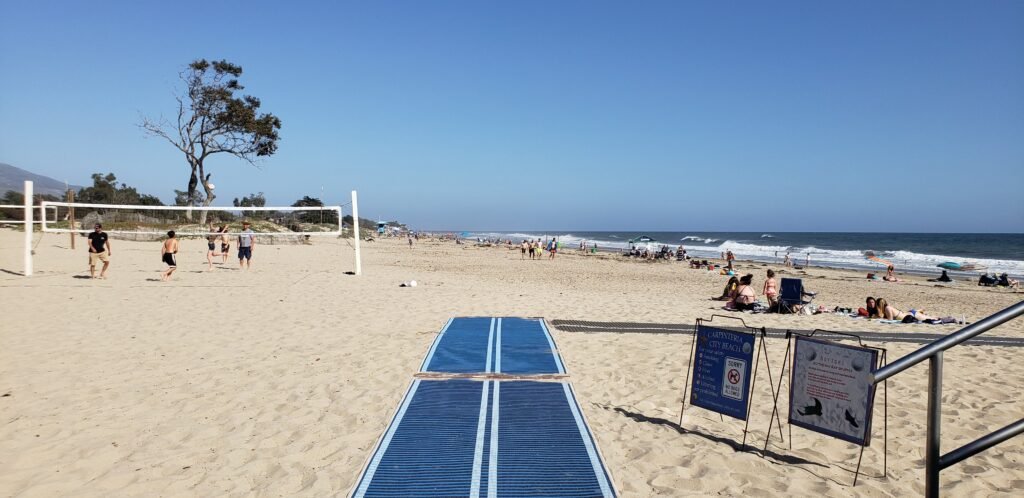
The beach boardwalk is worth a visit. It has educational signs and is a comfy way to see the beach ecosystem.
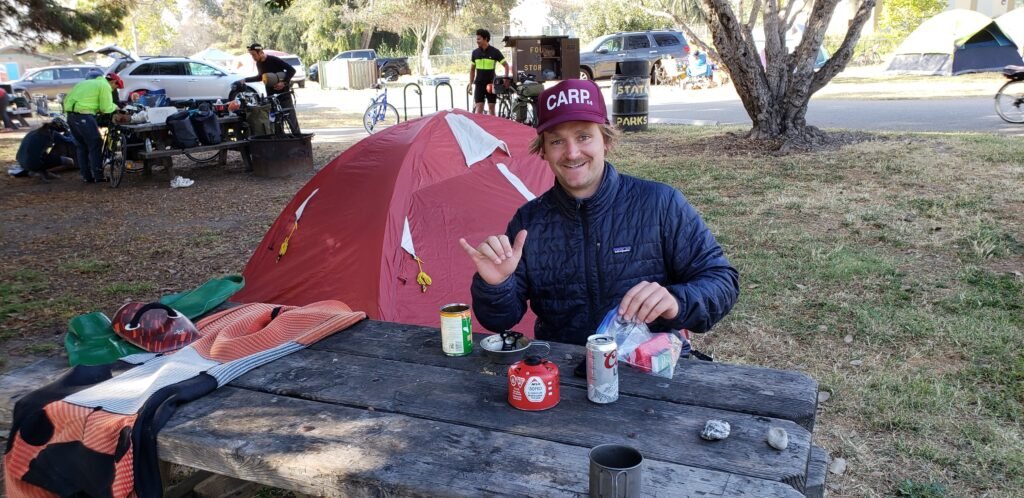
It took me a while to pack because of all the activity at the campsite. Kelson and his wife were super friendly and recommended an easy dirt-road alternative to the official Pacific Coast Route. The young Latino bicycle gang, as I affectionately thought of them, got up surprisingly early and were abuzz about their riding and plans. I met an older guy riding an eBike who I had to break off my conversation with. We had a lot in common, and I think we could have talked all morning.
Kelson shared an alternate route with me, which I took.
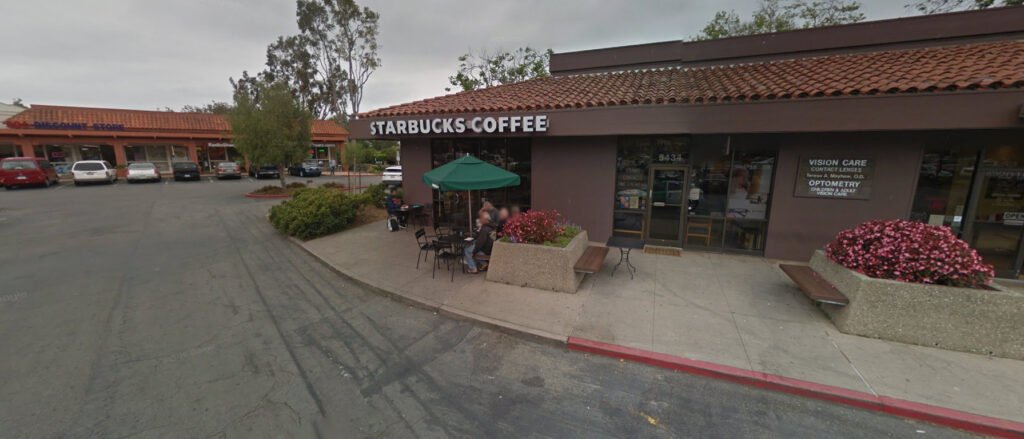
I recharged my batteries, literally and figuratively, at the local Starbucks.
The Shakedown Of My Electrical System
I made another side trip before starting my main ride, stopping at a nearby plaza for supplies and enjoying a coffee at Starbucks while I charged my battery pack. My original plan was to rely on solar power and a battery pack to keep my phone and Garmin GPS charged. But the early part of my ride was too cloudy for my solar panel. And I had no good way to mount the panel, either; it kept rolling off of my bags. I also pared away a lot of extra fabric from the panels to save weight, which left them flimsy and ready to fall apart from all the shaking as I rode. I also brought a battery pack designed to charge and discharge fast, using Quick Charge 3.0 (QC3.0). My phone was also QC2.0, still very fast, though my Garmin had no fast-charge feature. I also brought a wall charger that could charge all 3 items – the battery, phone, and Garmin- all at once at full speed. So in about an hour, I could get enough charge for a couple of days. There are even faster batteries coming to market now called Graphene. I even tried one, and it was great; it could charge in less than 30 minutes, but it had a small capacity, so I returned it (gotta love Amazon). I hope that by my next ride they will have evolved a little more. As for my solar panel, I actually threw it out a day earlier; it was about to fall apart. For tours that go through mostly civilized areas, I am going to use just an external battery and charger from now on. On my 9-day tour, I only had to take 2 extended breaks to charge my battery, and I was never close to running out of power so that I could get by with less charge time.
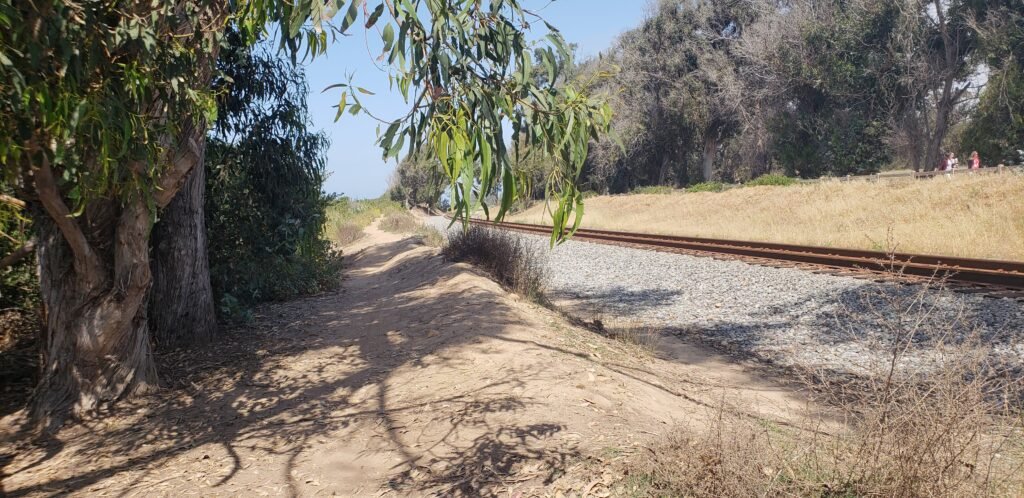
After my trip to the plaza, I returned to the campground, packed, and headed out on Kelson’s dirt road alternate. It was a great recommendation. My only disclaimer for other riders is that you must be able to handle some off-road riding with your heavily laden touring bike. I am a mountain biker too, so I was fine with it.
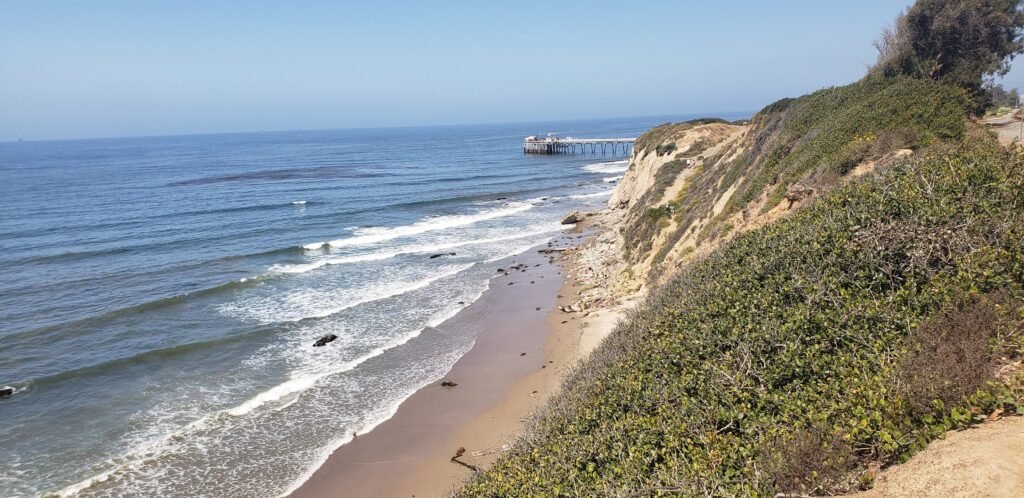
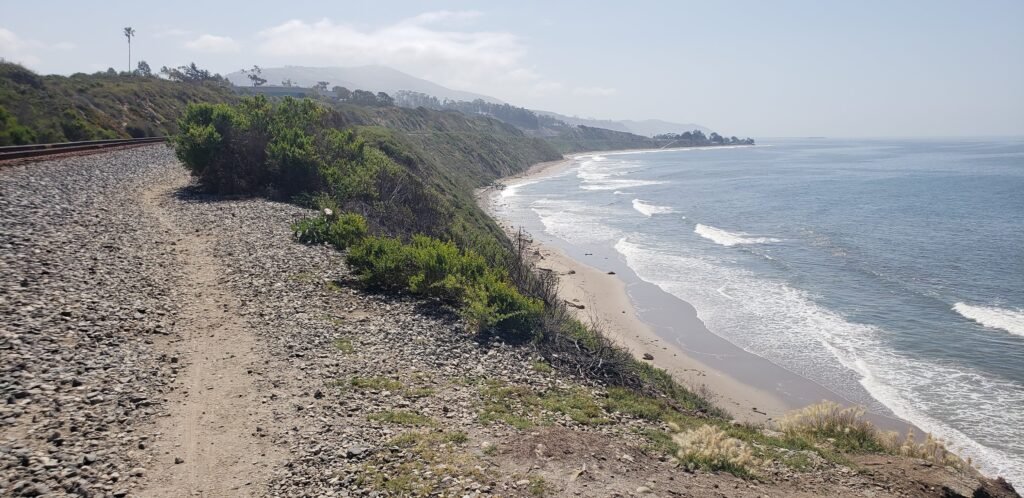
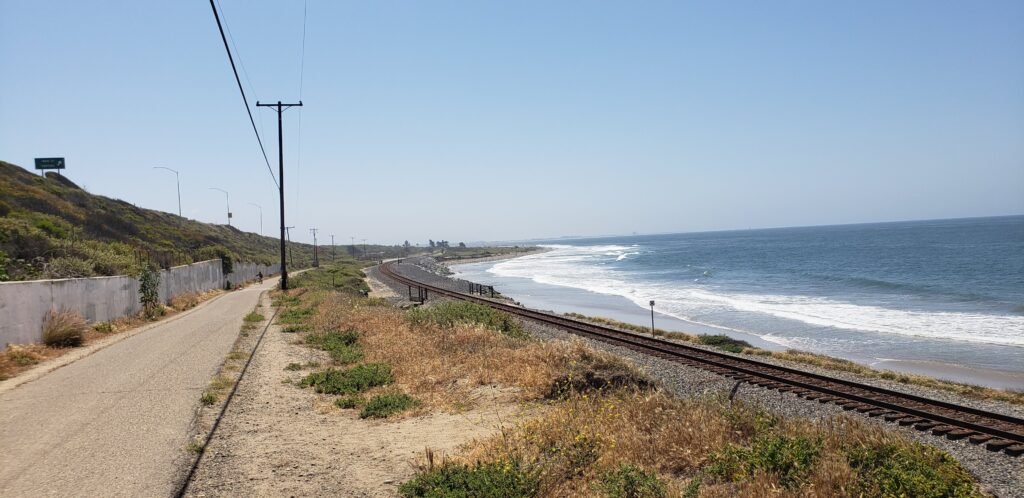
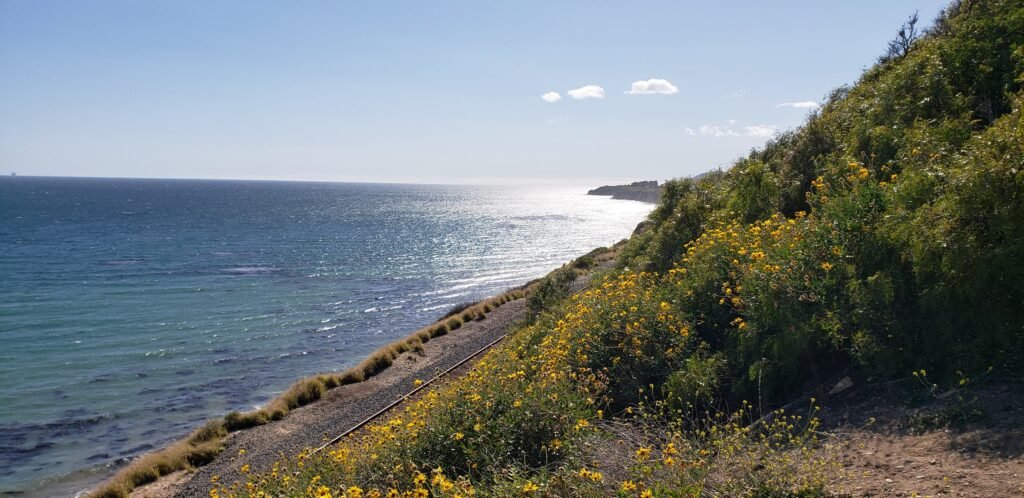
The dirt road/path alternate kept me right on the coast.
The trail did get narrow and close to the tracks in a few places.
Most touring bikes would be fine with this short section of dirt.
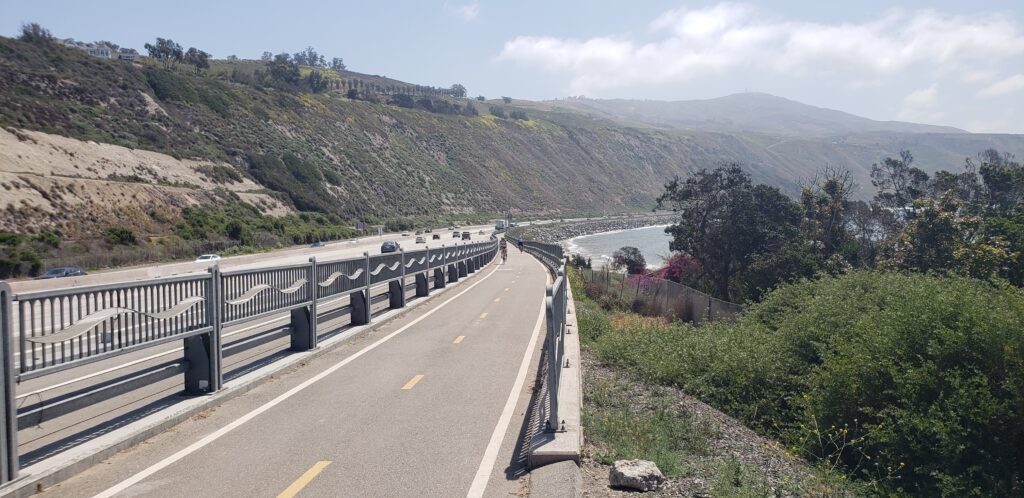
The dirt alternate dumped me right into another segment of the ride that the locals were very excited about, and I soon found myself sharing their excitement. It was a relatively new section of dedicated bike lane starting at Rincon Road and going south for about 4 miles. Before that trail was built, you had to ride on the freeway; there was no alternate route. The trail was built on the ocean side of the road with a great view all the way. And in my case, the conditions also included a glorious dose of perfect sunshine, cool temperatures, and a tailwind. I watched people flying down the freeway in their cars and wondered how many realized what they were driving past, sealed up in their climate-controlled interiors. If riding a bike could somehow be like this all the time everywhere you went, I seriously don’t think any able-bodied people would ever use a car.
A wonderful bike lane kept me off of the freeway and next to ocean views.
From there, the route wound along the coastal railroad and back and forth under the freeway, then stayed on the coast side for a long way, flanked on the right by a series of campgrounds/RV parks that clung to the small area between the road and the ocean. And they were all packed that day with huge RVs and people milling around them and in the mostly empty road. The road ended for motor vehicles and continued as a bike trail, delivering me to the outskirts of the city of Ventura.
The beachfront trail continued into Ventura.
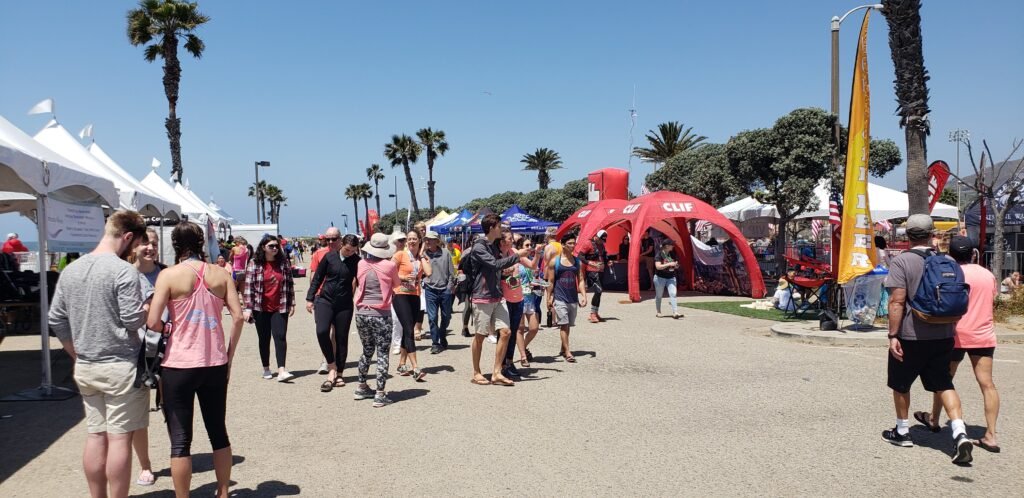
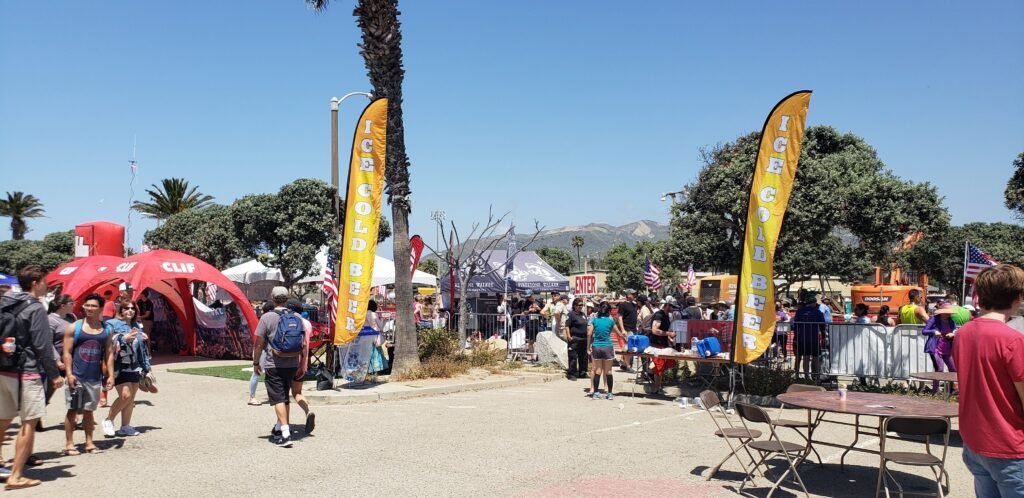
Bike travel during a busy weekend means busy roads, campgrounds, and everything else. But it also means more to see and do. I met a lot more fellow bike travelers and rode past the start/finish line of a running event.
My route took me right into a running event.
I shopped the booths but I there were no brake pads or patch kits anywhere.
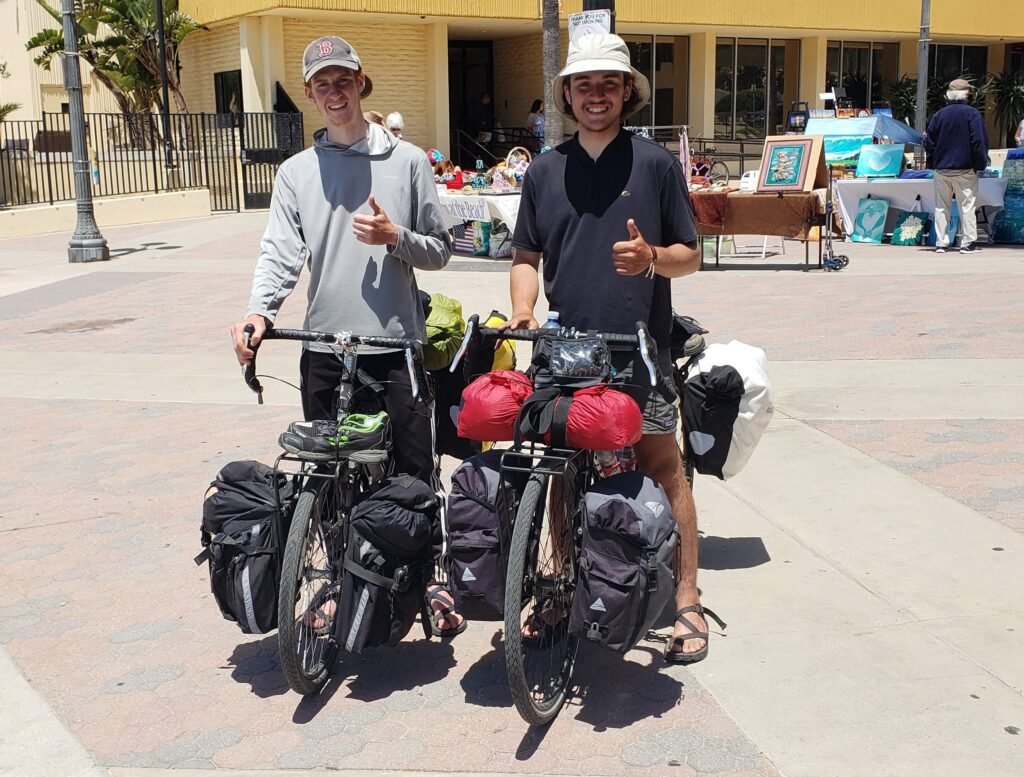
Intrepid world travelers Trey and Hilton.
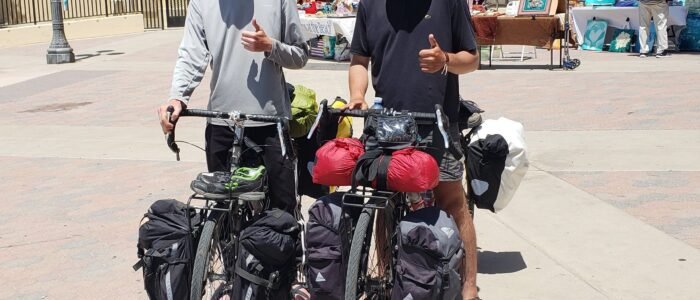
I met Trey and Hilton in Ventura. Their ride had started in Montana, and they arrived in Ventura via the state of Washington. Hilton was going to San Diego and Trey to Argentina. But their paths were separating just 10 miles down the road; they were clearly not looking forward to it.
I left the coast in Oxnard and headed inland toward the train station. The scenery changed from the exotic views of the coast into more familiar suburban neighborhoods, industrial parks, and shopping centers. I thought it would help me ease back into reality, but if anything, it had the opposite effect. My ride was ending, and the reality of it came crashing in on me. My tour had a story arc all its own. I started with more insecurity than I realized. I faced an early go/no-go decision. And I shortened a couple of days because I was so tired. But it ended with confidence in my touring skills, increased endurance, and endorphin-induced euphoria. I thought I would have had my fill after all that riding, but the bigger part of me was just getting started. I finished strong and was sorry to see the ride end. I leaned my bike against a fence at the train station and reflected on the moment. I decided to mark that moment as the end of the ride so I could make a clean break and begin the process of returning to my regular life, which I could see would take some time.
I parked my bike for the last time on that tour. But I was in the moment, and it gave me closure for the tour.
Part of me wanted to deal with the process by looking ahead to my next tour. I would do that in due time, but I didn’t let myself do it just yet. I wanted to keep savoring what was left of this adventure.
In the days that followed, I had a hard time focusing on work or anything that resembled responsible adulthood. I knew that I needed to attend to things like my job, paying bills, and maintaining stuff around the house. The process took time, but after a week or so I adjusted. And THEN I started to plan my next tour.
Last week I was commuting to work on my lightweight race bike. I have a commuter bike, but it was undergoing an upgrade and in pieces in my workshop. On the final leg of my ride, I crossed a pedestrian plaza and came back out into a quiet parking lot. I was riding slow with my head on a swivel and WHAM! My front tire hit a newly placed concrete parking stop. I should have had a bobble head motion to go with the swivel, I guess. My bars rotated down in the stem; I came unclipped, and I thought I was going to lay it down, but I managed to coast away from it.
[su_pullquote align=”left” class=”pull_text”]To order new rims I went to American Classic’s website but I found it oddly only half there.[/su_pullquote]
But my beloved American Classic (AC) Sprint 350 front wheel had taken a fatal blow. One side of the rim was bent, but otherwise it was still true, round, and dished. I took it home that night and gently bent it back into shape as best I could. But under hard braking at speed, I could feel the bend in the rim; there was no fixing it. It was living on borrowed time and probably dangerous to use for long.
After I got done kicking myself for not seeing a great big parking stop (for cryin’ out loud, man!) I got myself excited about replacing my non-tubeless rims with new road tubeless AC rims.
To order new rims I went to American Classic’s website but I found it oddly only half there. Many links were not links, and not only were the rims I wanted out of stock, but everything was out of stock. I got a bad feeling in the pit of my stomach and did a web search for AC news and sadly discovered they were closing down and going out of business. The process had started 8 months ago. How had I not heard about this in any of my social media bike feeds? There is barely anything about it on the web, so I wanted to weigh in.
AC was my favorite wheel brand. I have owned Hurricanes, Sprint 350s, 101s, and have laced up many wheels myself using their rims and hubs. Bill Shook, the main man at AC, never subscribed to proprietary integrated wheel system design. The wheels used hubs designed for standard j-bend spokes. Even the nipples, while not completely standard, could be adjusted with a regular spoke wrench and had some nice advantages.
American Classic was Bill ShookShook rode on the US National TeamThey had a good run, but not long enough for me, I am afraid.
I particularly liked the design of the Sprint 350 wheelset. The rim they used was the lightest aluminum rim I could find: 350 grams, hence the name of the wheels. But the wheels were very strong overall because they used 32 spokes. The net effect was moving the rotating mass in closer to the center of the wheel, reducing rotational inertia. Higher spoke counts also made the wheels easier to build and maintain because they gave you finer grain control over the shape of the rim.
No other wheel maker takes this approach. I know because I tried to source comparable replacement rims from different companies. The only rims I could find were much heavier, like 100g heavier, or were drilled for a low spoke count.
AC also had a unique take on hub design, with high flanges, a unique, low-rolling-resistance engagement design, and many other details.
The news I read was that AC wanted to sell its intellectual property and Bill Shook was available for consulting. I hope another wheelmaker picks up some of AC’s ideas and designs.
In the end, AC was a small company compared to the other big manufacturers. Integrated designs seem to be dominating the high-end wheel market, which isn’t good for a do-it-yourself person like me. While this may be the end of the road for American Classic, I hope it is not the end of Bill Shook’s designs or ideas.
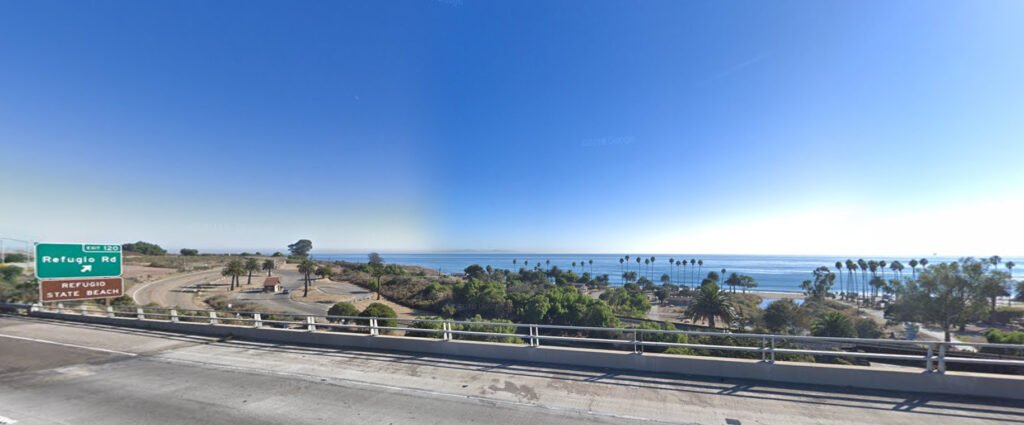
Waking up at my campsite at Refugio State Beach on the Saturday of Memorial Day weekend was a nice experience. This was day 8 of my 9-day bike tour. It had only taken me a few days to shrug off the hectic life of suburbia and work and embrace a nomadic existence. I was already starting to feel a little melancholy about the end of my ride, but I didn’t devote much time to that.
Nick and I compared notes about how to pack and travel on bikes, our future plans, and how we wished trips like this would never end.
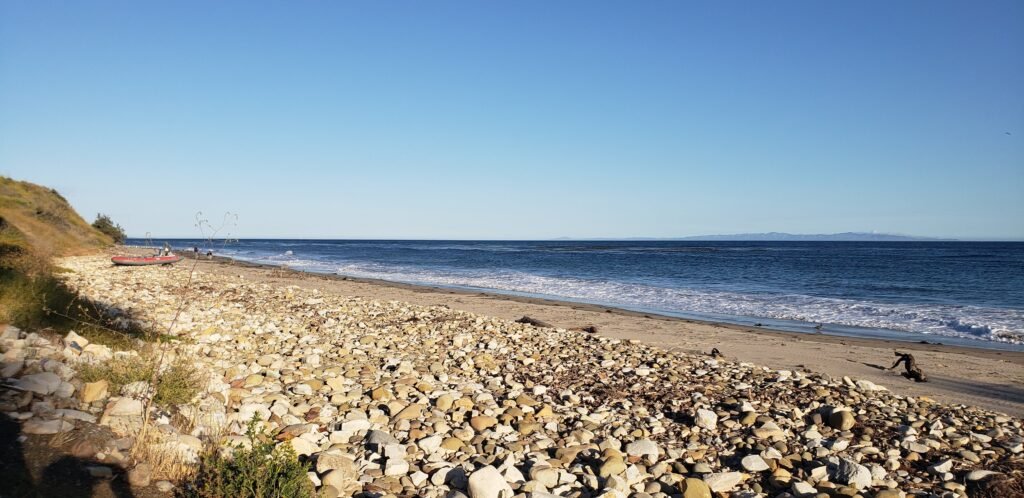
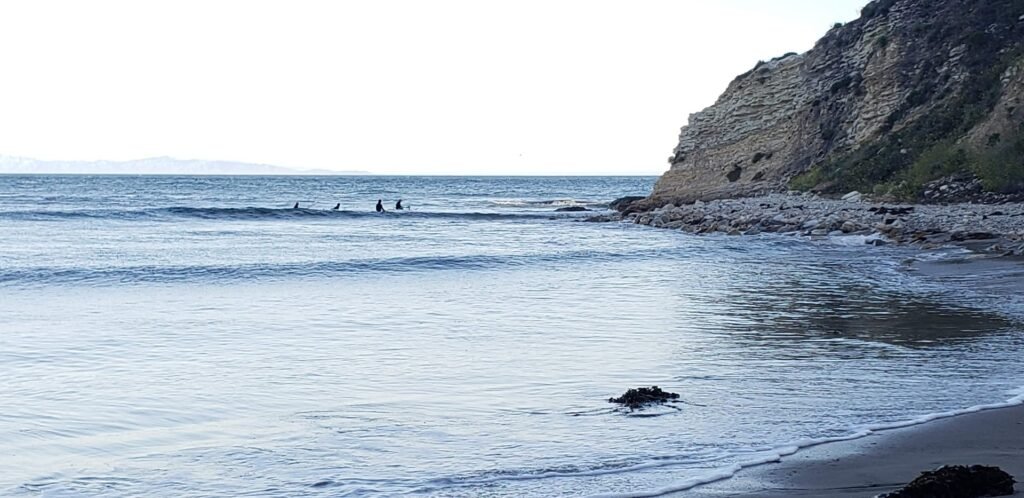
The Hike or Bike campsite where I was staying faced a beach cove with only a narrow road between the campsites and the sand. My tent was pitched under a stand of tall trees, only a few steps from a super clean restroom/shower building. The nearby playground had children playing, dawn patrol surfers were on the edge of the cove, and pelicans glided low over the ocean in small groups. The low morning sun bathed a crystal blue sky in shades of golden orange light. The morning was a work of art, and the rest of the day would be as well.
But it was not totally perfect. Whereas previous days brought challenges of dampness and sand, Refugio greeted me with wind, including some pretty big gusts. I had to find rocks to put on my loose gear so it wouldn’t blow away. And not small rocks, either. It wasn’t windy enough that I had to guy out my tent, but I probably should have, just in case.
Nick, a local from Santa Barbara, had shown up late the night before. I was out like a light by 9 pm like most nights, so we hadn’t talked much. Nick said it was always windy at Refugio, but it was windier than normal that day. As usual with fellow riders, Nick and I compared notes about how to pack and travel on bikes, our plans, and how we wished trips like this would never end.
Nick was a source of useful local knowledge.
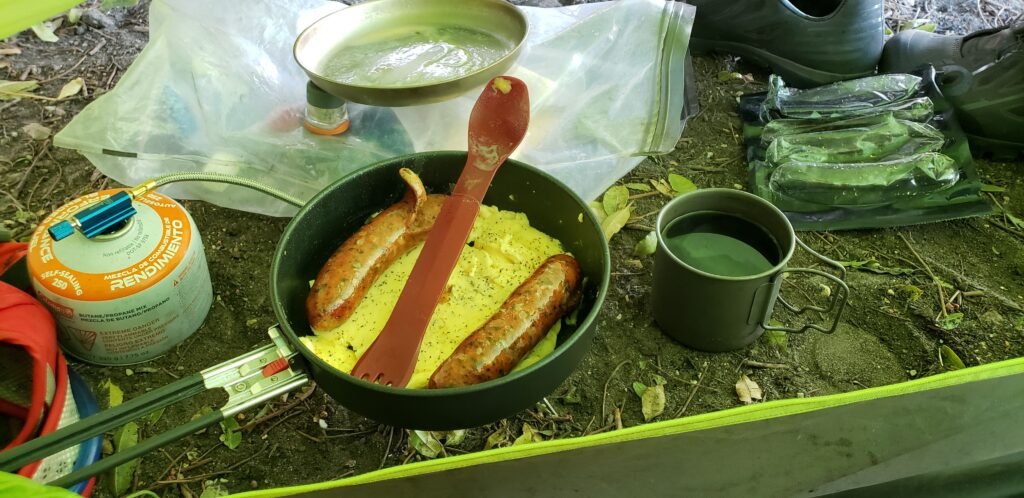
I was getting tired of my limited menu, but it was still good stuff. I will have to work on more variety for my next tour.
I made breakfast, packed, and started my ride. I quickly discovered that the wind was a microclimate. As I rode up from the beach to the road above, the wind died down and turned into a steady tailwind that stayed with me all day. The day just kept getting better and better!
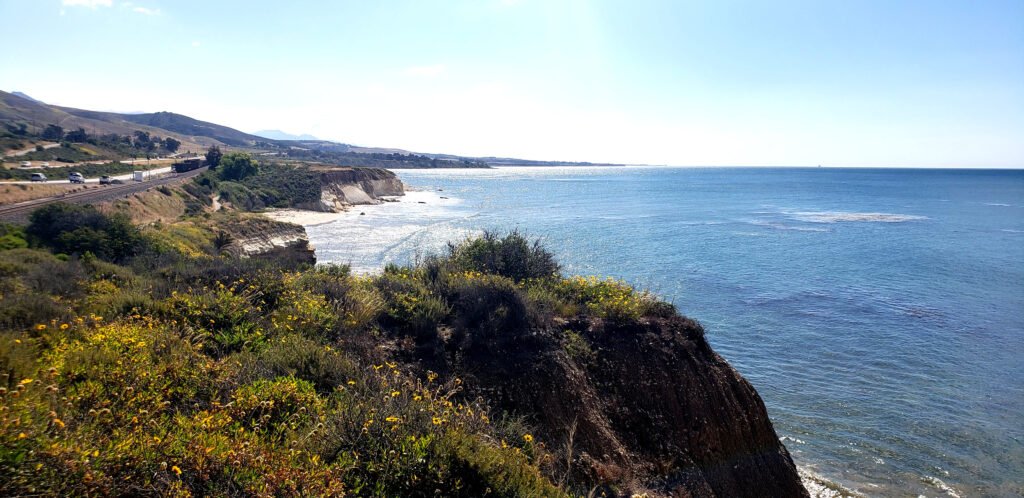
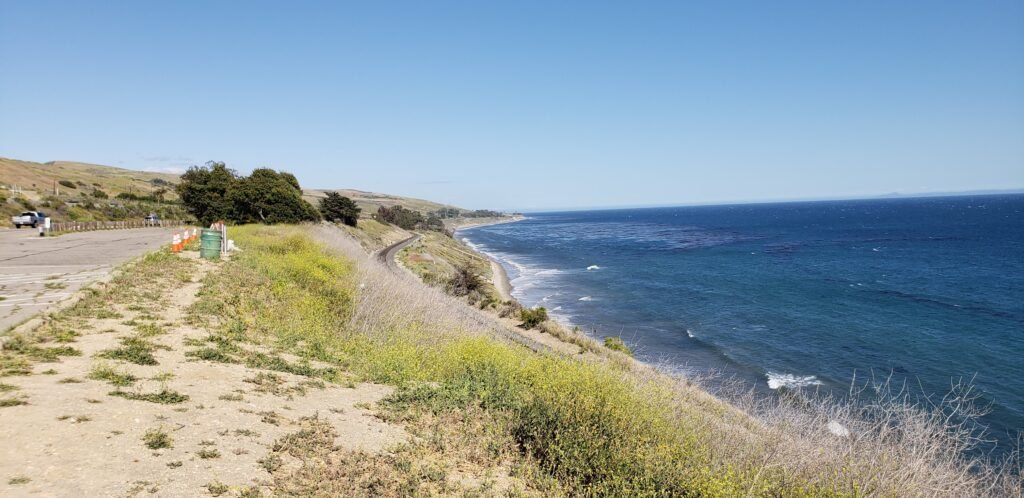
There is a dedicated bike trail between Refugio and El Capitan State Beaches, but part of it was closed because the ground under it is collapsing into the beach. I rode the closed section but don’t count on it being there in the future. At El Capitan, you have to enter the freeway legally and ride the shoulder for about 7 miles until you can exit. It is a choke point for cyclists in both directions: there is no alternate route to the freeway. The tailwind helped, but I felt bad for the riders I saw on the other side of the road facing the freeway and a headwind.
A rugged coast that is crumbling into the ocean, taking parts of the bike lane with it.
Santa Barbara: A Tale Of Two Bike Trails
The ride through Santa Barbara was mostly world-class bike lanes and classic beach scenery. The Cabrillo Bike Route (CBR) is well designed and gives you a wonderful tour of Santa Barbara. But before you start CBR (coming from the north), there is a bike path on Hollister Road. Excuse me while I rant; I will get back to the awesome ride, I promise.
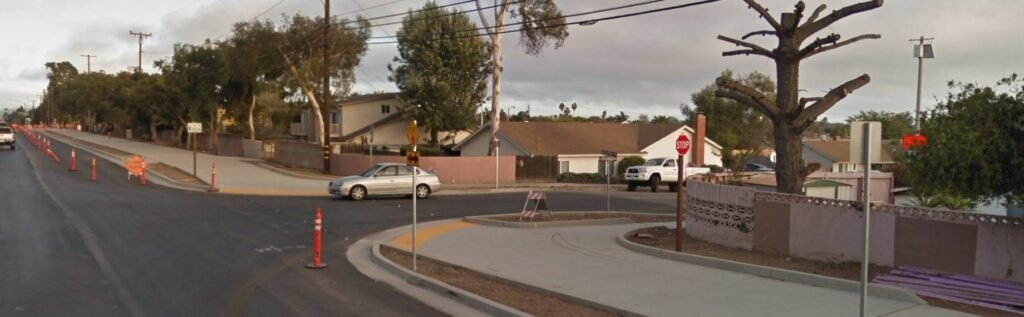
The bike lane on Hollister is just a big sidewalk that bikes are allowed to ride on. It is best for casual riders out for a little neighborhood spin but not useful for bike tourers, commuters, or people trying to get anywhere by bike. There are several reasons for this:
The bike lane on Holister is a terrible design for cyclists trying to get somewhere.
It is paved with concrete which is full of seams and bumpy, even when smoothed out as required by state law.
It is set back from the road so cyclists are less visible to drivers, especially at intersections.
Cars must stop in the path of cyclists in order to see cross traffic.
Cyclists must stop at every intersection, whether there is a sign or not, in order to be safe.
It is only on one side of the road so it carries two way traffic.
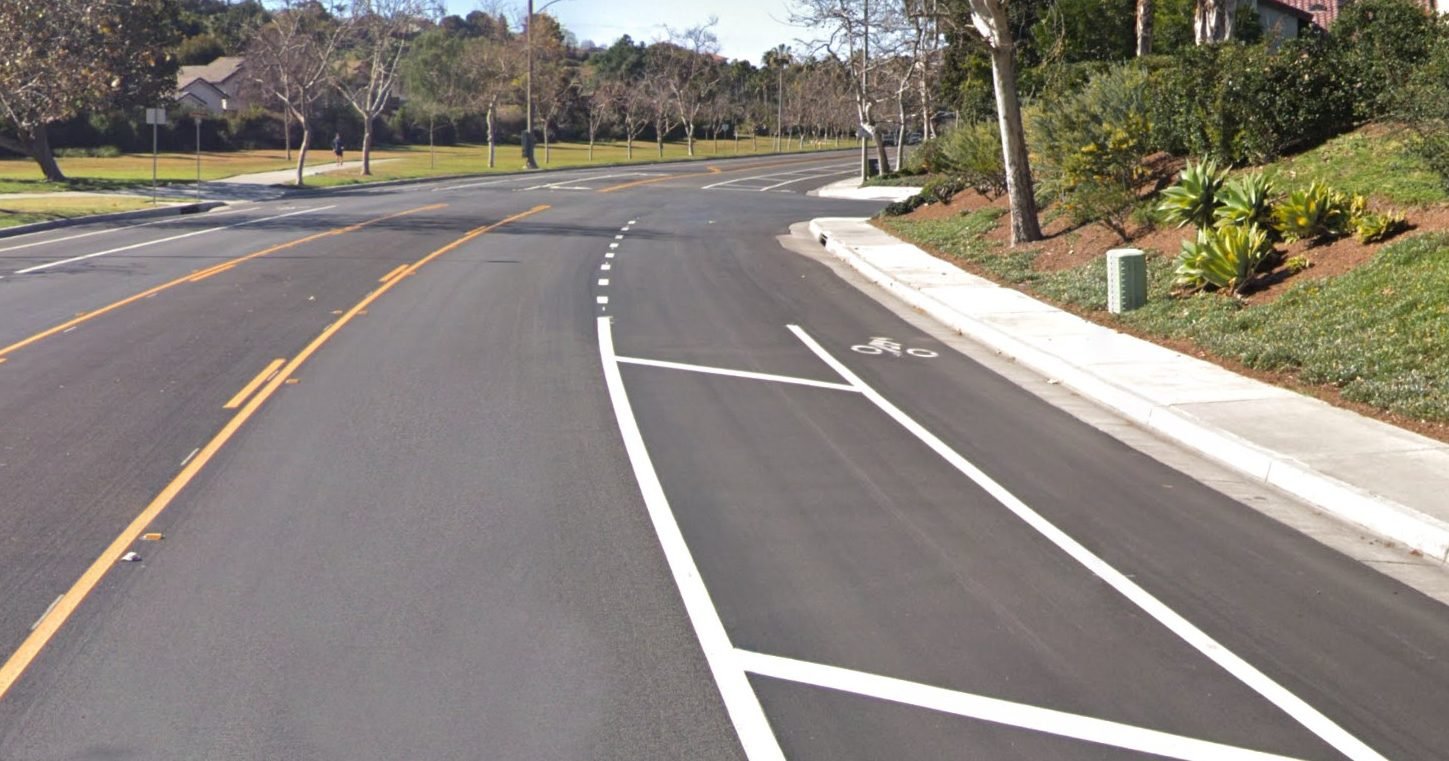
A better design for traveling cyclists combines a dedicated sidewalk, a wide bike lane, and a painted, hash-marked buffer zone, as we have in the area where I live. That puts cyclists on asphalt, separate from pedestrians, buffered from traffic, visible to cars at intersections, and able to proceed just like cars. The sidewalk doesn’t have to be huge because it also benefits from the bike buffer zone, and the curb protects pedestrians from cyclists.
A great bike lane design that can take the same amount of space. This one is extra wide, but it is a good example.
The world around me was slowly changing from the wide open spaces of the Big Sur coast and wine country to the crowded environs of Southern California on Memorial Day weekend.
It was not a big deal: I was only on that section for 2 miles, and there was room for me on the road. I am only thread-jacking my own blog because I think it is an interesting lesson for other cities thinking about expanding cycling infrastructure.
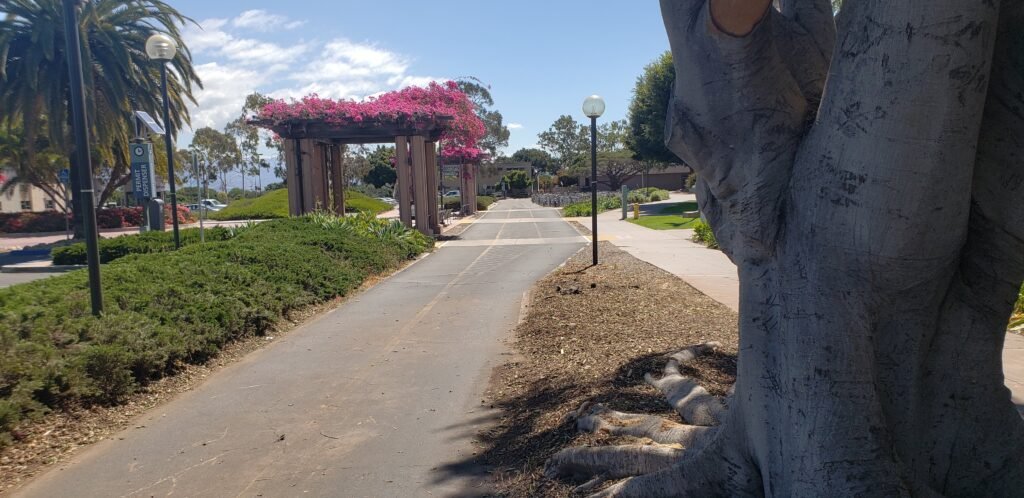
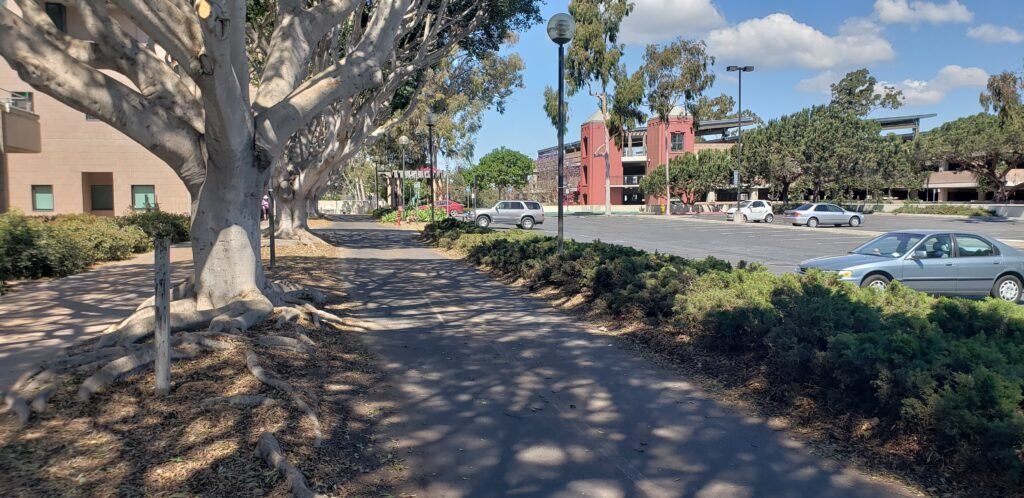
The transition to the CBR was a welcome change. The trail started by winding its way through the University of California, Santa Barbara (UCSB) campus. I was there on a quiet Saturday, so it was like I had the place to myself.
The bike trail through UC Santa Barbara
The campus was not busy…yet.
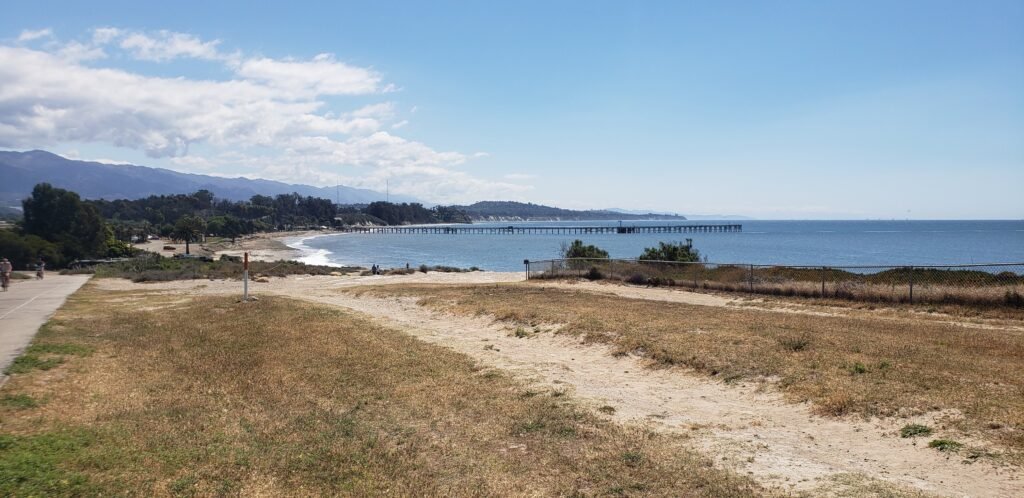
A view from UCSB into the pier area.
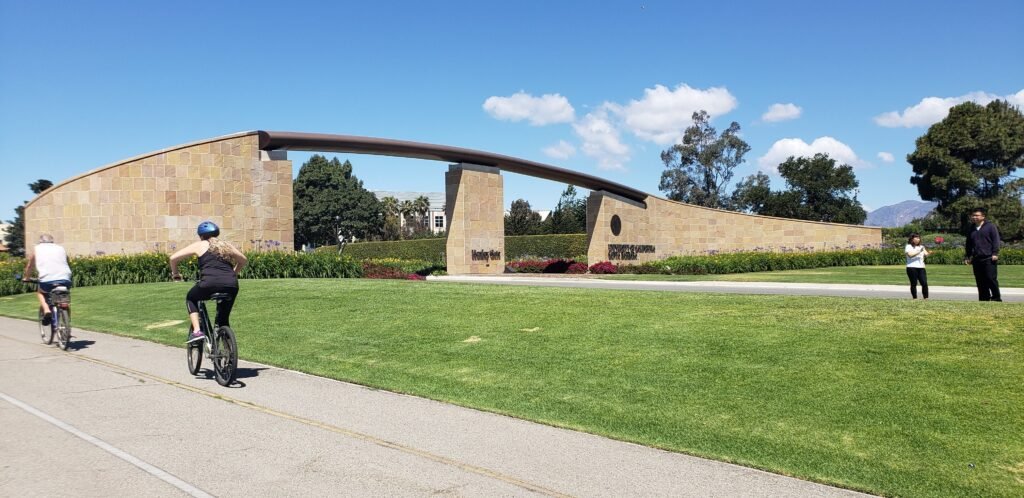
An iconic entryway into UCSB.
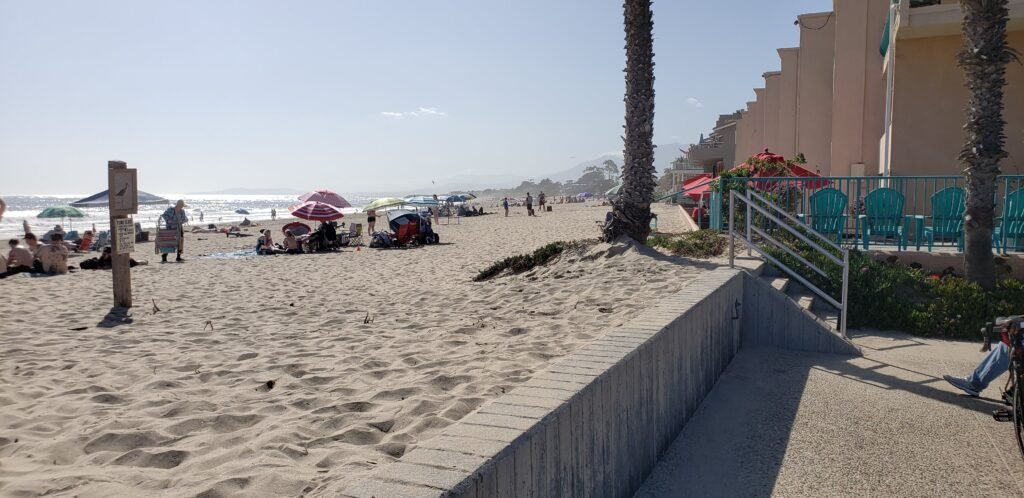
After making its way across UCSB, the trail continued to the pier area and along the beaches. There were lots of beach cruisers on the route, and I enjoyed riding at their pace and kept my distance. The bike trail on a busy Saturday is about sightseeing, not setting a personal best time.
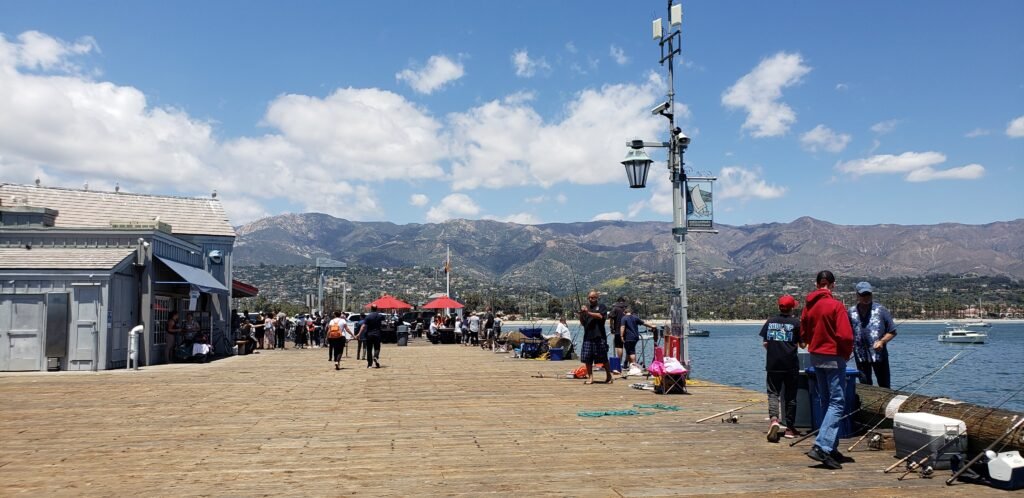
The pier was buzzing with activity. Cars are allowed to drive on it. There are restaurants, parking, fishing, shops, etc.
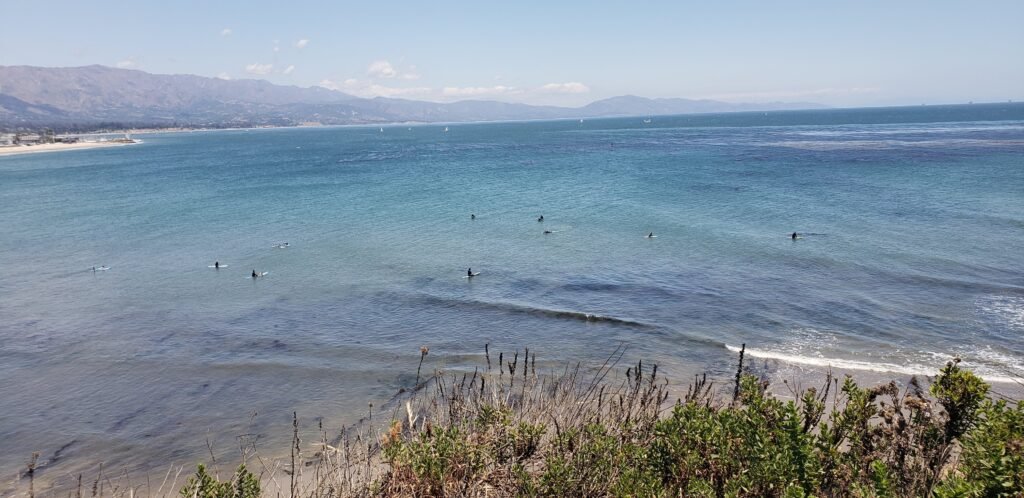
Pics from Santa Barbara must include surfers. It is a rule.
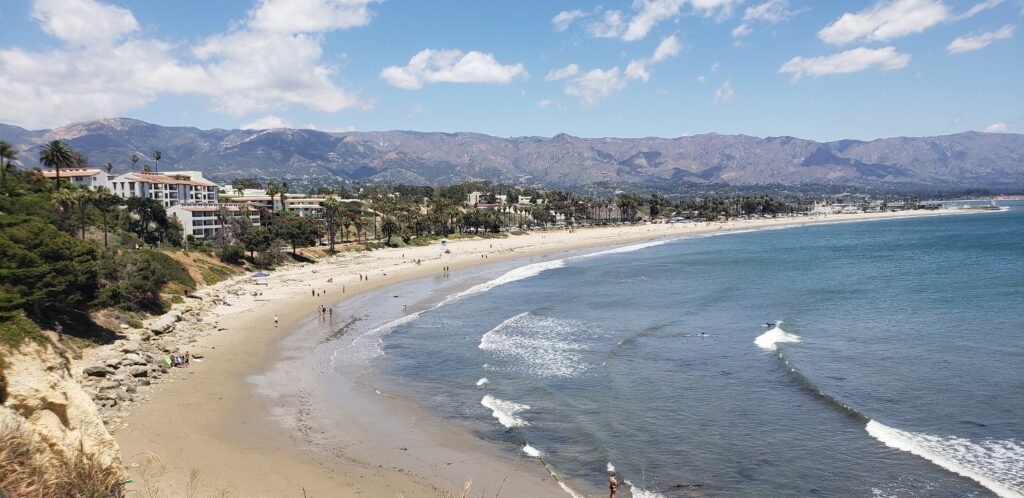
Santa Barbara is not that big, but the coast seems to go on forever.
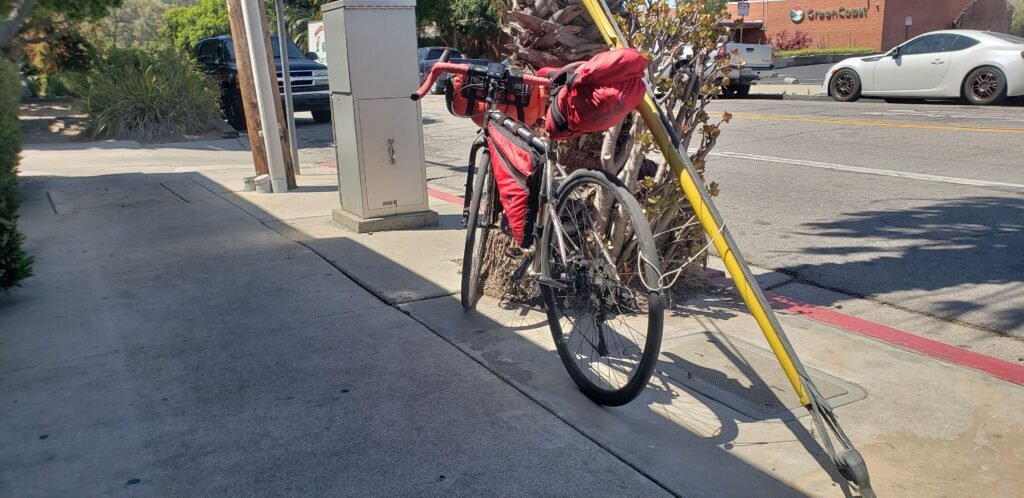
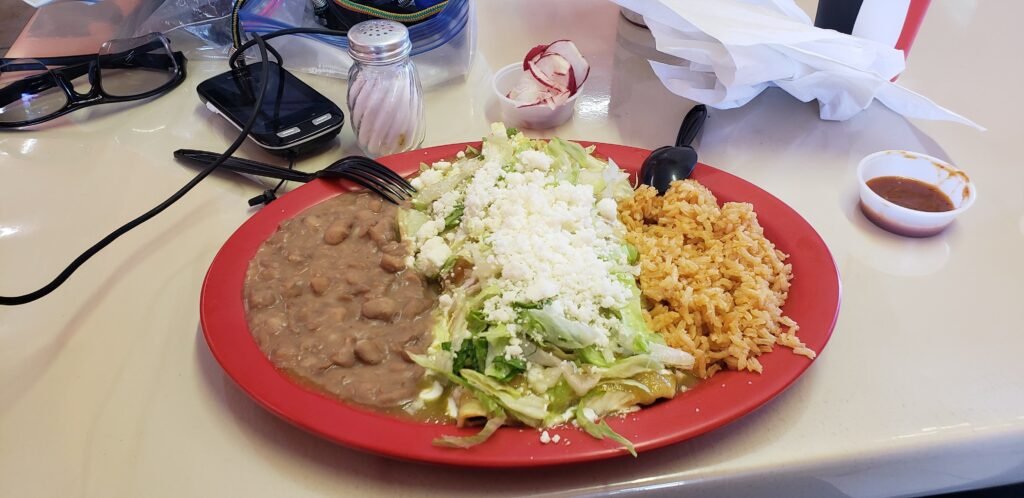
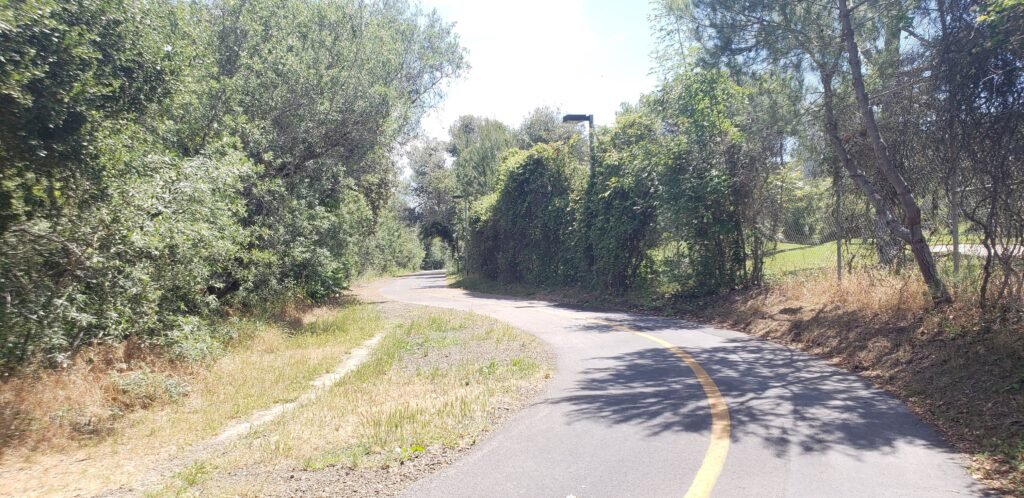
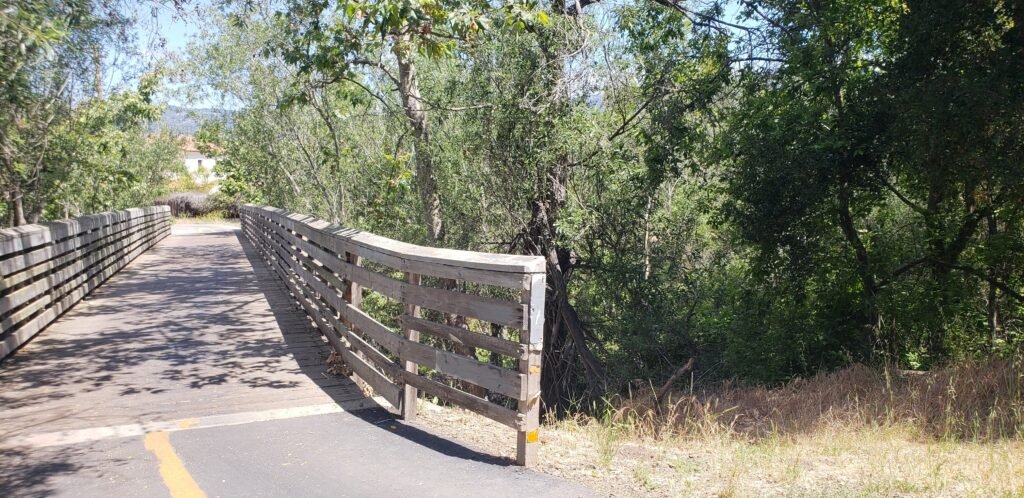
My wheels had locking skewers, so locking my bike was easy.You are always hungry at mealtime when touring, so good food tastes even better, like the Mexican food at Taqueria El Pastorcito.The trail winds along golf courses and coastal wetlands.CBR features dedicated bike infrastructure like this bridge. The trail is well loved and busy. Build it, and they will come!
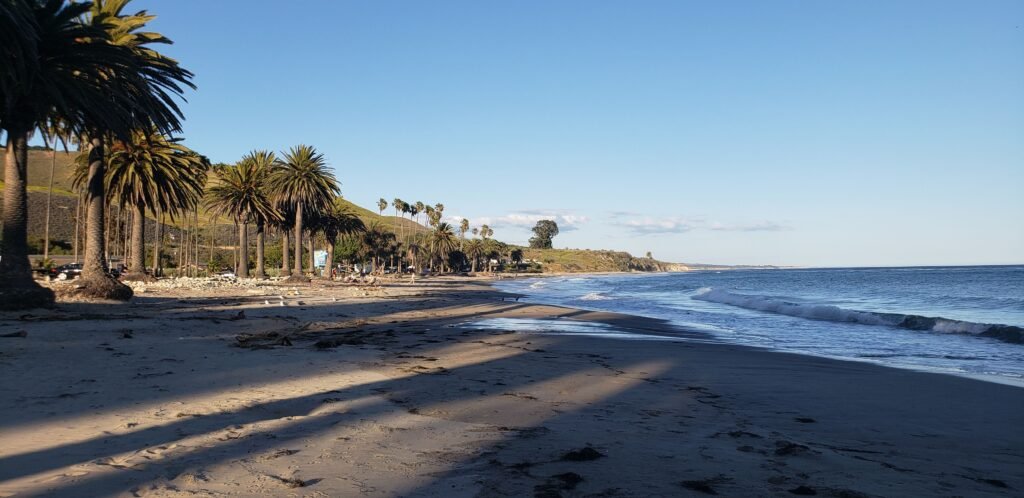
CBR eventually ended, and I continued on a frontage road that kept me off of the freeway, but barely. The world around me was slowly changing from the wide open spaces of the Big Sur coast and wine country to the crowded environs of Southern California on Memorial Day weekend. At first I did not like it; I felt like all of those people were encroaching on my space. And my space had grown very large over the previous days. But I reached my destination for the night: Carpinteria State Beach, where I could relax and adjust.
The ride ended at the beach in Carpinteria, which seemed appropriate. Everything involved the beach that day and for much of my tour, though the beach was ever-changing.
Memorial Day weekend was getting into full swing.
As I checked into the Hike or Bike campsite, I found myself getting grumpy. It was about the crowds. I sat down and readjusted my attitude. Instead of feeling hemmed in by the crowds, I refocused and got caught up in the excitement of being around everyone. It really is possible to control your experience of things, but sometimes you have to become your own therapist to do it.
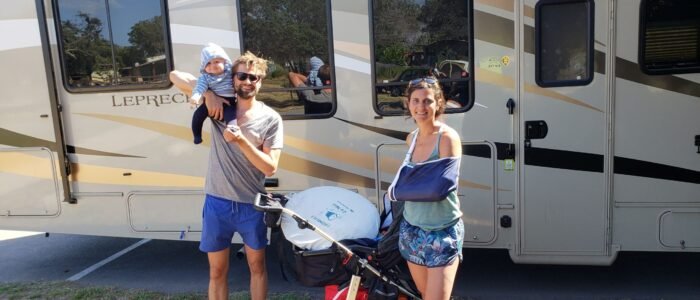
Daniel, Betty and Philippe from Germany
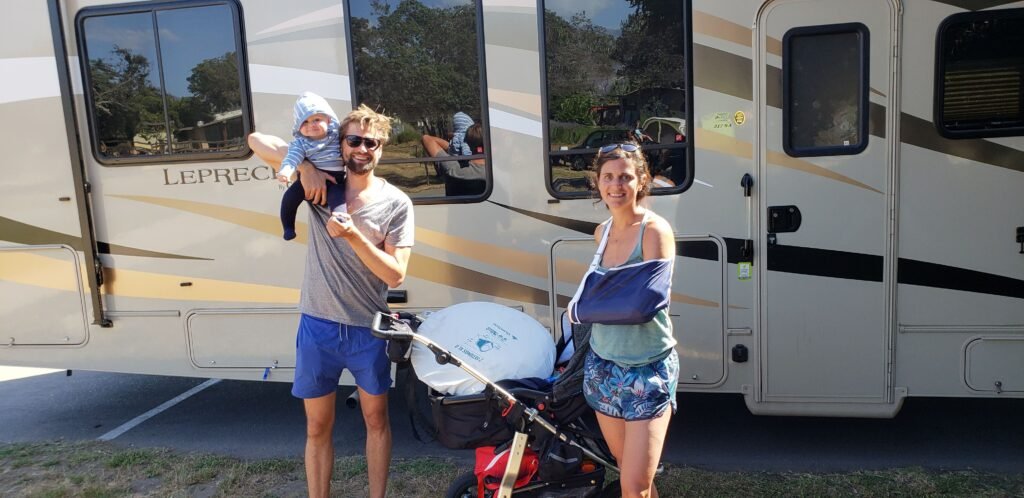
At the campsite I met a young family from Germany who were on an extended parental leave for 2 months. They were touring in a huge RV (bigger than anything you would see in most of Europe, they told me). They forced beer and salad on me, which I tried to resist. But I failed. I babysat little Philippe, who let me hold him without fussing while Mom and Dad packed to leave. Even after knowing them for only a short time, it was hard to say goodbye as they piled into their RV. I guess I was having a more emotional day than I realized at the time.
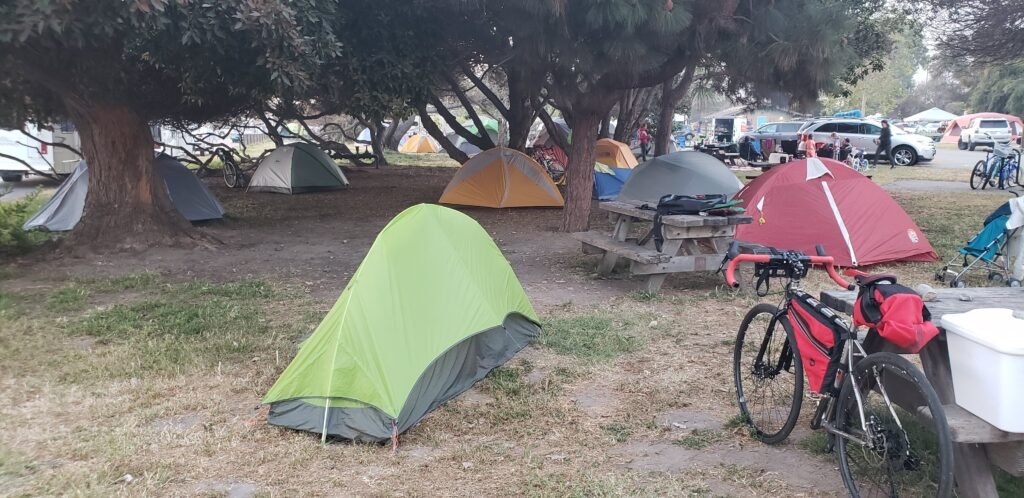
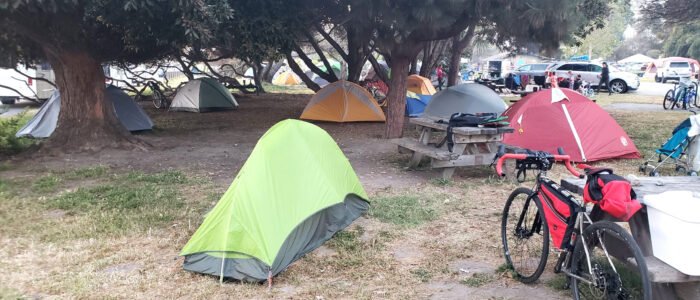
Unlike my other nights camping, this Hike or Bike site was full of riders.
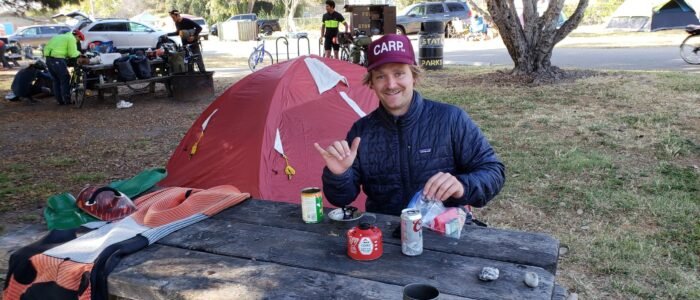
Carpinteria State Beach was packed for Memorial Day to the surprise of no one. Kelson from Goleta was a fellow cyclist who was later joined for the night by his wife and child. A group of 4 very enthusiastic Latino riders from Los Angeles was there. Dennis, a Navy veteran, joined us late, and he marveled at how rare our first names were. There were so many groups that I could not meet them all. And several seemed to want to stay apart from the big group, which I could empathize with because that is how I felt when I arrived.
Kelson shared an alternate route with me, which I took the next morning.
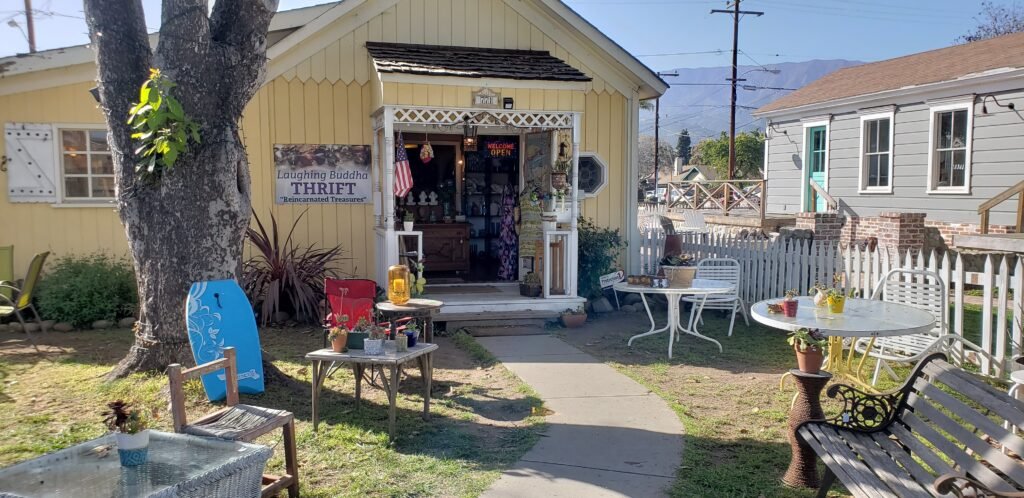
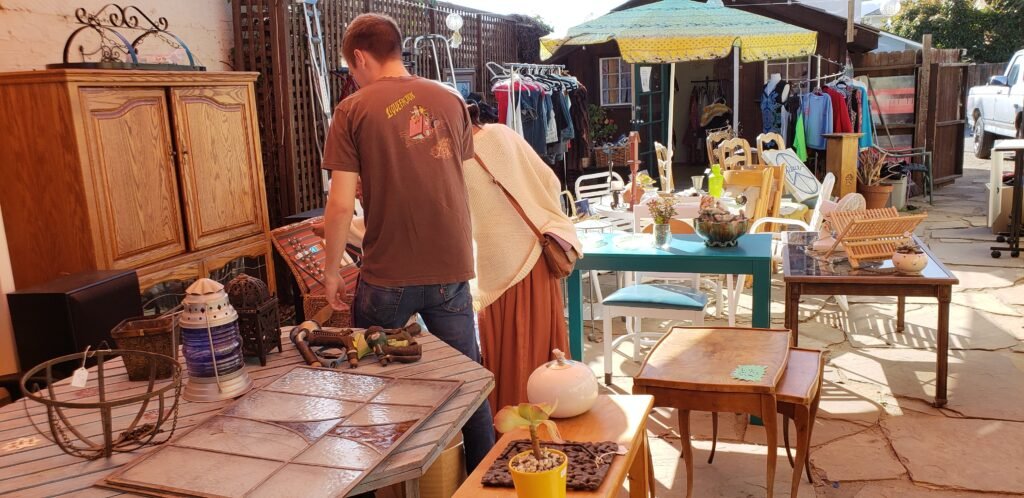
The campground was near the old town downtown area. I played tourist and enjoyed exploring Laughing Buddha Thrift Shop.
I loved this old thrift shop, and I texted lots of pics of it to my wife.
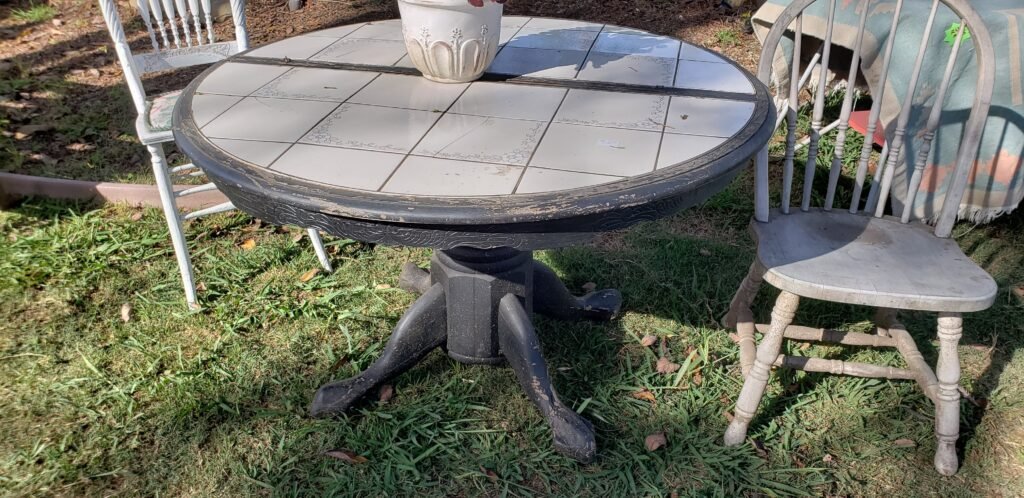
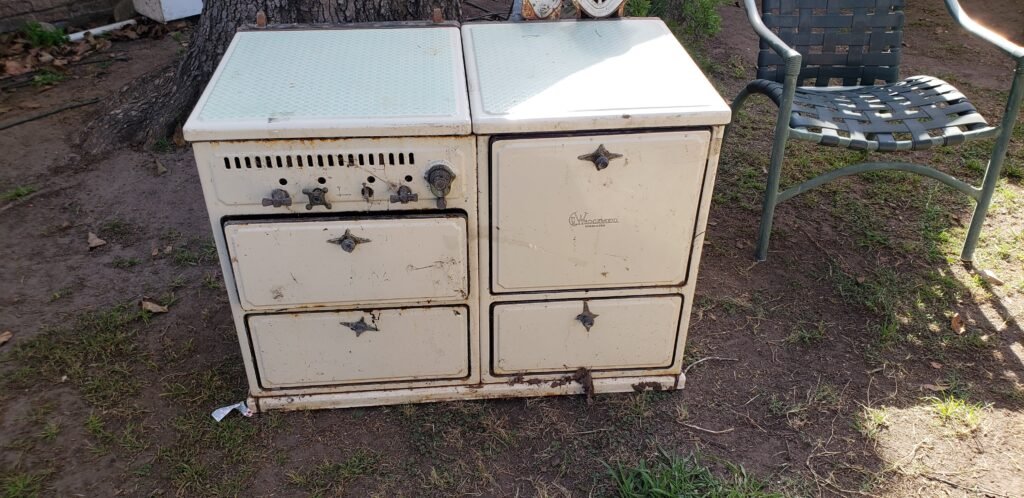
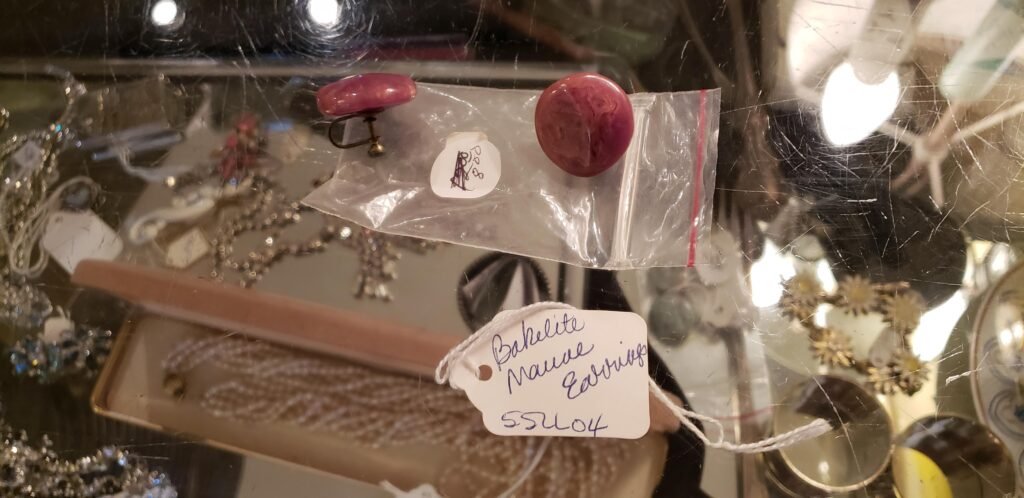
It looked earthy but too fragile to sit on.The stove was nice but too big to fit in my bags It was pretty busy, and the people who worked there were nice. Bakelite is like old-school carbon fiber.
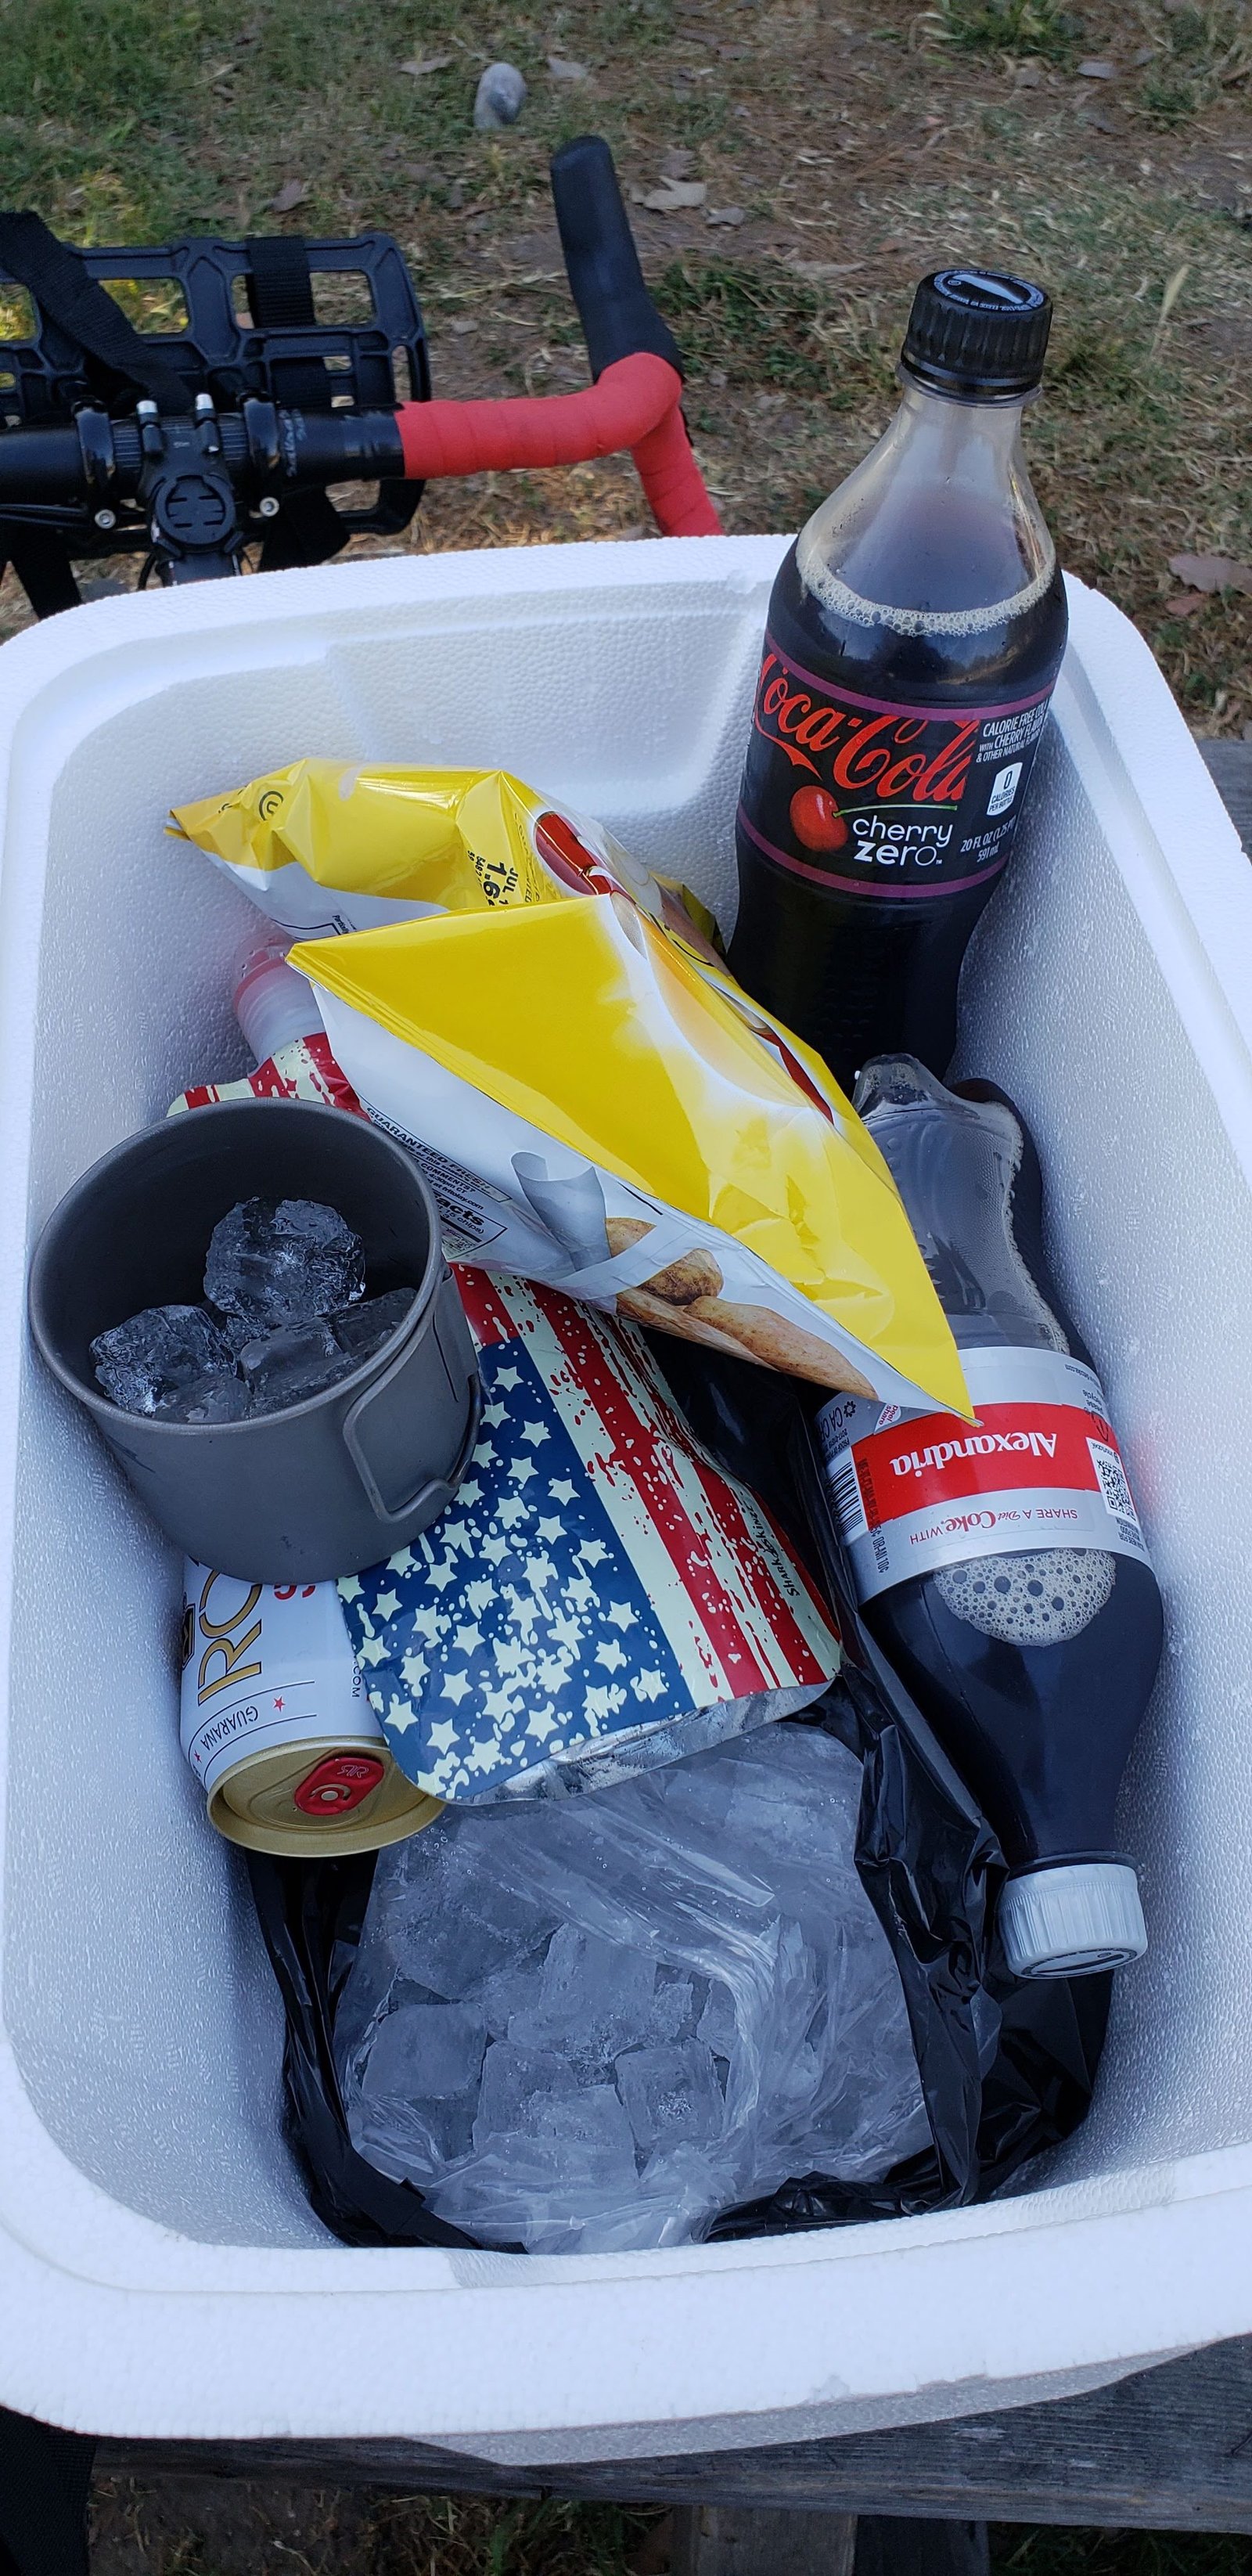
I got some supplies for the stay. One thing I have a hard time living without is ice. But that was easily available at nearby convenience stores, so I splurged and filled up a cooler, pretending to be car camping for just a while.
I gave in and got a cooler and junk food. It was Memorial Day after all.
As usual, the physical effort and the emotional ups and downs of the day left me fulfilled and tired early in the evening. I relaxed around the campsite and introduced myself to people until after dark. The nice thing about being in a Hike or Bike campsite is that everyone else has had a similar experience, and we were all ready for sleep early after a day of riding.
Loading map…Scroll or tap to load the interactive map
I awoke to the luxury of a hotel room on Friday, day 7 of my 9-day tour. I was enjoying camping every other night, but the hotel was a nice change of pace. My room had clean clothes hanging over every available spot, and leftovers from the restaurant meal the night before sat in the tiny refrigerator. As much as I was enjoying the hotel, the ride ahead was beckoning, and I was too excited to have a lazy morning. I had ridden the Pacific Coast Route before, but this time I was taking a new route through the wine country in this area.
Leaving the comfort of the hotel wasn’t easy, but I was excited about the day’s route.
Central Coast Outdoors (CCO), the company that shuttled me around the Highway 1 closure, recommended riding through wine country. My reaction was – “Wine country? That is farther north, right?” Well, of course, Napa Valley and the surrounding areas in northern California are famous for their many vineyards. But there is a huge wine country south of the central coastal region, and it is growing fast. And it is beautiful country to ride through.
My route that day was the longest riding day of my tour. I planned to do 60+ miles of riding and 3000+ feet of elevation gain. Fortunately, I was “riding myself into shape,” as fellow tourers call it, and I felt ready for it. I had also changed my destination at Mandy’s recommendation from CCO. There were 3 campgrounds to choose from on my way into Santa Barbara: Gaviota, Refugio, and El Capitan. I was originally going to stay at Gaviota, but based on Mandy’s advice, I changed my destination to Refugio State Beach for that day, adding some miles to my ride.
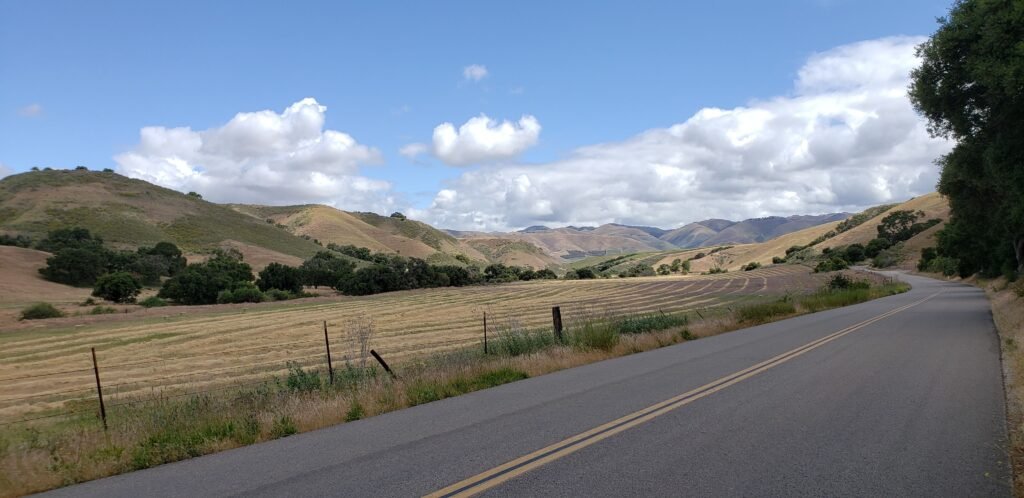
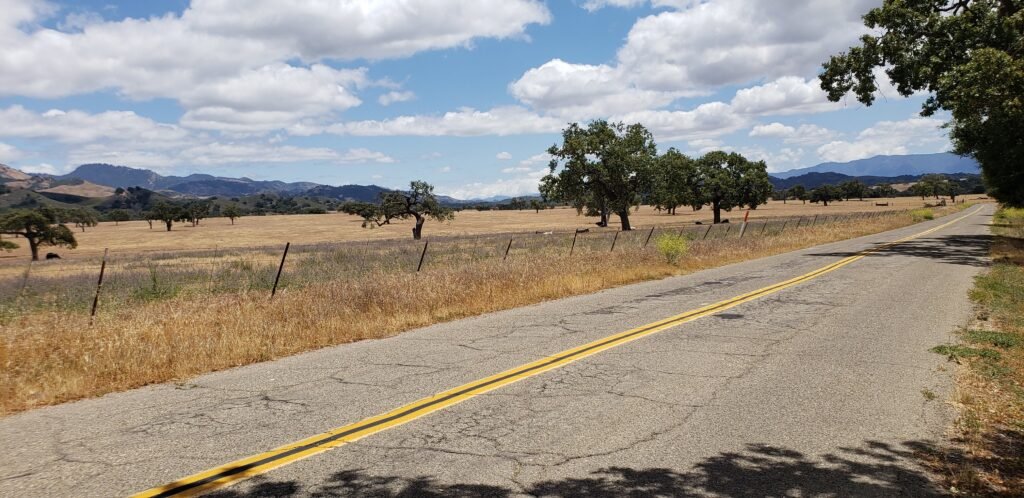
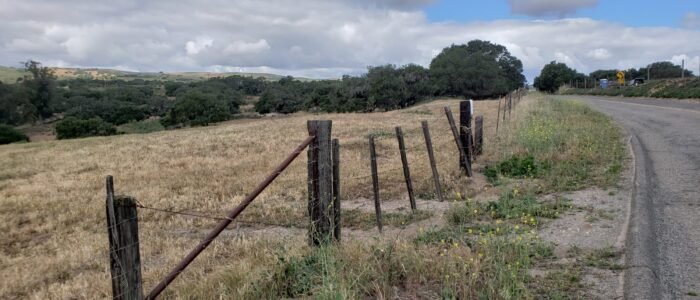
I got an early start as usual. The weather was sunny and cool all day, perfect for riding. Santa Maria is a small town, and the hotel was on its outskirts, so I quickly got into a rural setting. The early route centered around Foxen Canyon Road. The roads I took most of the day didn’t have a bike lane, but traffic was almost nonexistent. The few cars that passed me were happy to give me a lot of room.
This was the welcome sign for wine country as it turned out.
Big ranches and bigger skies were the order of the day.
The terrain was perfect. Rolling hills afforded great views; there was no sustained climbing. Not until later, anyway.
The geography became apparent after a while. The road followed a valley and a riverbed, around which all of the vineyards were clustered.
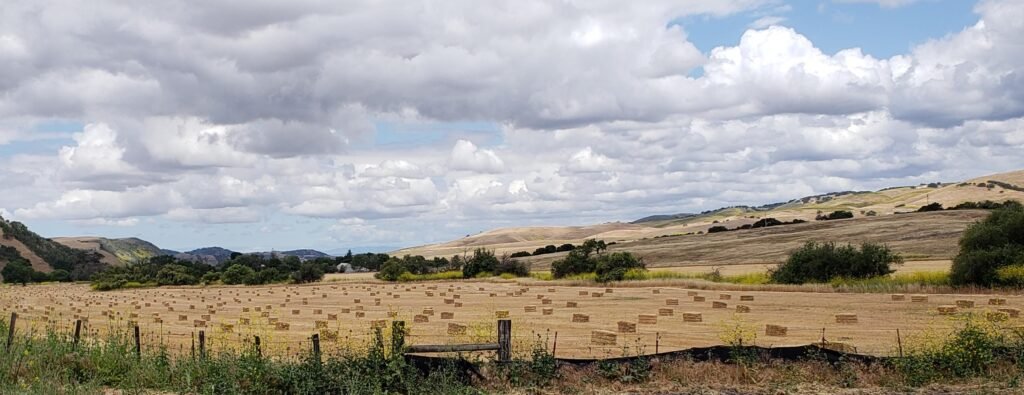
I loved the contrast between the perfect right angles of the hay bales and the endless, curving, rolling valley.
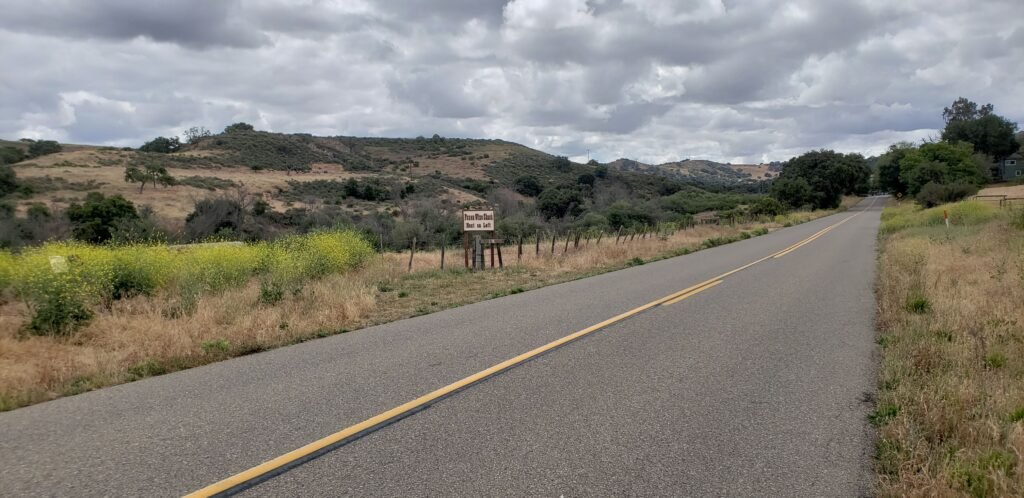
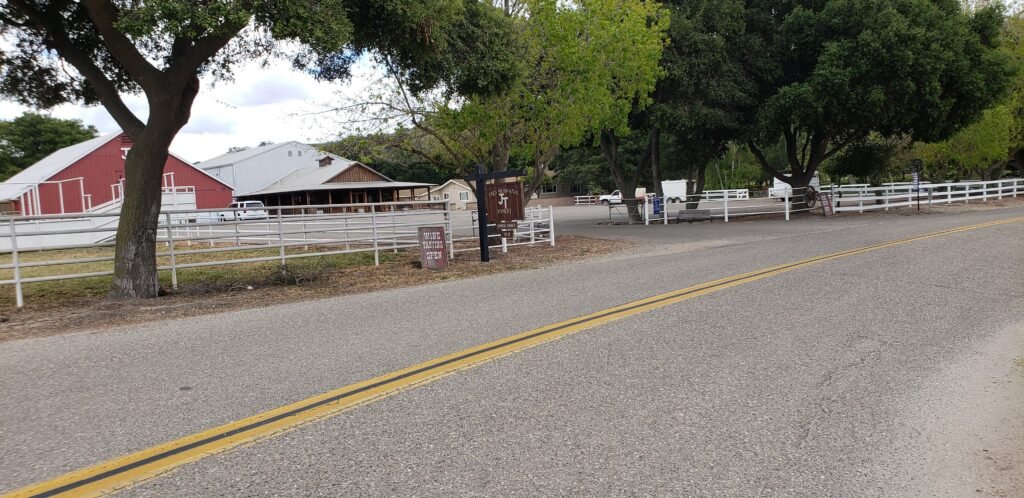
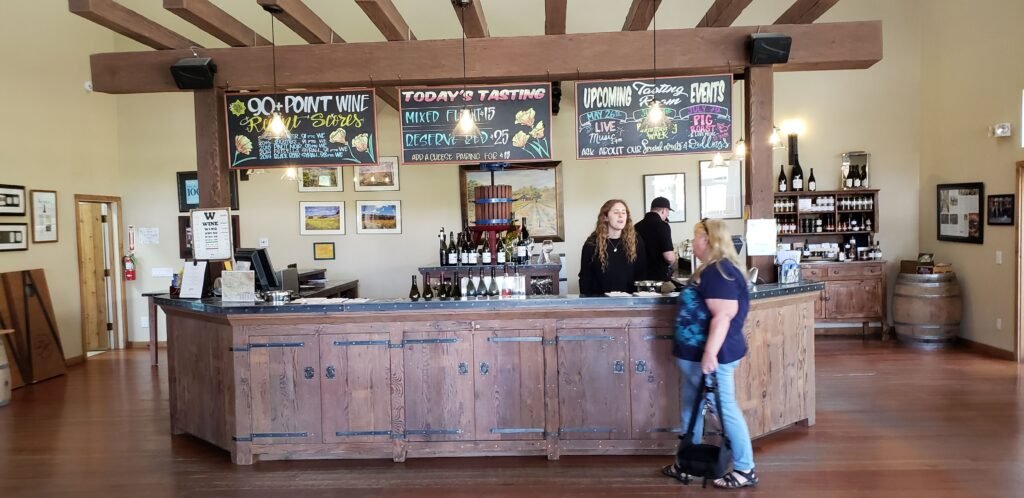
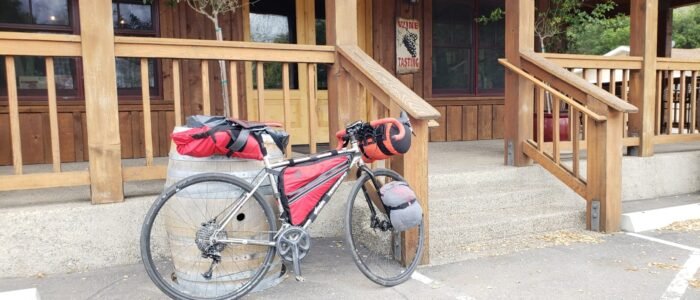
In the middle of rugged backcountry with no gas stations, traffic lights, or even intersections, I encountered a wine-tasting location. It was basically a nice shed set up in the front of a home. Then another. Then a huge fancy one.
After a morning with nothing but a few farmhouses, the “Wine Tasting Ahead” in the middle of nowhere was pretty out of place. But interesting.
Many ranches have added a wine tasting room to an otherwise fully operating ranch/vineyard.
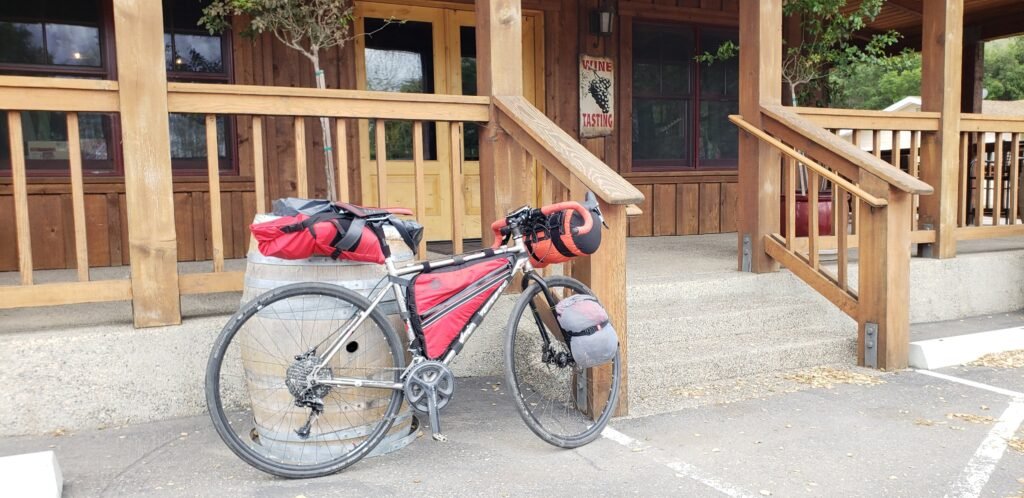
I had to stop and have a look.
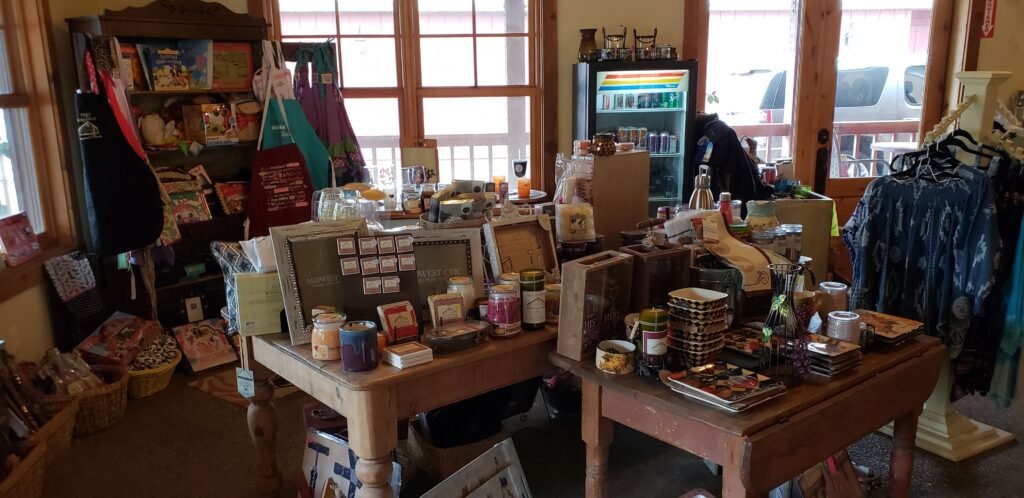
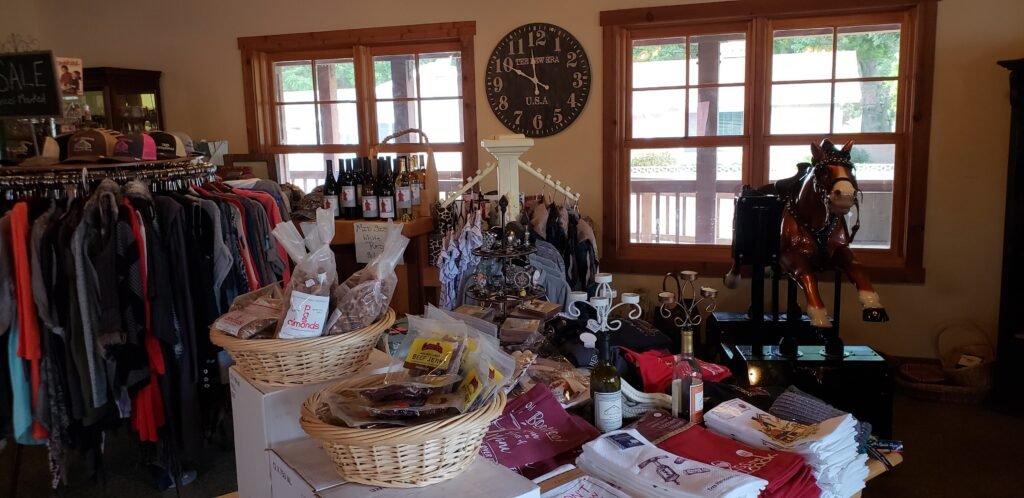
The wine tasting rooms had various styles. This one had an antique / country theme.
The coin-operated horse ride and vintage clothes set the mood.
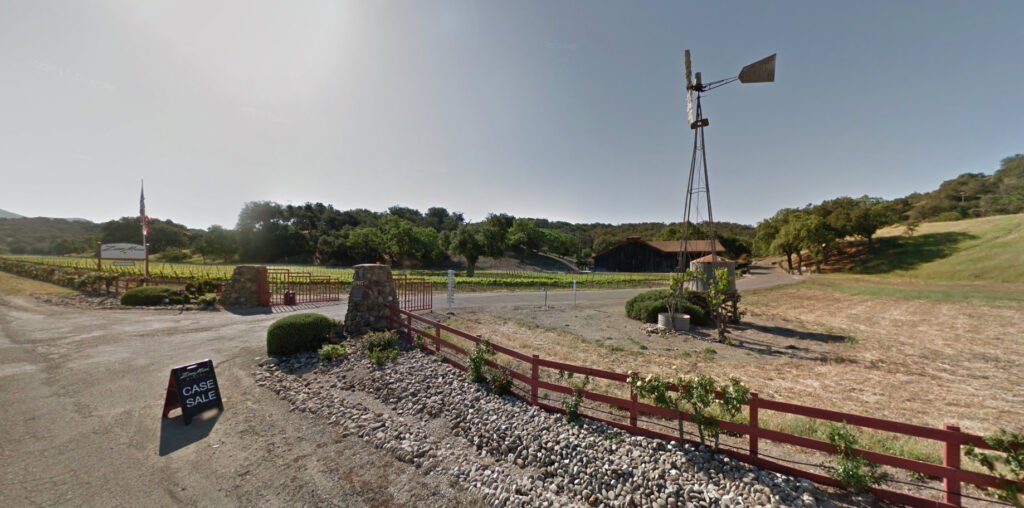
Zaca Mesa Winery was a large, fancy place. I had to make one more vineyard visit.
The full wine bar was nice. I bummed some water and ice from them.
My imagination wanders on tours. I pictured myself riding across the Serengeti when the scenery looked like this. But this was much more comfortable and safe.
The never-ending row of vineyards ended as I rode into Los Olivos. It was one of many towns I rode through that I had never heard of before, but it was a pleasant surprise. Not knowing if there would be another good stop, I got some important supplies for the day while I was there.
I try to avoid using the word “cute” to describe every small town I rode through, but I couldn’t avoid it with Los Olivos. It was a darling little village.
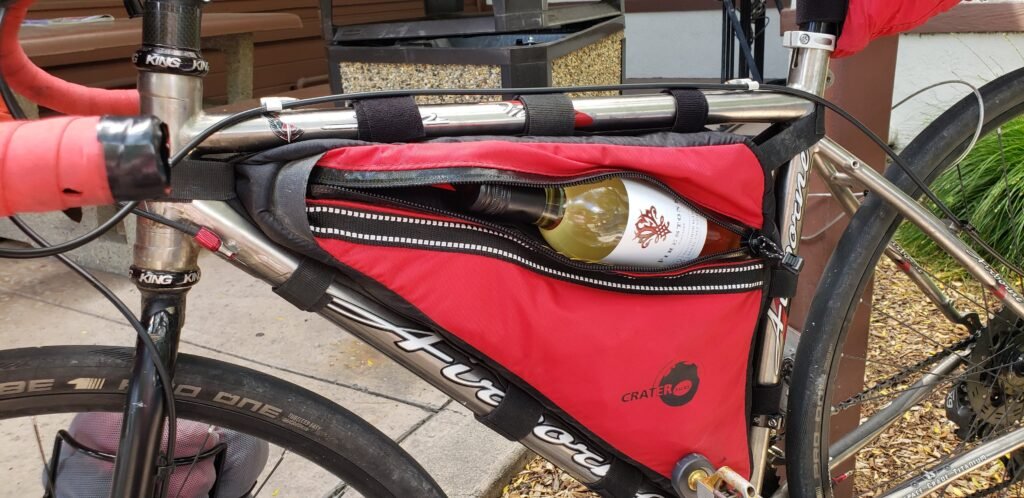
I wasn’t sure there would be another chance for some good, affordable wine.
Somewhere in town, the route turned into an actual, official, named bike lane, which was a pleasant change. It wound its way along more charming back roads on its way to the mother lode of all tourism in the area: the city of Solvang. It is known for its Danish-themed architecture and loads of great options for eating, drinking, and sightseeing. And, for us cyclists, the annual Solvang Century ride.
Classic Solvang, featuring its landmark windmill.
I left Solvang by taking Alisal Road. It is a gorgeous narrow road out of town, and it cuts off much of the riding on US-101, which is basically a freeway open to bikes. It is not shown as a through road on all maps, but Alisal does connect as a bike route to Old Coast Highway and US-101 as I write this, even if your map shows the road closed to cars. I made the big left turn to get on US-101, and I was rewarded with a long steady descent to the coast. If you look at that stretch and notice a tunnel, be aware that the tunnel is only on one side of the freeway, the northbound side, and it is an uphill grade. There was no tunnel on the southbound side where I was. I pushed past Gaviota and on to Refugio. There is a very short bridge on that section with no shoulder for bikes, so you have to get out in the lane. It had loads of “Share The Road” warning signs with big pictures of bicycles on them, but I got honked at anyway, which actually amused me more than anything.
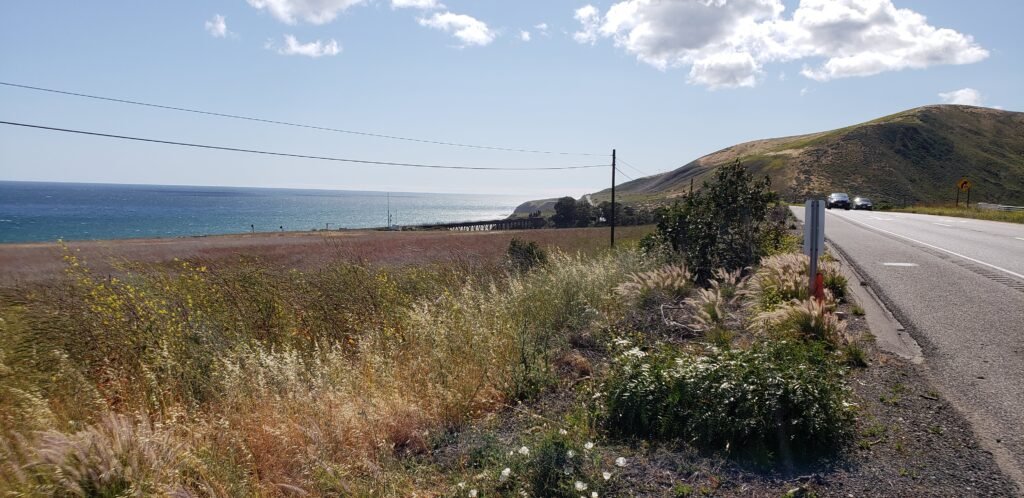
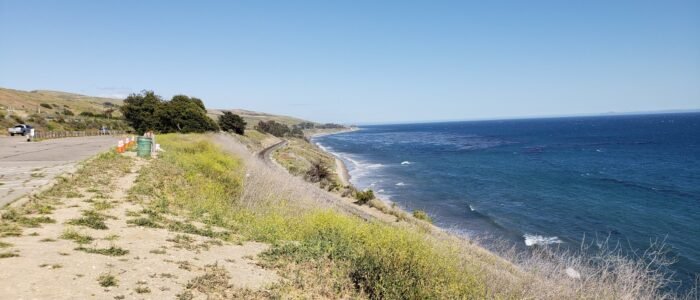
The route returned to the Pacific coast. This is a pic looking back at Gaviota, where I opted not to stay. If only there were this many campground options on the whole route!
The train along here runs right on the ocean.
I could see Refugio State Beach, my destination, farther down the coast.
I arrived at Refugio with plenty of daylight left, which surprised me, given the long route that day.
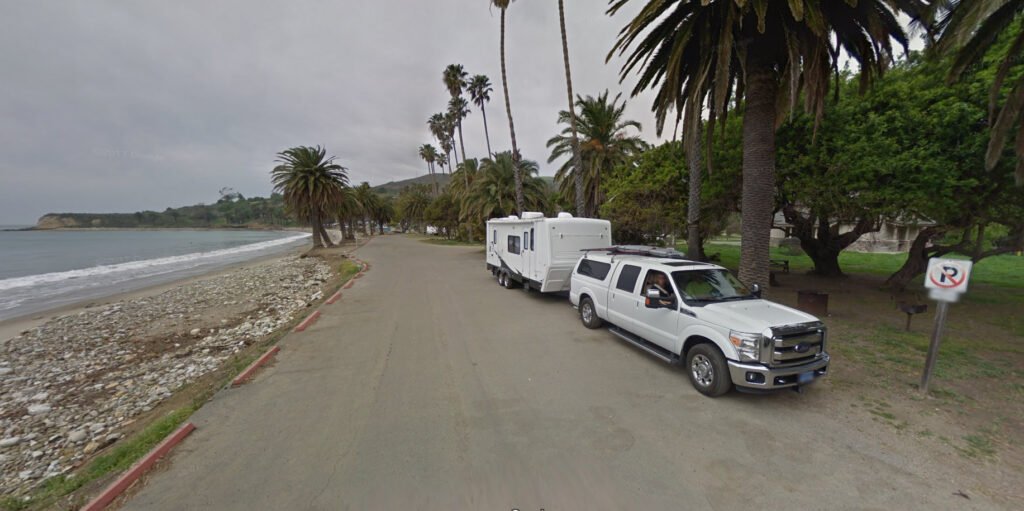
The Hike or Bike sites at Refugio are right on the beach, behind the No Parking sign and parked camper(!).
The view from the campsite was wonderful.
I walked up and down Refugio Beach, letting the sand massage my tired feet.
There was a small surf break that attracted a handful of surfers.
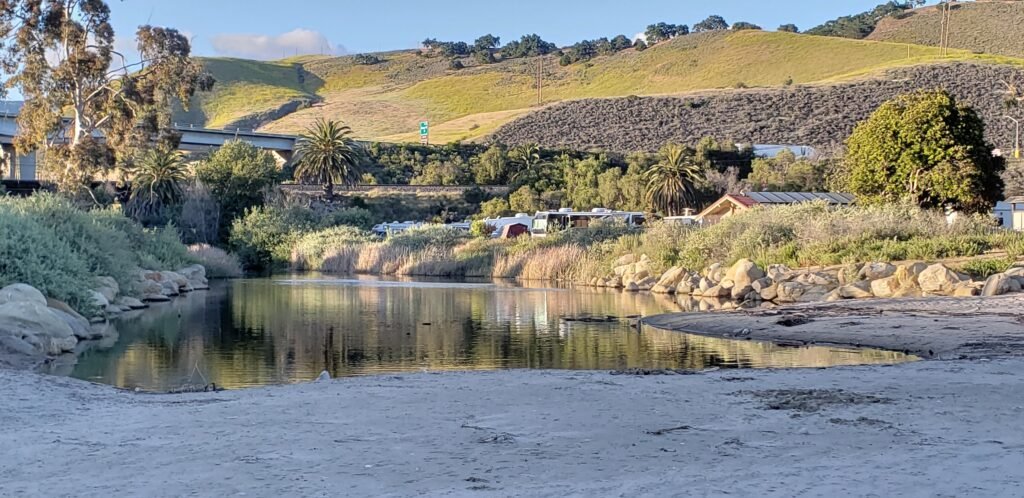
A small creek ran into the ocean through the campground, but at this time of year it was not running enough to cross the beach.
The conditions in Refugio were windy, but I found out that was pretty normal. The campground had a small store with very limited hours, i.e., it was not open at all while I was there. The shower facilities were very nice and right next to the Hike or Bike campsite. The campground was full with family reunions and large groups camping together. I scored some ice and got a few family history lessons about camping in Refugio.
After settling in, Nick joined me at the Hike or Bike area. He was a local who camped there often. We exchanged notes about camping equipment, and I told him I thought it would be great to live close to all the coastal campgrounds in the area. It was good to know it didn’t go unnoticed by Nick, who clearly enjoyed it.
Nick was a local doing an overnighter to this lovely campsite.
As usual, I was ready to go to sleep as soon as the sunset permitted it. I definitely did not wear out any of the batteries in my headlamp. Falling asleep to the sound of waves crashing on the beach after a long day of riding and great experiences seemed to be a formula for a good night’s sleep, indeed.
Loading map…Scroll or tap to load the interactive map
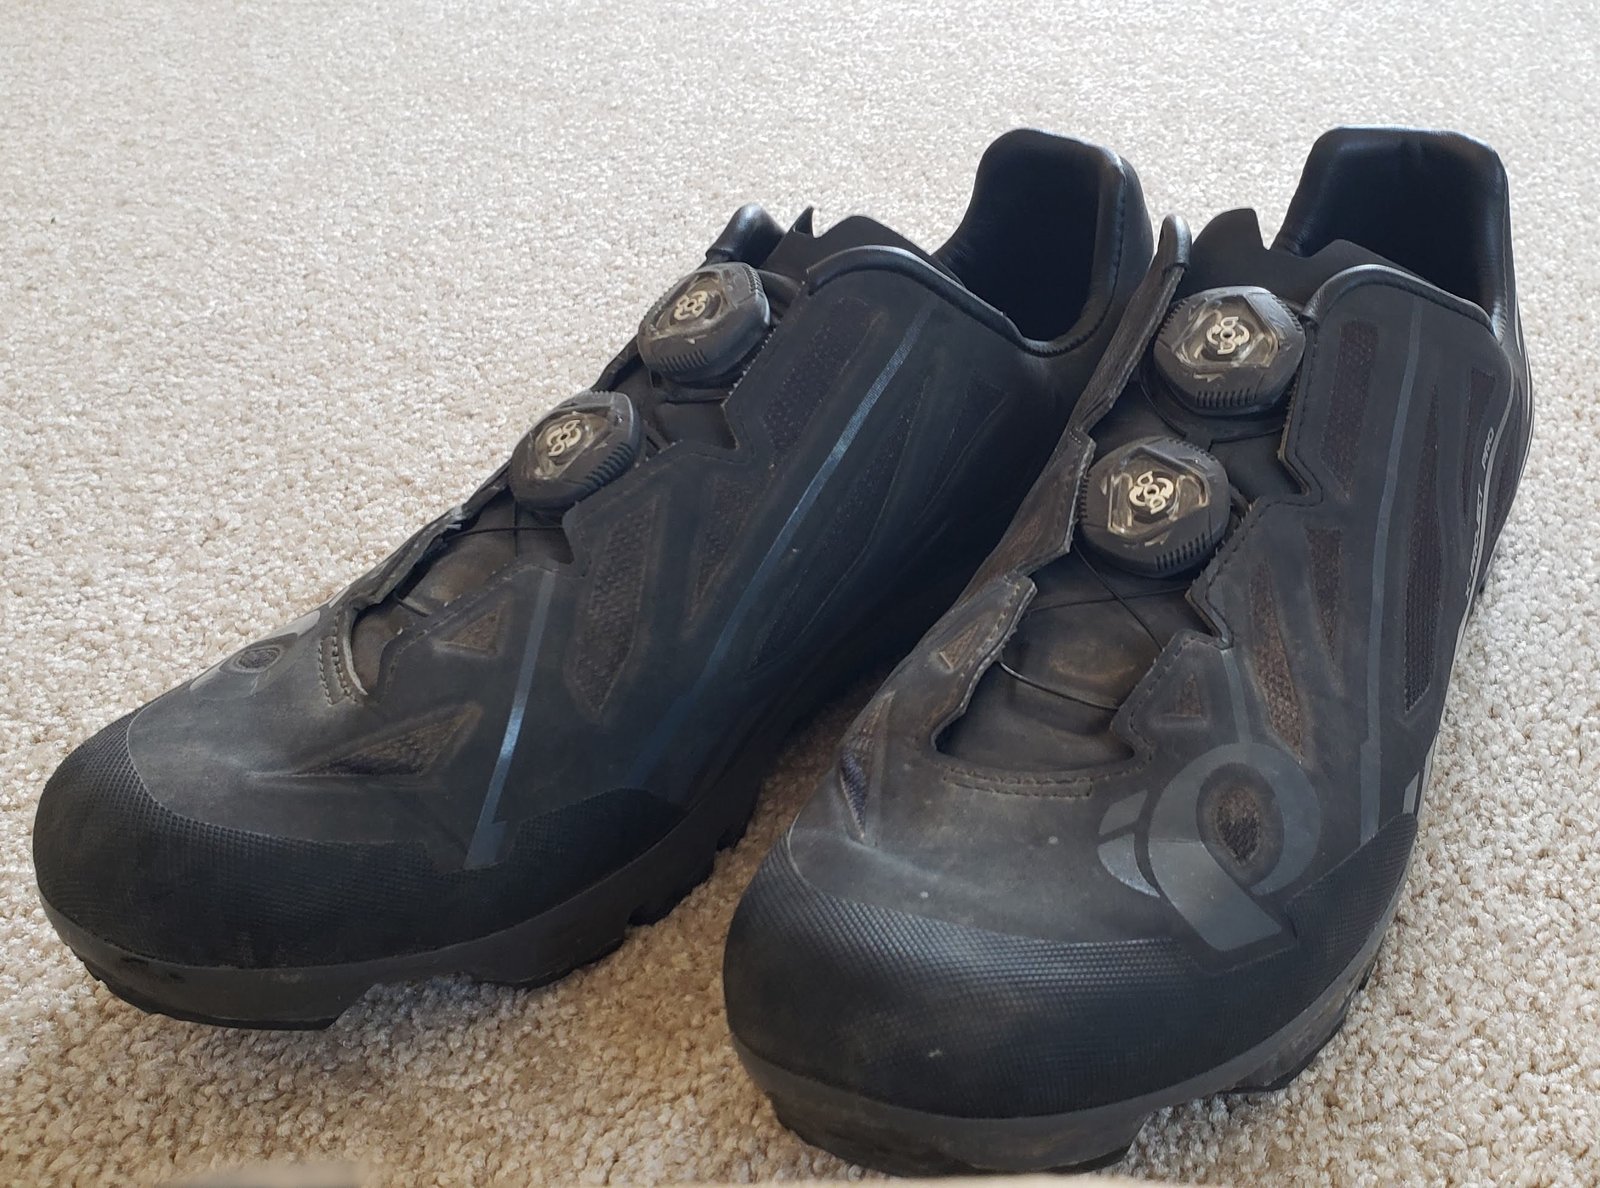
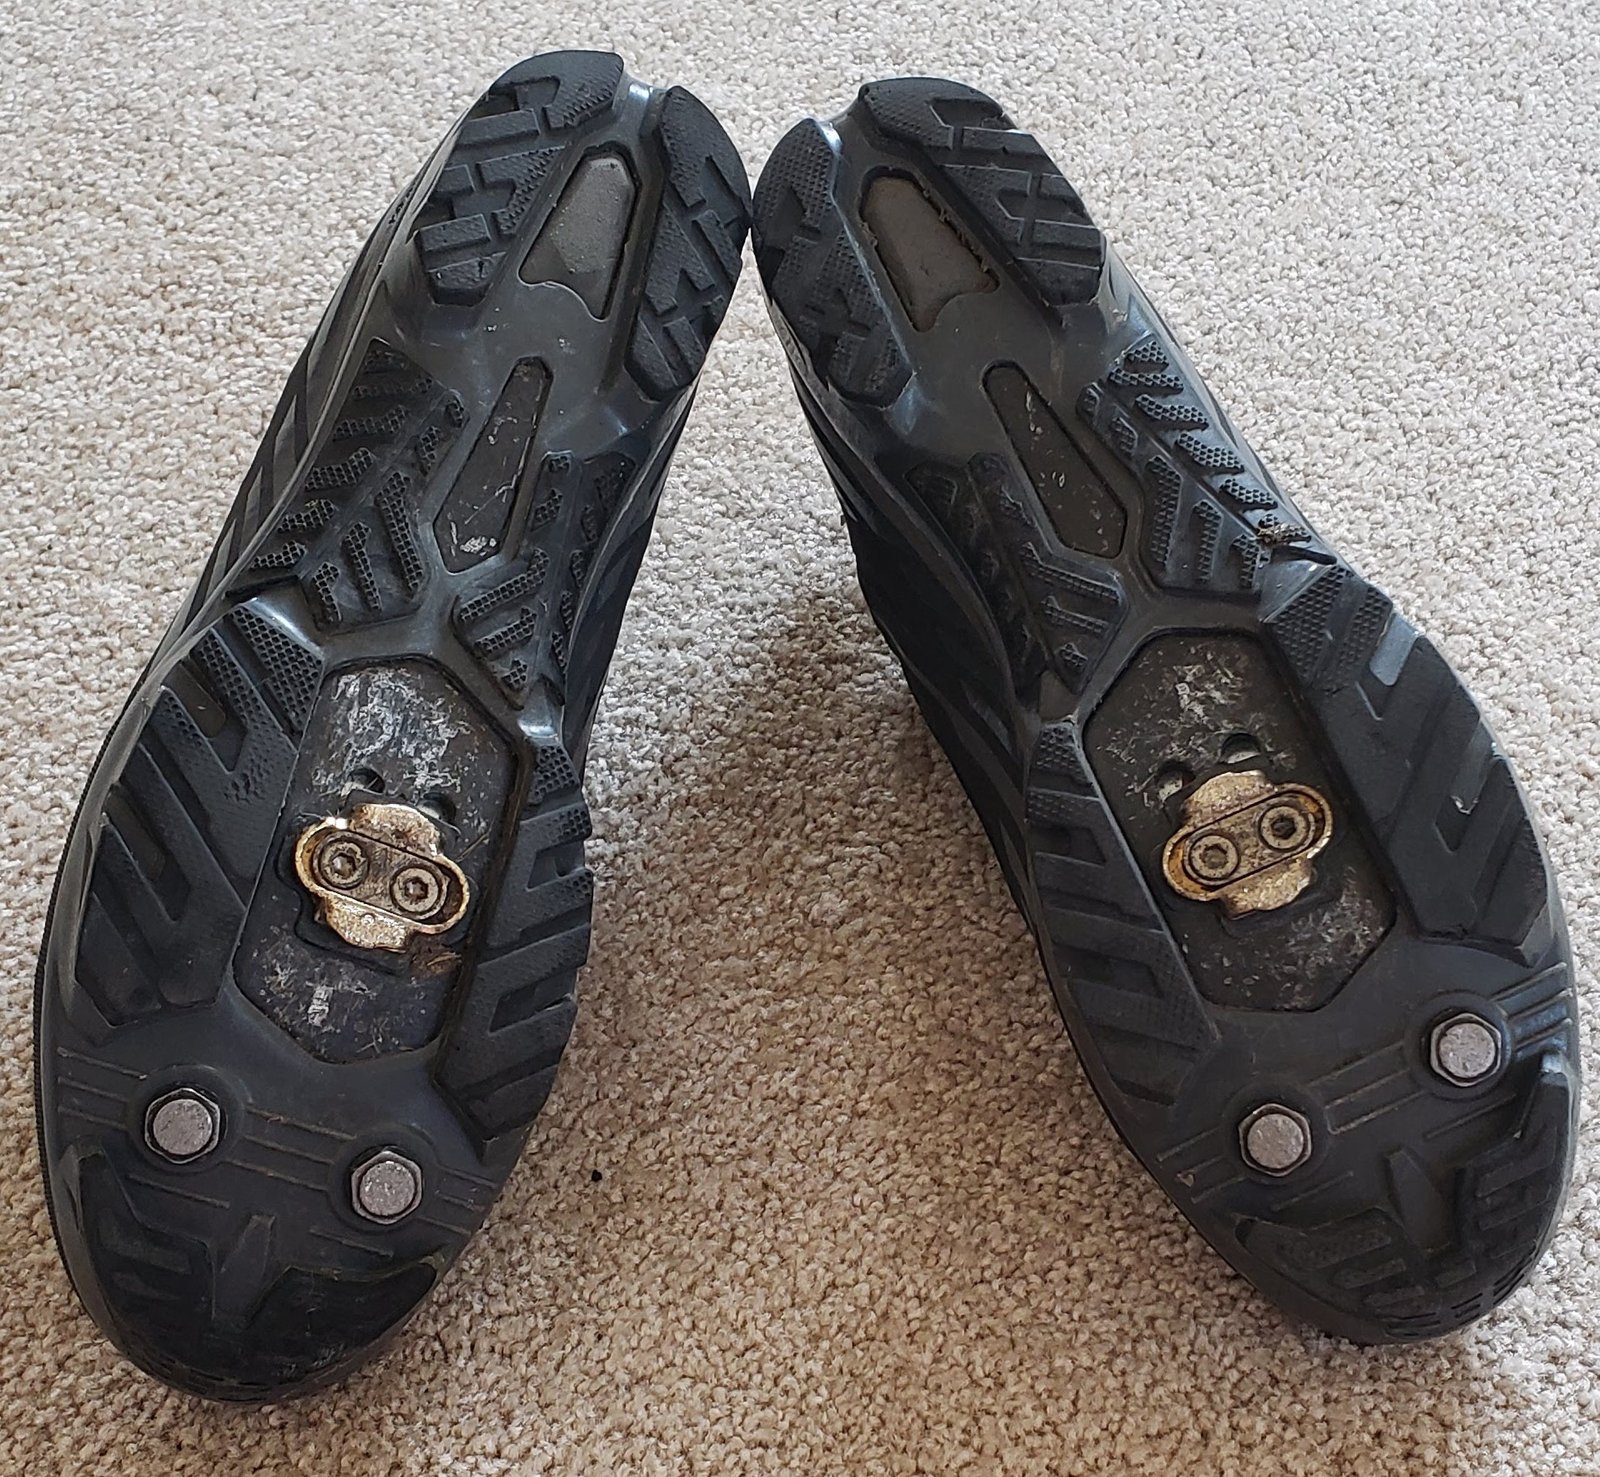
Picture the plight of poor Pearl Izumi when it comes to marketing their X-Project shoes. These are race level, high-tech, top performing shoes. Pearl has figured out that even on a race shoe the entire sole of the shoe does not have to be so stiff that they make you walk like a penguin. X Projects soles are stiff in the center where it counts but they flex around the edges. It may not sound like a big deal, but it works well in practice. They are flex free when pedaling, but when you walk in them you look like a proper upright primate.
Pearl’s X Projects are a premium shoe to be sure
The cleat pocket is deep enough that your cleats don’t clank on the floor, at least while the tread is full depth. Toe cleats, not installed here, are included.
Pearl have chosen to position X Projects as a high performance shoes that are comfortable when you have to push the bike. But what racer chooses a product based on how much it helps them walk?
I tried these on and my first response was “these would be great for commuting and touring!” I wore these on my recent bike tour and they were so comfortable that I opted not to pack street shoes or sandals. Make no mistake, real casual shoes would have been more comfortable, but they were not worth the weight and space when a shoe like this was an option. I was repeatedly amazed at how versatile these were.
I was skeptical about the “BOA” adjuster dials even though they have been used on bike shoes for a long time now. They are usually reserved for high-end shoes and I have never tried them. They reel in and loosen a nylon string to adjust the shoe in lieu of laces, buckles, straps, etc. My feet swell as a ride, which is normal, so I need to adjust the fit of my shoes on long rides. Playing around with the BOAs at the store made them seem a bit gimmicky: change for change’s sake.
But on the trail the genius of the BOAs became clear. Compared to my existing buckle/velcro combo shoes, these could be adjusted much more easily while riding, and in smaller, more precise increments. My adjustment technique on my old shoes was sometimes to completely loosen them until I could stop and fine tune them later because it was just not possible to get a good adjustment while riding.
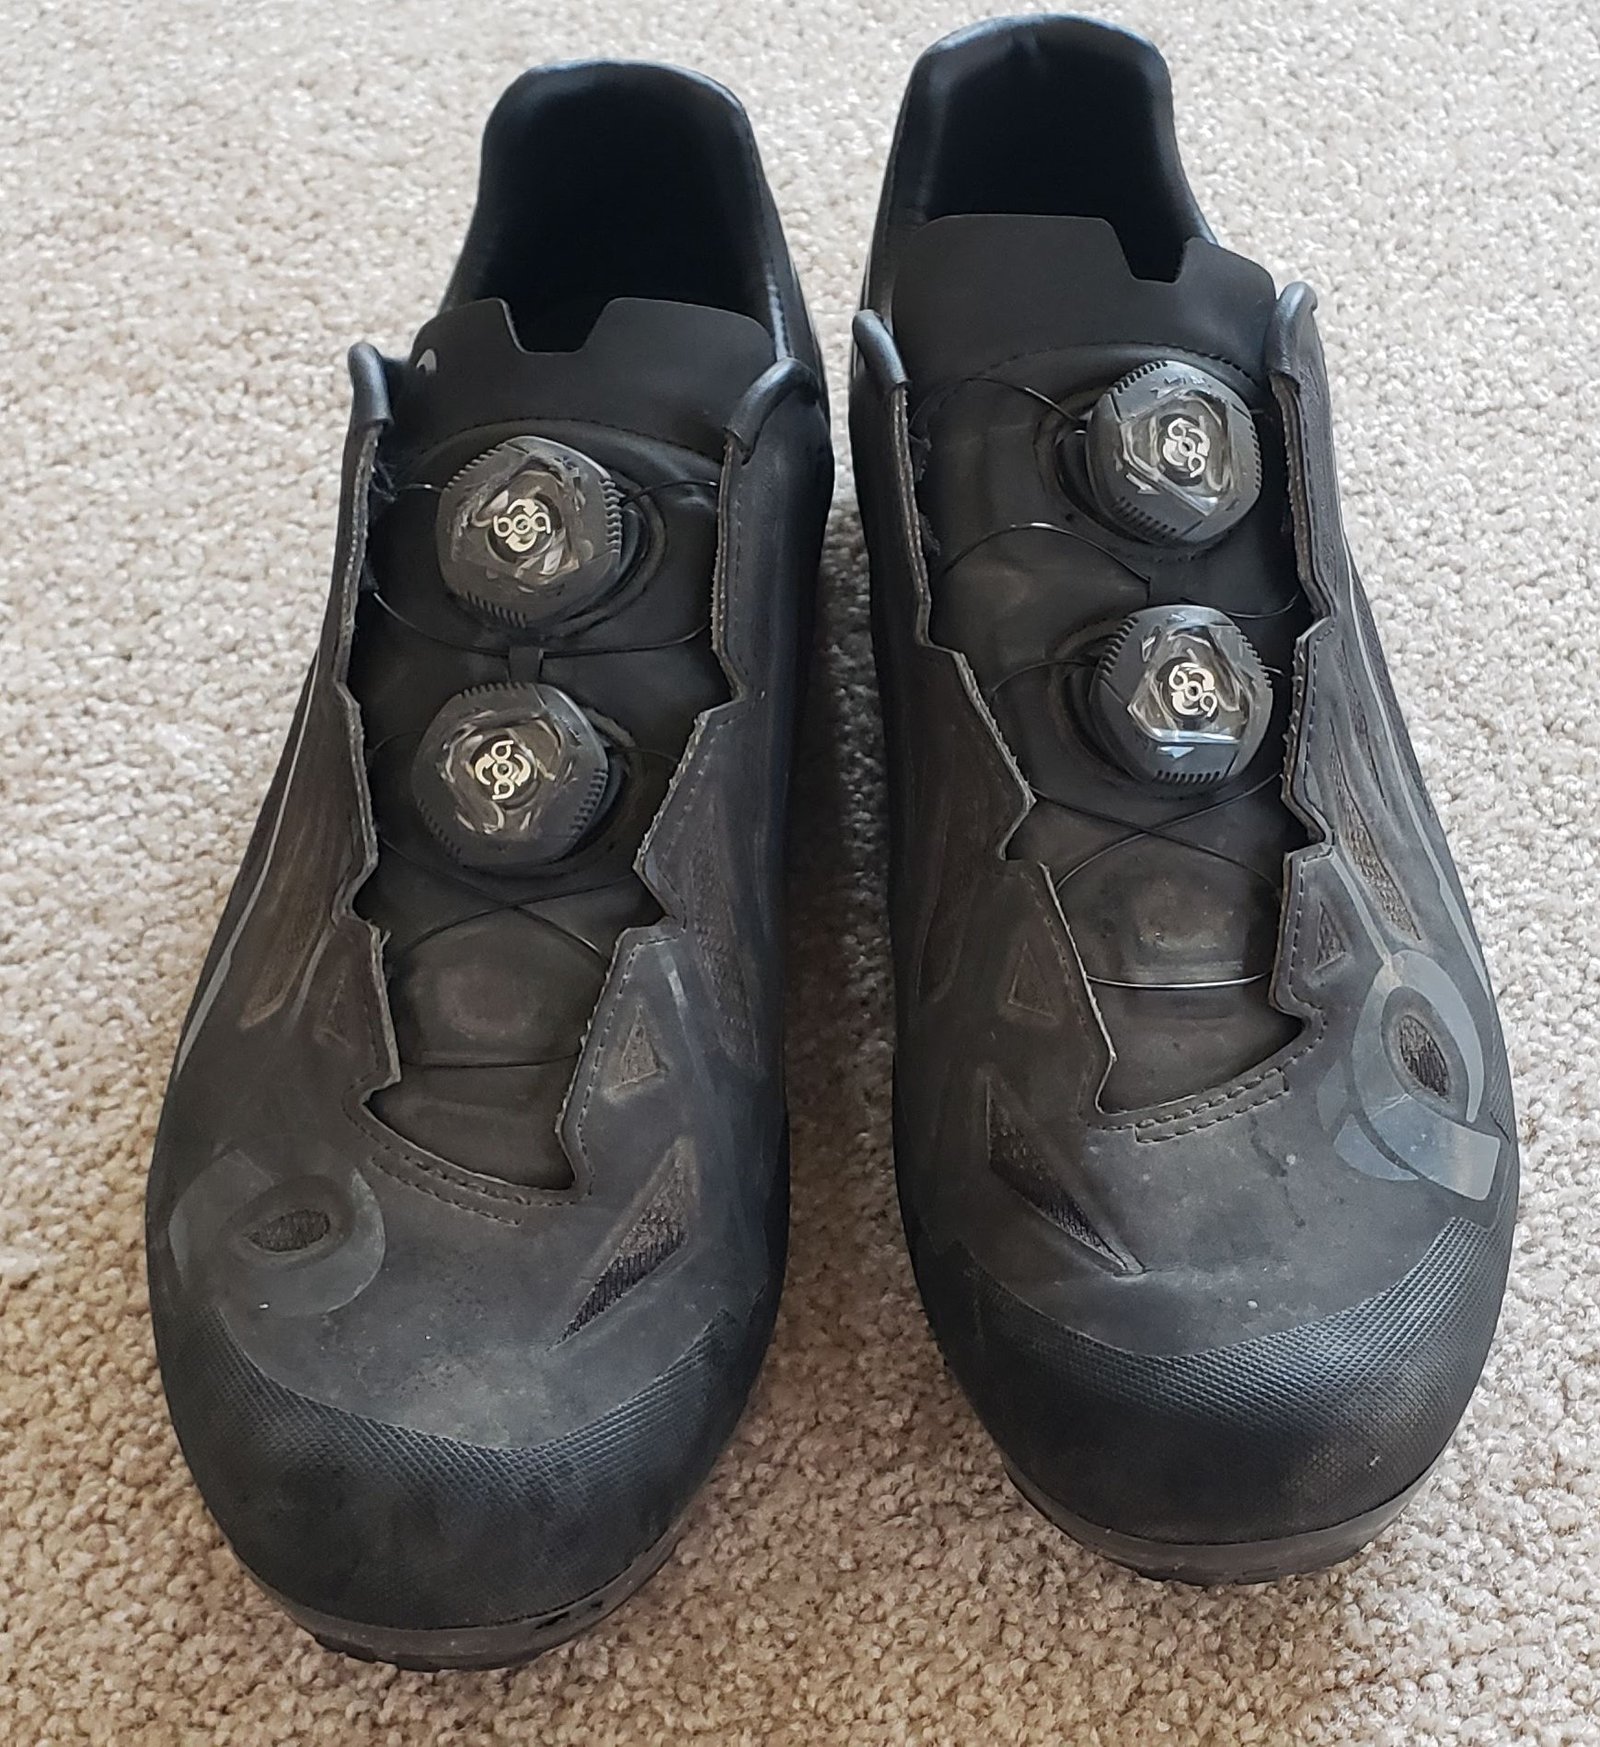
The Pro model has 2 BOA dials.
The black color has lots of subtle style accents but the overall effect is stealthy. Pearl also makes a bright orange option if stealth is not your thing.
Having 2 BOA adjusters is not overkill as I originally thought. The upper BOA adjusts the back of the shoe around to the heel cup. The lower one works as a toe box adjustment. And I like adjusting them independently as I ride. They don’t look like they would work that way being so close together and sharing the nylon string, but they do. Pearl opted not to make both BOAs tighten “righty tighty” style. The left BOAs are reverse threaded. So you have to think to rotate them outward to tighten them, and inward to loosen them. Or whatever works for you.
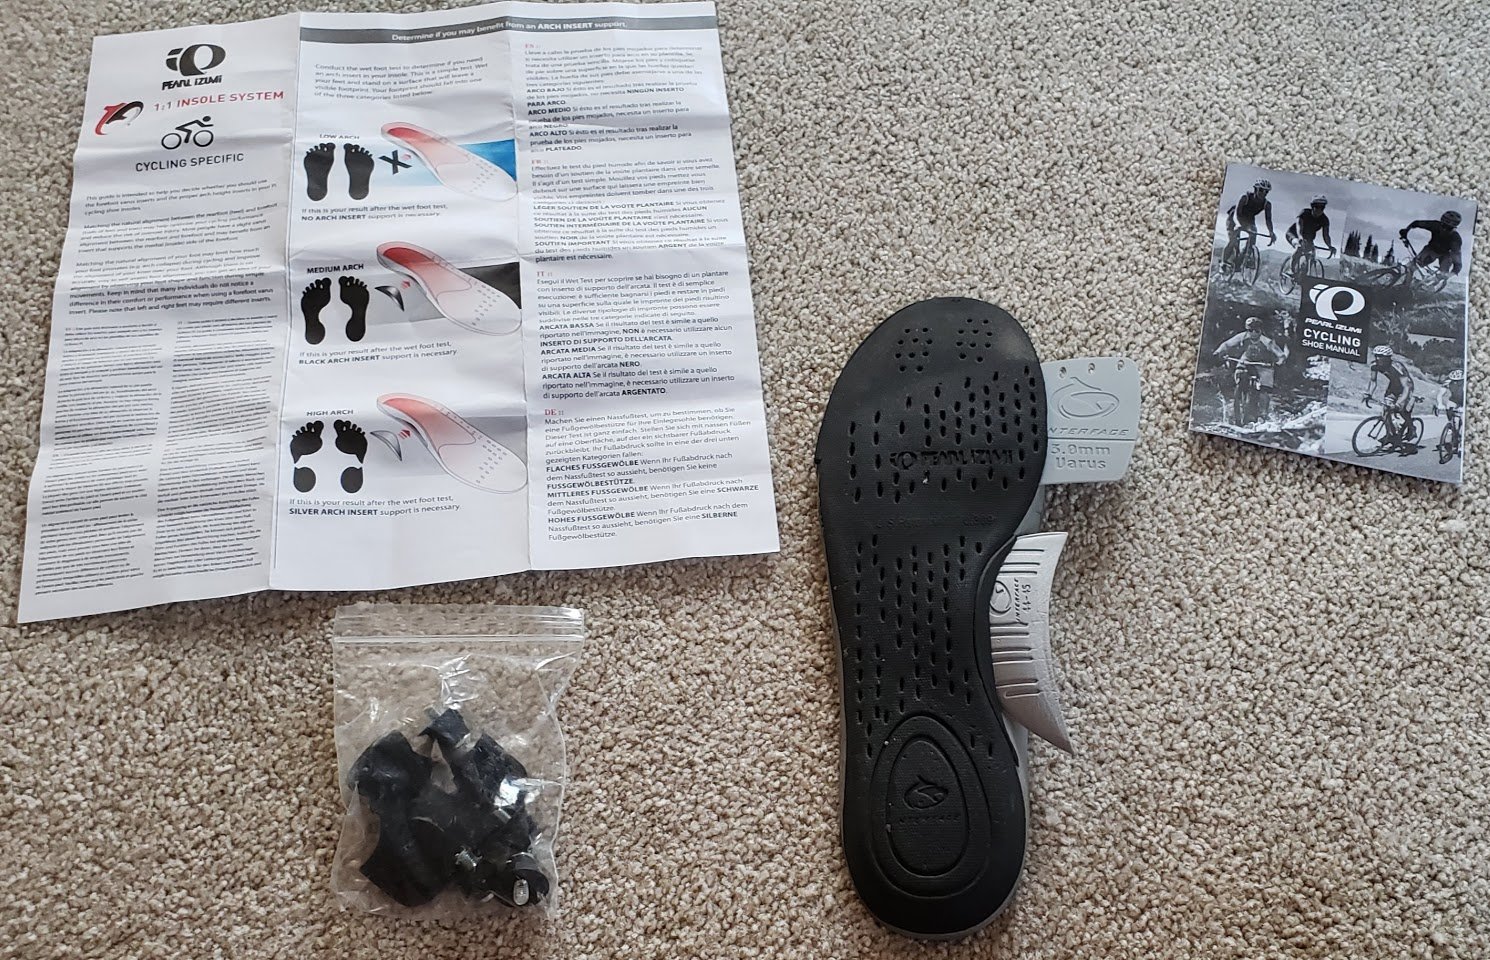
The shoes come with adjustable insoles. They are removable and have pockets where you can slide in shims of different thicknesses. There is one pocket under the arch and one under the ball of your foot (Pearl calls it the varus). They are “set and forget”, but if you wanted to make huge adjustments on long rides you could carry a shim or two with you. They are very small and make a big difference.
X Projects come with a lot of accessories. I have the shims partially installed in the liner so you can see how they work.
Proper Fit Is A Big Deal
I also thought the shims were gimmicks at first. These shoes were replacing my older pair of X Projects and I never used the shims on them. But the reason for that is that my old X Projects were too small for me. I made do by stretching them (see my separate blog on that), replacing the insoles with something thinner, and keeping them at the loosest setting most of the time. I had no idea how good the shoes actually were because they did not fit right. My new PROs are a whole size bigger (44 vs 43) than my previous X Projects and now all the adjustments make sense. The moral of the story is make sure your shoes fit right or you may not getting the full benefit from them even if they seem to fit OK. The adjustable insoles are such a great feature I think they could used on other kinds of athletic shoes. They would even be good for professionals who stand all day and change shoes to fight fatigue. It is a common trick. You could rearrange shims, have more options and not have to carry another pair of shoes or even insoles.
I feel like a good review should have some constructive criticism. If I had to nit pick, I would say these shoes are a little heavy for a race shoe. Pearl quotes 373g for them, but mine weighed in at 438g each. Maybe they absorbed a lot of dirt. They are heavier than my old X-Project 2.0 shoes that weigh 384g one size smaller. That weight may make them more durable, but it is too soon to say. To keep it in perspective, they are not a heavy shoe: they are on the heavy side for the way they are marketed. And they are pretty darned pricey at $350 list, but so are all shoes in this category. I hope the flexy sole and adjustable insole trickle down to more affordable models. Pearl offers an Elite model at $75 less that swaps out the lower BOA for a velcro strap that is farther forward on the shoe.
Alas, I have never seen Pearl market X-Projects as anything but high performance shoes. Pearl wants to keep their top of the line shoes positioned as fast, serious gear. Which they are. But between you and me, their unique features make them just as good or better for everyday riding.